The next fireplace was installed by Kirk Lewis. He wanted a splash of matching colors and he got it!
He installed:
Bronze Base Glass,
Bronze Rust Copper Base Glass,
1/4" Black Base Glass,
California Gold Base Glass,
Platinum Base Glass
1/2" Bronze Base Glass,
and 1/2" Starfire Base Glass.


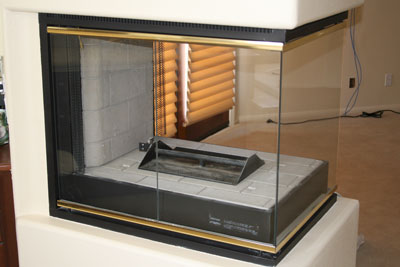
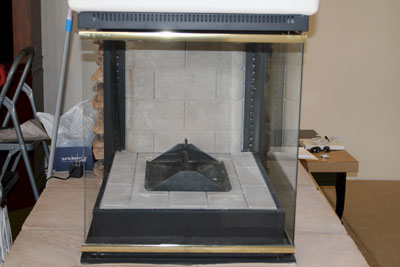
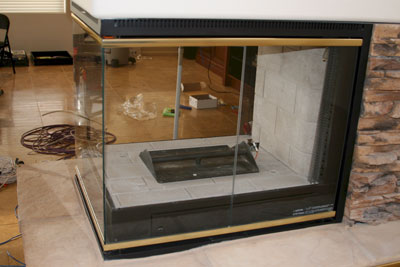
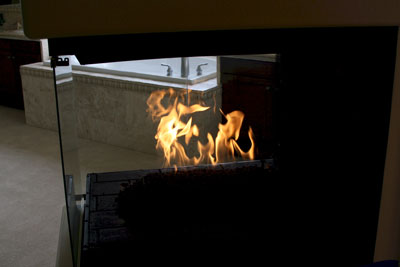
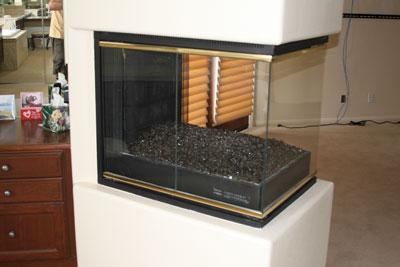
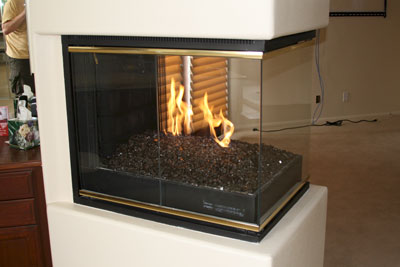
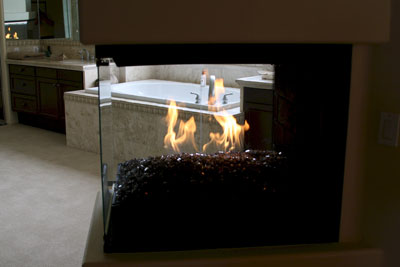
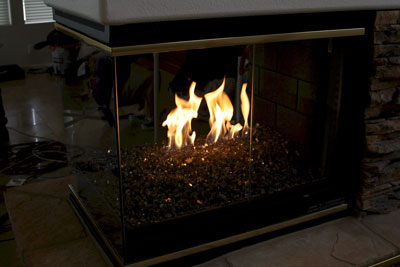
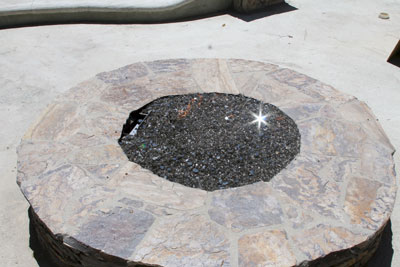
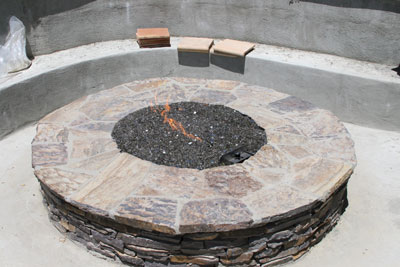
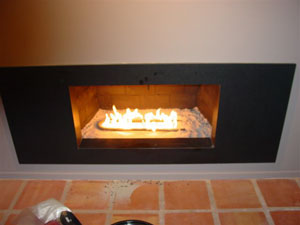
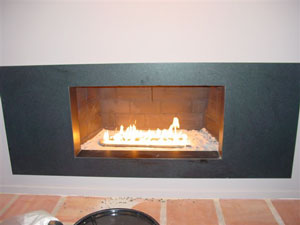
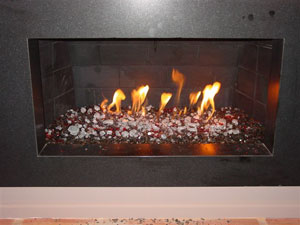
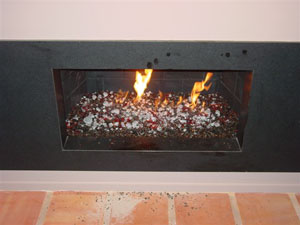
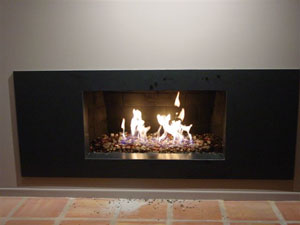
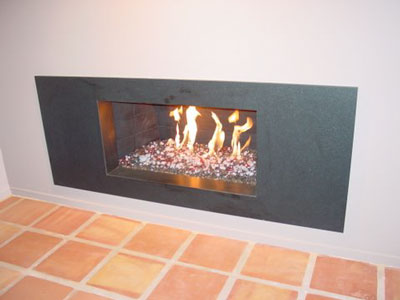
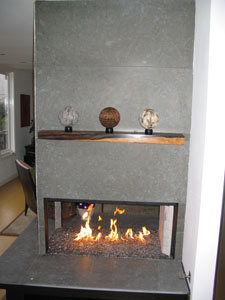
The fireplace below is in Rancho Mirage just east of Palm Springs California. This is a direct vent fireplace and we used a Bronze Base Glass with Bronze Reflective Base Glass on top. We use the original burner as it would do just fine. We are also cladding the bras with brushed stainless steel and we will post the pictures as soon as we get them. We did two identical fireplaces in this home. One in the master and the other in the family room. You can tell by the back ground.
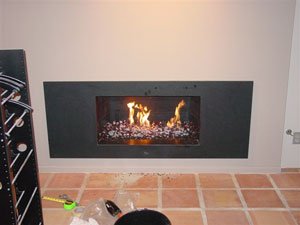
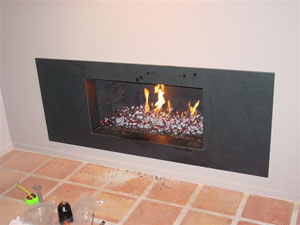
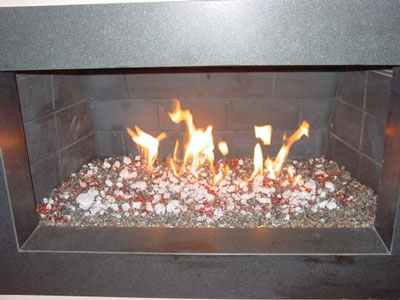
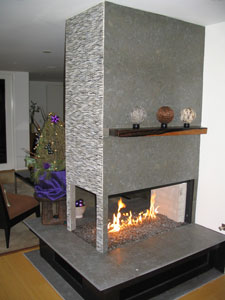
The fireplace below is from Cory here locally in
Rancho Cucamonga California. This transformation was a complete surface make over along with out Sterling Silver interior. The glass that was used was Bronze Base Glass and Bronze Reflective Base Glass. This is truly a DIY project and we like to help you create your ideas to reality.
Here we begin with the old interior brick panels removed.
Below you can see the new stone being applied.
Now you can see the reflection on the walls in the
Sterling Silver panels. No, these are not just mirrors in the fireplace. If you do try this, let us know how it worked out for you. Be sure to send us pictures of your project and we will be sure to post it on our "
How Not To Do It Page"! No, Really!
Again we are proud to constantly give you new and exciting products for your fireplace and fire pit projects.

The wine barrel below was build by one of our newer dealers in Texas. Matt's Welding. Contact us for information about Matt's wonderful work. We are going to be much more of Matt's work and look around his showroom in the pictures below. Many more projects to come.


There was a steel bowl installed using our propane system to burn our glass. They used Bronze Base Glass in the fire pit.


The outdoor fireplace pictures below are in Sacramento, California (for Nancy and Derek Long). This was built by Jake Moss and Jim Corbett who are constantly features on
DIY's Yard Crashers! We have worked with them several times and now we continue to help create some pretty cool features together. Here we go:
The glass that was installed is:
Amber base glass,
A bit of Chunky Bronze base glass,
Amber Topper and Nancy is waiting on and to add Amber Diamonds.


The fire pit below was purchased locally and then we converted it to burn propane without soot! The colors used were:
Starfire Base Glass,
Here is what is looked like when he started. These manufactures have no imagination!
This only cost about $100.00, complete!

The next fire table was built by Brian Johnson of Omaha Nebraska, very nice! We supplied the components and Brian did the hard part, the table.
The blue is actually food coloring.

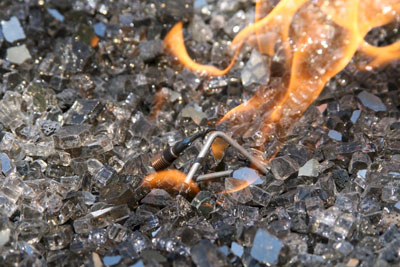
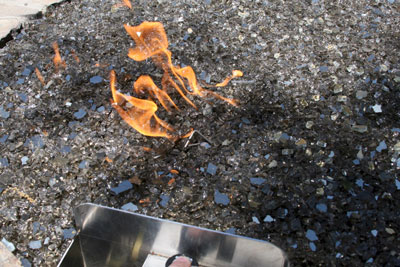
The pictures below will show you
how to install a propane burner and valve in your fire pit without drilling a hole in the side of your fire pit with our
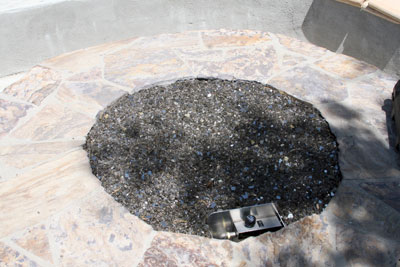
FPPK (fire pit propane kit). This was install in Calabasas California with
Bronze Base Glass and
Bronze Reflective Base Glass on top. The fire pit has 10" solid sides which made this a good candidate for the
FPPK to be installed on the inside wall. This is a propane fire pit and we do calibrate every valve to every ring we install to eliminate back flow and any problems or issues that may happen. We also install the proper air mixer to insure a clean burn as we eliminate the soot know to be produced by propane. If you have a propane fire pit you know what I am talking about.
We can build whatever you may need foa control box cover, see our Metal Page!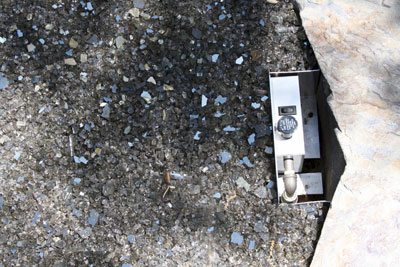
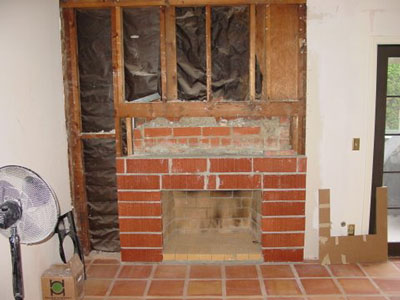
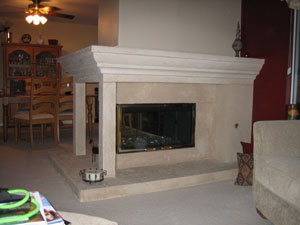
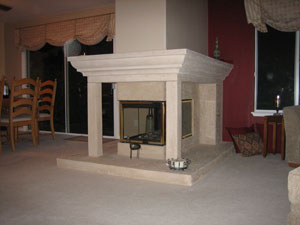
The fireplace below is a before and after and a "how to" make it low and lean. A more contemporary look. This is a self install by Rich Kamins and one very nice job!. He used a Bronze Base Glass and Bronze Reflective Base Glass. Topper with a bit of Starfire Base Glass. Ice Ice Ice Topper and about 2 pounds of Copper Ruby Red Topper for a splash of color.
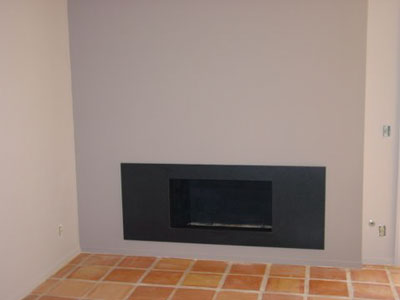
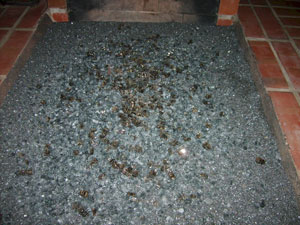
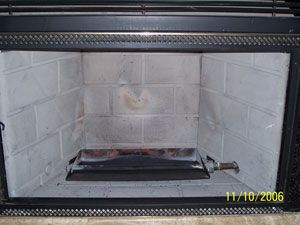
Typical nasty fireplace before Moderustic!
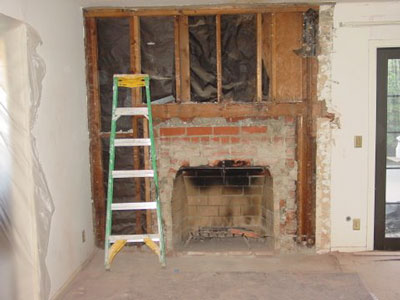
A few bricks and some drywall
The pictures below are of a self install with:
1/4" Bronze Base Glass and
1/2" Bronze Base Glass,
1/4" Starfire Base Glass and
1/2" Starfire Base Glass, Red Topper, Red Topping and about 1 lb of
Scarlet Red Topper.
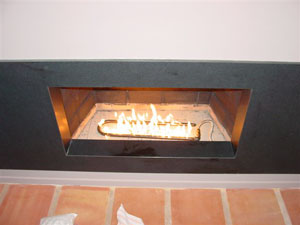
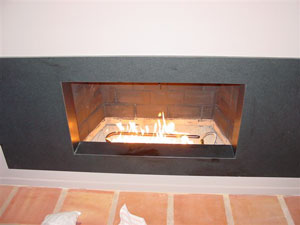
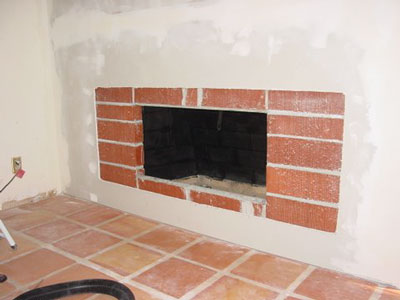
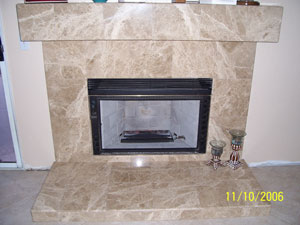
And here you have one nice finished fireplace.
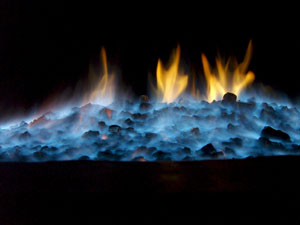
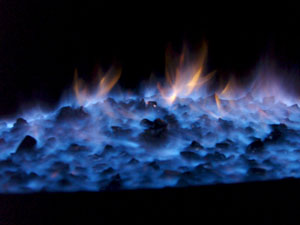
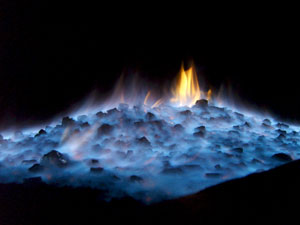
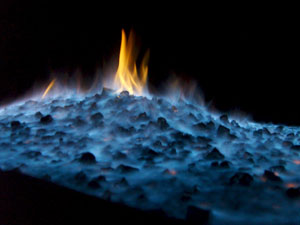
Cool Flames
On this page we will be posting some real cool fire flame pictures. You're more than welcome to send yours.
This fireplace has:
But you can't see that now. We will be posting daytime pictures so you can see the actual glass. We will be posting the yellow flames as well. We will tell you how to do this in the near future, really!
Comments and testimonial by the customer:
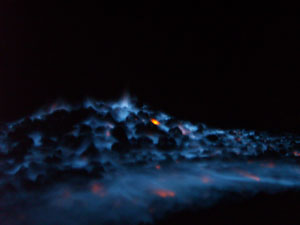
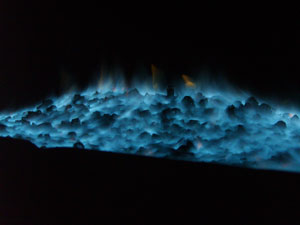
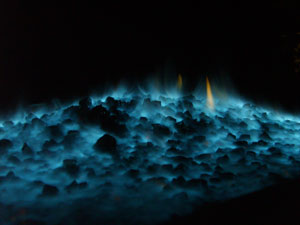
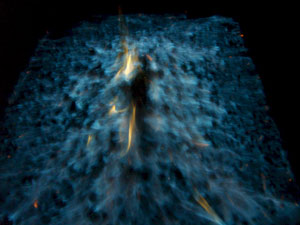
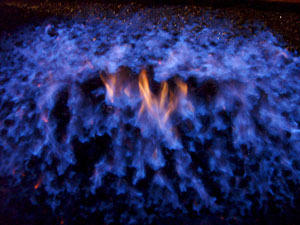
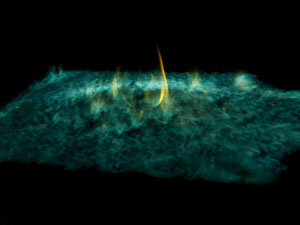
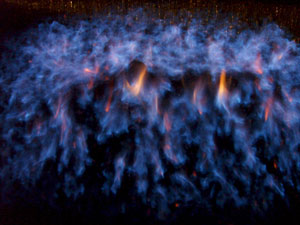
Ed Here are the other shots you requested. I tried many angles, lights, etc., yet could not get an accurate picture of the natural light setting. The silicone carbide is so reflective that it goes to light grey in all of the shots, and the smoke glass looks pale green/blue where in reality it looks almost black. Another description that may be even more appropriate of the daytime look is that of a neatly piled burned out fire, except that all of the “ash” is reflective and sparkly. Can not explain why in some of the shots the flame appears greenish. The blue colored flames are not exactly right either. The real color is closer to ultraviolet than anything else. Several of the shots, including 01, 29, and 50, have been taken from the same location. You can tell the ones taken at full open valve by the increased amount of color in the shots. Additional photos in separate mailings Keary I am very happy with my “new” gas fireplace. I thought I would share with you the enclosed photos taken with an ordinary digital camera with no ambient light except the fire itself. The camera was placed in various locations around the fire on the hearth proper. Unfortunately the stills cannot depict the fire action. What is amazing about the fire is the low spread out blue flame pattern instead of the conventional tall yellow flames in the middle.
The fireplace is open on three sides 30”x40”, The pit was filled with coarse bagged lava rock form Home Depot approximately 1” deep to the bottom of the U shaped burner gas pipe with the holes pointing down. It was then topped with Moderustic fine lava rock to fill in the voids on the top leaving the bottom of the burner only slightly submerged below the layer of the finer lava rock from Moderustic.. The next layer was black sand followed by S----- C-----. The sand was mounded in the center over the burners. A sprinkling of grey glass over the SC and a topper of Bronze ½” glass was sprinkled over the smaller sized matrix to finish. The final product is very dark and reflective with tiny reflections off of the s----- c------ and larger reflections off of the gradated glass during the day and in ambient light. It looks a little like a lava field that you might run across in the Mojave Desert near Barstow. Not at all showy, yet very subtle to the view in daylight. The coarse lava rock on the bottom layer, with the finer layer on top to keep the gas in longer, acts as manifold carrying gas to all portion of the firebox floor covered with that material. I stopped the coarse rock short of the metal posts in a semi circular shape in plan and back filled with sand so that the flame would not reach the posts. The visual result around the posts is that the gas reaching the end of the coarse material immediately goes upward creating a flowing arc of fire around the posts. This is seen as a blur in the photos.
The underlying coarse rock distributes the gas pretty evenly across the firebox floor creating a even matrix of small flames on the surface as it works its way up through the media. The extreme perimeter appears more active. There are more constant more steady flames from the mound. Because there is less gas at the perimeter, the gas there burns in horizontal spurts and appears like lightning bolts licking the edges of the firebox.
There are small vortexes of fire that form and sometimes work there way around the base of the mound on the center but usually preferring a particular area to hang out.
The overall effect is one of a dispersed flame. As if the entire bed of the fireplace is afire with a low blue flame. With all the lights out in the room it is quite magical. Not at all anything like a conventional yellow flame in the center. Due to the dispersion of the flame across the large firebox area, there is a lot of heat generated and dispersed into the room instead of up the flue. This is not a design for summer time nights.
Everyone who witnesses this flame is impressed with the “light show” quality of the burn.
In the future I plan to change out the media and experiment with different ways to direct the gas and resultant flame to achieve different effects.
Next time I am thinking of laying a pattern of coarse rock and infilling between the “arms” of coarse rock with sand so that the gas will follow the “arms” and come up in more predictable places, perhaps creating little vortexes or pyres at the ends of the “arms”.
Regards,
Keary Gregg
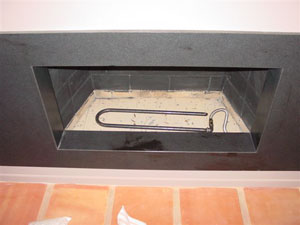
Now for the after pictures! This was a custom propane burner which was under all of the glass!
This is what Patti had to say:
Hi Ed,
Well, it's been about two weeks since I installed the new fireplace, and it is the talk of this sleepy little town. Because of the "ice" on the top, it has been nicknamed the "
Fire and Ice" fireplace. I just placed an order for a pound each of
1/4" Gold Base Glass,
Yellow Amber Topper and
Clear Ice Ice Ice Topper. I think it needs a smidgen more color, and since the
Ice Ice Ice Topper is the big feature, I decided to add a little more. I have to say, I didn't think I would like the ice, but it looks amazing!
Thank you Ed and Jimmy for all of your help and hand holding over the past few months. I will take more pictures when I add the new products.
Thanks again,
Patti
arnev@frontiernet.net
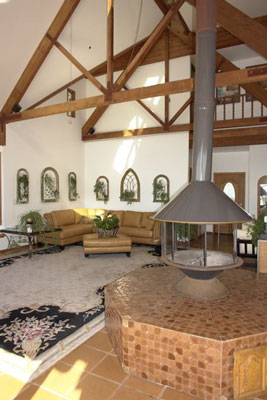
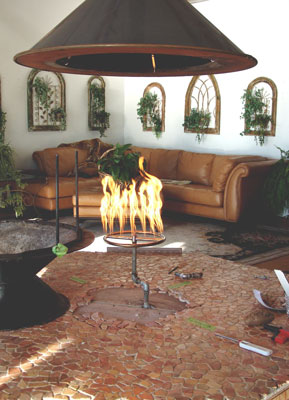
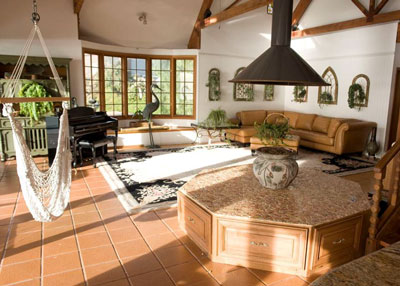
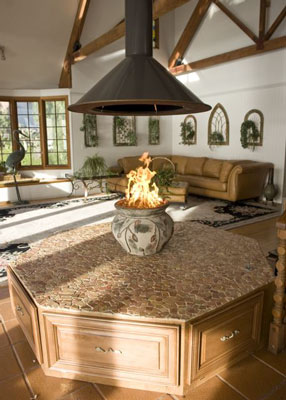
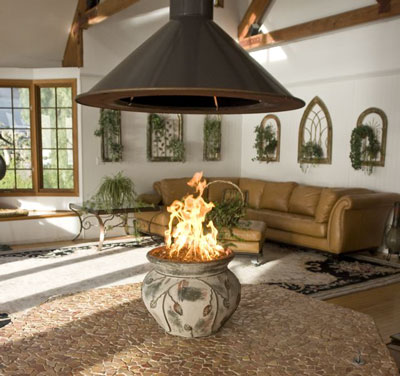
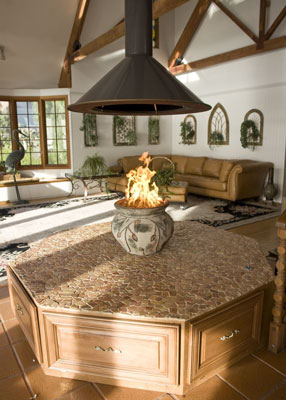
The fire pit below is in Malibu California which no one could figure out how to do what we did. The customer didn't want to see the fire pit hood anymore. So we just raised it. And everyone said it couldn't be done! This is what we like to do, take imagination and make it a reality. The base was provided by the customer we just supplied the "raise the hood" and the ring and
Bronze Base Glass and
Bronze Reflective Base Glass.
The vent went up 20 feet. E mail us and we will tell you how this was done.
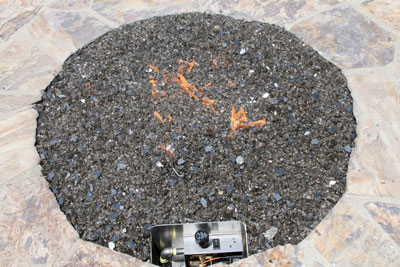
The fireplace below is a self install with a 2" base of
crushed lava18 18 double burner


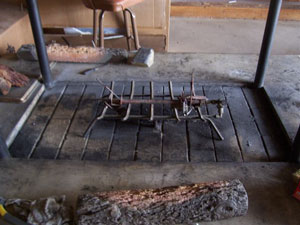


 .
.


