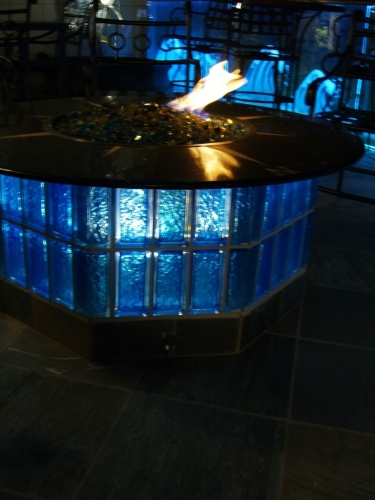
The fireplace below is a self install with out any filler. They used a Clear base glass with a 17 lb layer of Starfire base glass to cover the Clear base glass.
We only did the fire pit, not the view. That came with the home. But one very impressive view!
Then we spread the Clear Topper, Cobalt Blue Topper and Copper Blue Topper over the Clear base
As you have looked at all of our pictures we would like you to know we use Crystals as our Toppers and Toppings. We don't use "Recycled" glass, ever! We are actually the only company that produces Crystals for fireplace and fire pits.
We tried to get pictures of it burning, but the flames just didn't show. Look above and you can see a flicker in the daylight. Actually the flames were over 16" tall but you can see this in daylight.The contractor will get a few night pictures when they and if they can.
The ribbon burner below is made from 1/8" brushed stainless steel. The center was water jet cut and then we bent the two center fins down to install the ribbon burner with electronic ignition. The base plate measured 94" x 26" and was installed in San Diego, California. The architect is Kelly Crain of San
Hopefully we will be sent the finished pictures of the fireplace.
We can build these in any size, shape, material and in natural gas or propane.
This was tested in the shop with a minimal of 1/4 lb of natural gas. This burner is capable of at least an 18" ribbon burn. If you look in the center you will see the ignition head for the electronic ignition.
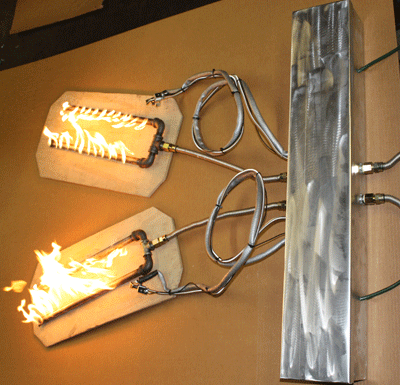
The Electronic Ignition System below is a dual Ignition in one box. It was installed in a back to back set of fireplaces. The pictures below show the parts while being tested. Every system we build we test! We don't let any system go out unless it was tested several ways, especially propane!.
This was an outdoor application which required a top to protect the electronics.
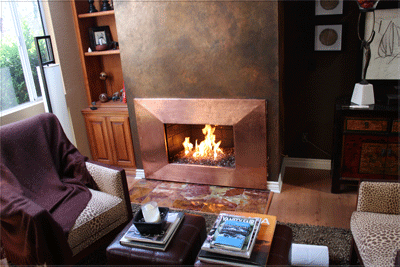
The surround below was built for Stacey in Laguna Niguel, California. She requested distressed copper which she got. From the edges on the interior being welded and polished to the antique distress. The surround looked great against the faux painted walls. The glass that was used was bronze rust copper.
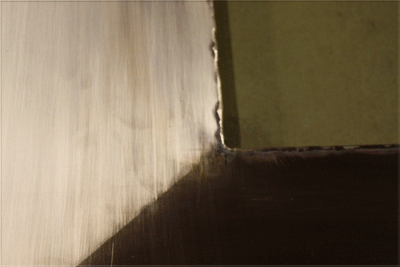
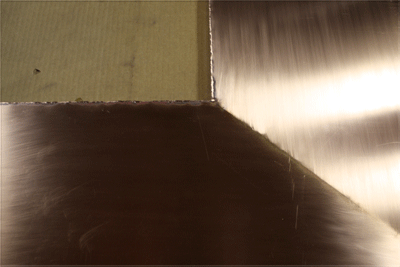
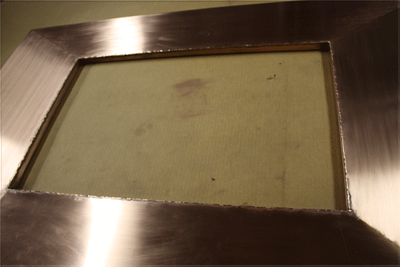
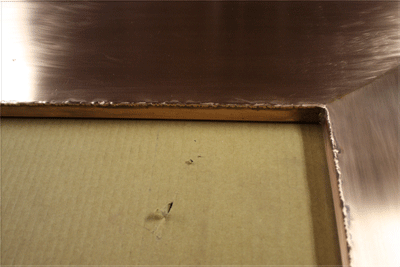
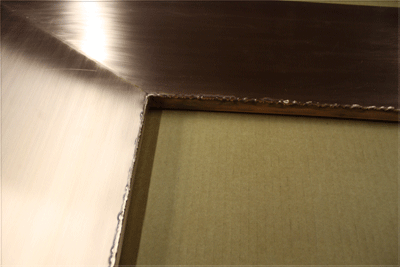
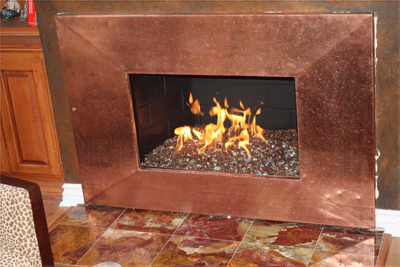
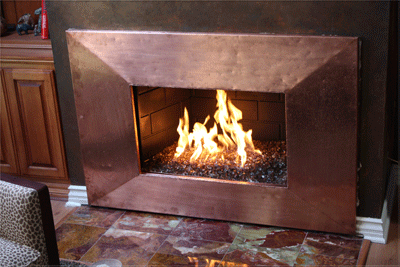
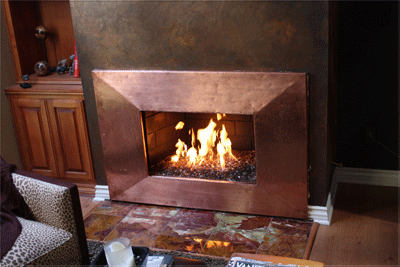
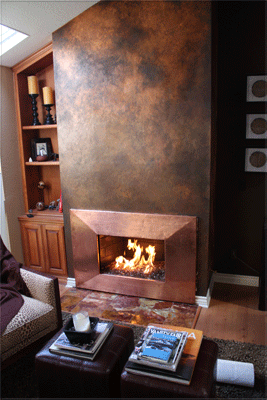
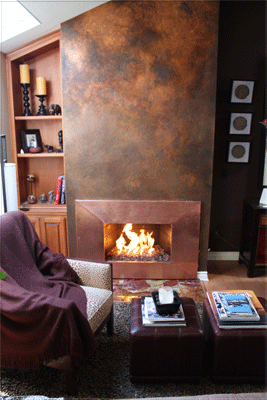
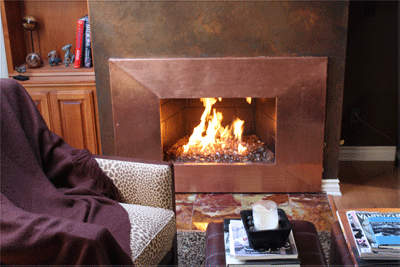
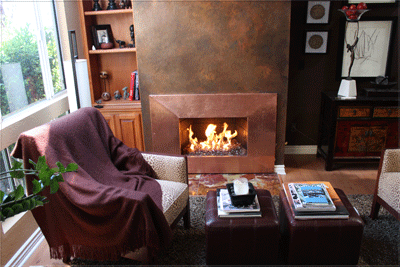
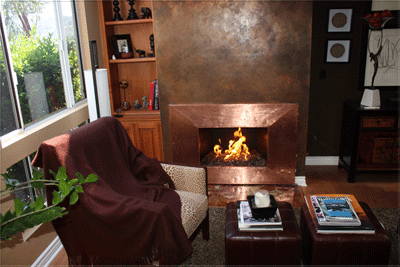
We typically start with a card board template to replicate the size and shape of the fireplace surround. This is a preview of your surround as this eliminates any surprises!
The two fire tubs below were for the Anaheim Marriott in California. The two stainless steel surrounds were installed into the rock fire pit to conceal the electronic ignitions. They had placed logs on top.
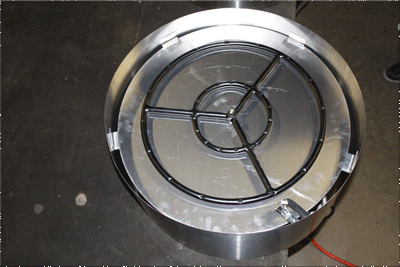
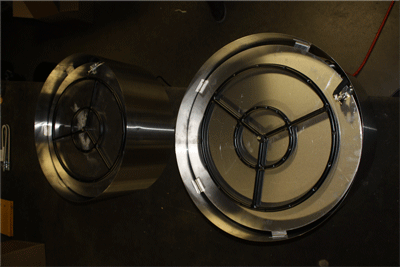
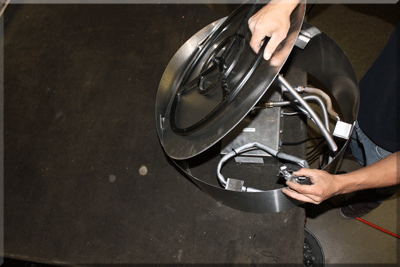
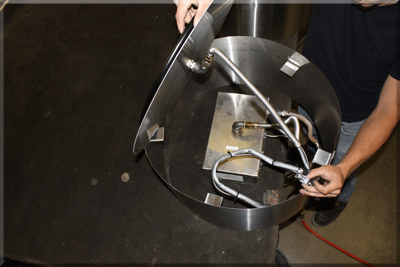
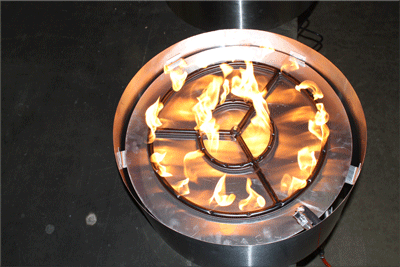
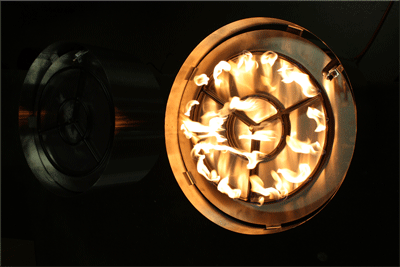
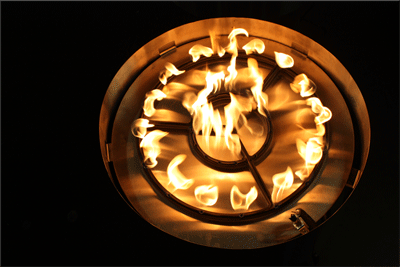
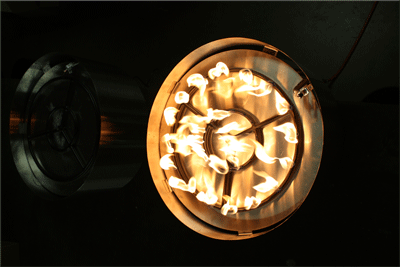
These can be made in any size or shape.
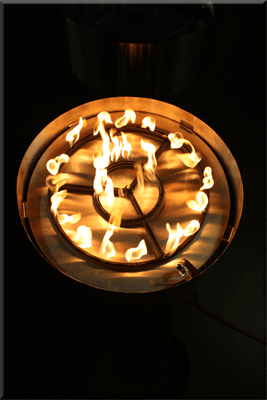
The fireplace below was installed with a dual battery operated 100,000 BTU propane electronic ignition system. Each capable of 100,000 BTU's of fire. The first pictures show what we had to work with and how it progressed.
The glass that was used was Starfire, Gold and Ice Ice Ice.
If this was in your house you would say NASTY!
Burning wood and logs is just nasty and dirty! True story!
Above you can see the soot that come out of the fireplace and and leaves your house smelling so carbon monoxide fresh! YUCK!
Add a bit of lime stone.
A few pieces of copper.
Below you can see the sand bed and the ignition box we built.
Below are the two vent we installed for the air mixers inside of the ignition systems.
and here we are finished. Now isn't that much better litter feller?
Modern times call for modern measures! I guess that's why we are Moderustic!
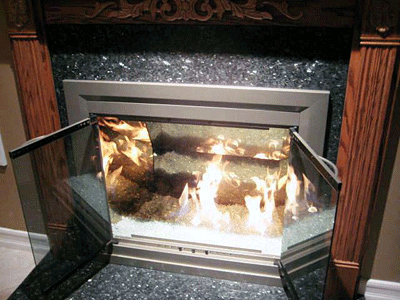
The fireplaces we are about to show you are Sterling Silver Coated panels we have developed. No they are not just mirrors! (try it and let us know what happened). We are now working on a template procedure to send the customer to help us properly fit each panel. The first set of pictures are from David Barron in Southern California.
With the doors open (optional) you can see the clear base glass.
You can see the flames reflect off of the side and back walls from the Sterling Silver coated panels.
.
Well if you ever thought of doing this, we now can! We pride ourselves in being the first in creativity, design, innovation and customer service. Most of our ideas and creations will be copied, but many months later we are at that time are already on our 2nd or 3rd generation product line anyway. Imitation is the highest form of FLATTERY! Thank you, no really Thank you! Our drive is to satisfy the customer with creativity and ingenuity.
We will be posting more pictures when they are available. Please send your thoughts on our ideas and product developments, we really do appreciate your thoughts.
Ed
The fireplace below is in Santa Monica California. The fireplace is a Malm Fireplace which can be found at:
or
We used an 18" double stainless steel burner and a bed of Starfire topped with a few pounds of our Ice Ice Ice.
This is a very simple self installation as you will see.
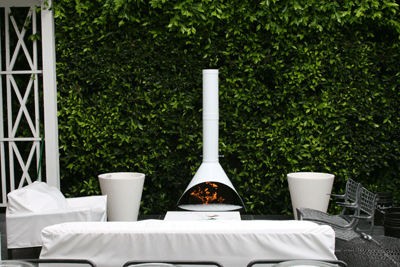
On this page (as if you needed another page) We are going to show you how to build a basic fire pit for your deck/ back yard.
This was built by Glenn Harvey of British Columbia.
This first picture is the frame he had started with.
You can make one from metal studs, aluminum studs, etc. Anything non flammable.
Wrap it with wonder board or durock/ cement board.
Below you can also wrap it with wire for better adhesion to the backer board.
This fire pit was natural gas. We also manufacture the burners for propane. Well, we are the only ones who actually manufacture propane burners for your projects.
Below you can see the gas connection coming up from the deck. Glenn used a pan but he also could of used an aluminum/ stainless steel base plate as well.
The stacker stone is now being applied.
As you can see below the trimming valve is installed on the side. You would be surprised on how many plumbers don't think of this little detail, a valve to turn it on or off. I have seen the valves installed inside of the pit or not even at all. You also need to be careful as to not have a gas line installed that is too small for the application.
Now the stone and cap are done, great and simple job!
Below you an see the larger filler lava rock was installed. If a flat plate were to have been used you wouldn't need the larger filler lava rock base.
Below our crushed lava was used to cover the larger lava rock to insure the glass does not fall through. This makes an even base. What ever shape you make the lava is the shape the glass will take.
Below we installed Water White base glass (32 lbs) for a 1 1/2" cover!
The stone on the side of the fire pit used was to match the stone on the house as well. Looks awesome!
Below is just the Water White before the colors were added.
The colors that were added are as follows:
Azurlite and Azurlite reflective for the sky area.
Brilliant Yellow R20F4 Topper for the sun center
Scarlett G072F3 Topping for the suns rays
Orange R140F4 Topper for the ring around the suns center
Emerald Green 1417 Topping for the bottom trees/ grass?
Deep Blue 2507 Topper mixed in around the Azurlite in the sky area.
If you notice below the center of the sun, it changes when it get hot! This one of our chameleons that change when the glass gets hot. If you look real close at the Orange Topper (next to the suns center) as well, it turns a bright cinnamon red when it get hot also! All of our chameleons will be posted when we get a chance. This is just another one of our product lines that we have not had time to further promote.
Above is the fire burning and
below the fire was just turned off.
Glenn spent a few hours placing all of the glass to make this very cool scene. So don't just think you can just throw it on and it knows were to go. Very creative!
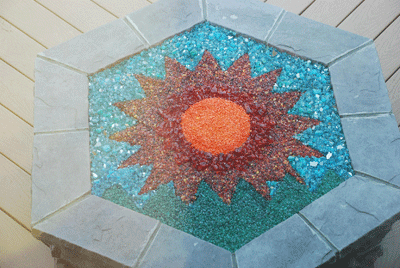
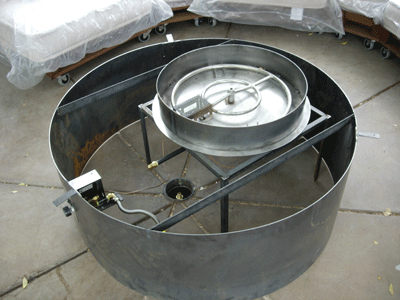
The fire pit below is in San Francisco California. They use one of out FPPK units.
Here you can see the simple construction.
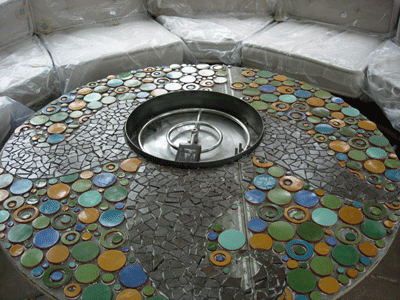
A local artist made the glass inlay top. Very cool!
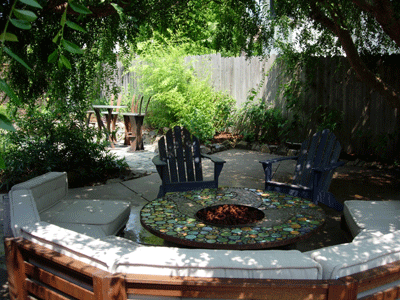
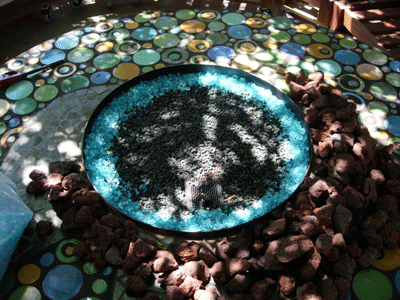
We supplied the FPPK and the Clear glass
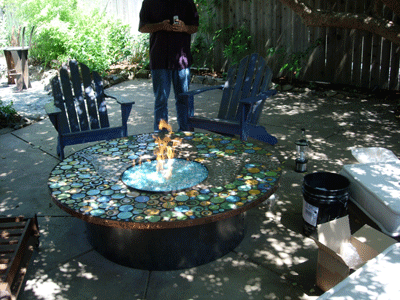
The RV fire pit below and table was built by Kevin Harren. He pops the fire pit out when he goes camping and drops it back in the table he built when at home. Pretty cool idea! The glass he used was Starfire base glass.
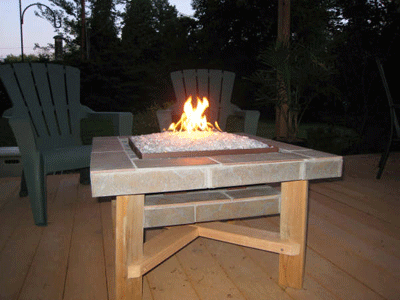
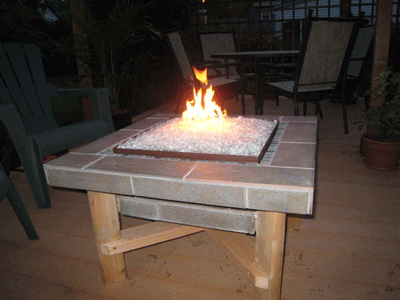
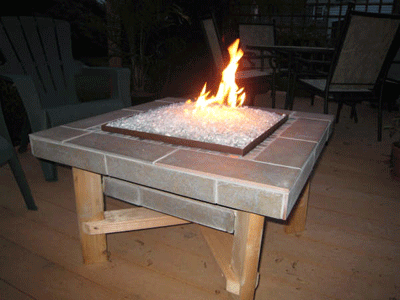
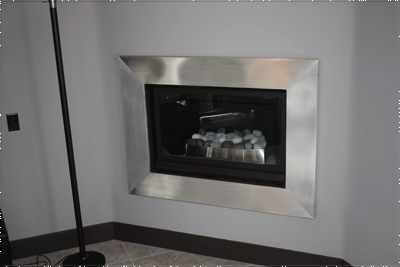
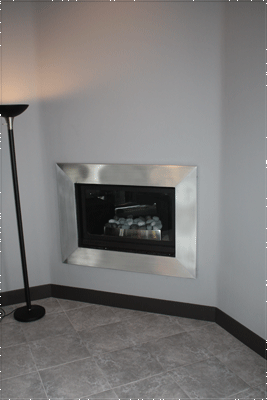
The fireplace below is a direct vent fireplace in Arroyo Grande (Pismo Beach, California). We mounted the back and then attached the face. This surround was with out a perimeter of interior glass. We usually border a 2" band of glass all around the inside edge. We use aluminum for this project.
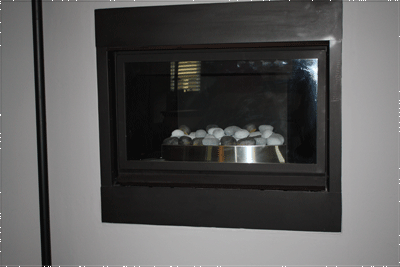
This is the standard black frame for the fireplace.
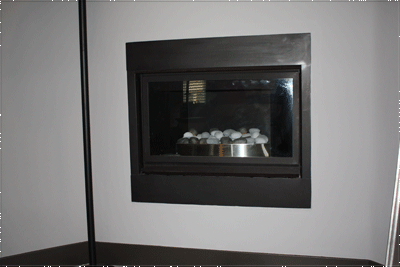
Below you can see the back of the surround attached to the fireplace.
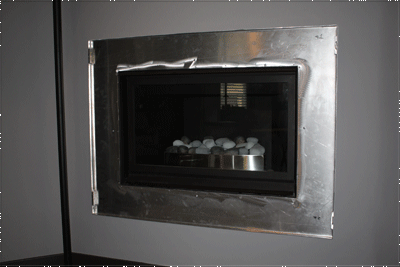
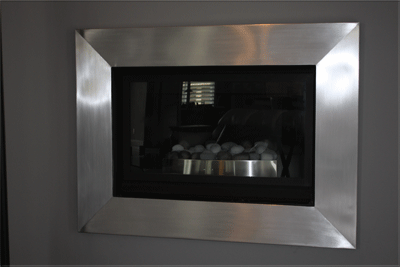
Then we just slip the front cover over and done!
The fire pit below is a custom fire pit in Covina California with one really great back yard design. This back yard was designed for great parties. If you look and see the glass wall with the etching you will also see the fire pit in the back ground. The glass that was used: Gray and Clear Pyrite base glass Gold Reflective Copper Blue Topper This is one really good looking table.
