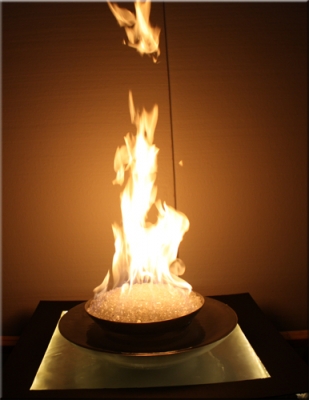
http://www.aquaticglassel.com https://www.aquaticglassel.com
Moderustic Aquatic Glassel Fireplace Glass Rocks Propane Fireplaces

Ed@Moderustic.com 909 989 6129

Outdoor Fireplaces/ Fire Pits..

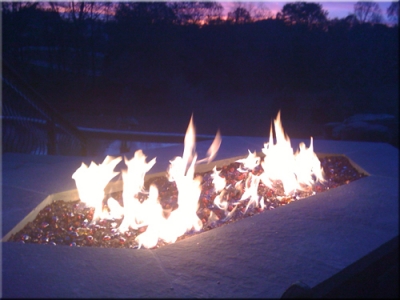
The next few pictures are from New York by Jai Crandall for Tom Morgan. We can help transform an eye soar to a place of enjoyment. Just watch!

November 10, 2009
Hello Ed, my name is Jai Crandall and I live in central NY.  I have a good friend (Tom Morgan) that has a patio that he generally uses wood to throw some heat for his quests when he entertains.  Unfortunately, as I'm sure you know, the smoke can really get to you after a while. This is a very high end home and he entertains for some very important people.  He would like to eliminate the wood a replace them with some propane inserts. It doesn't have to look like a fireplace, but most importantly, it needs to throw some intense heat.
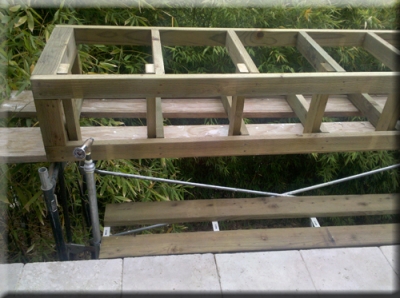
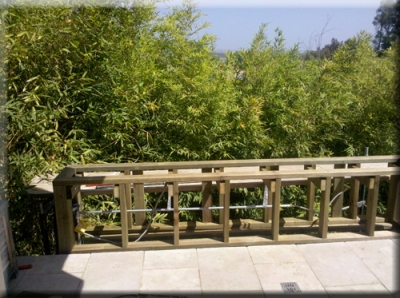
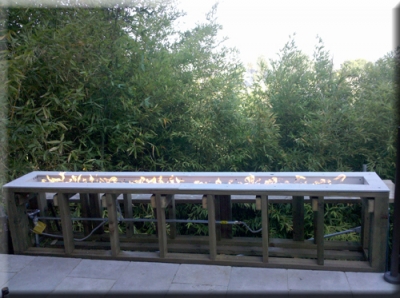
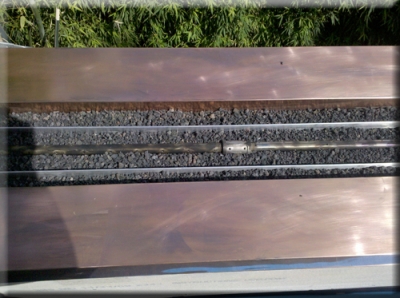
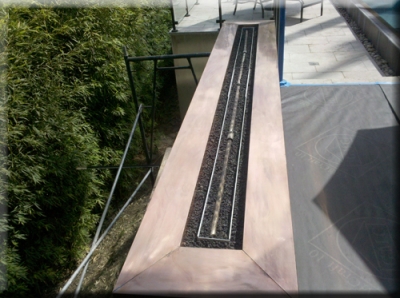
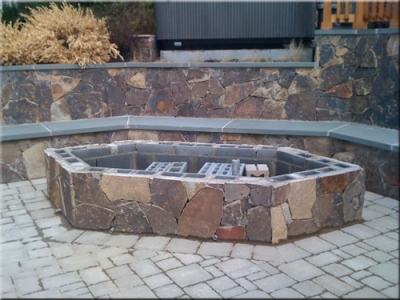
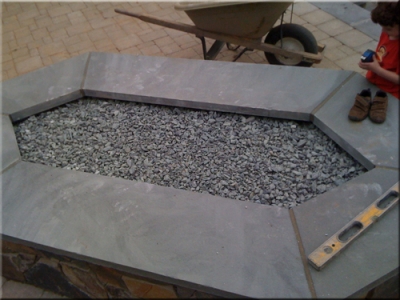
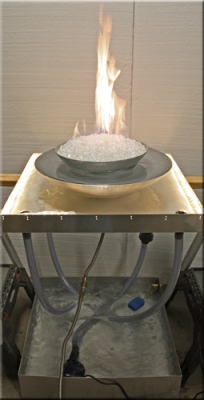
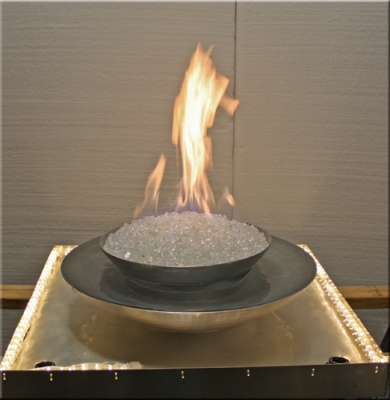
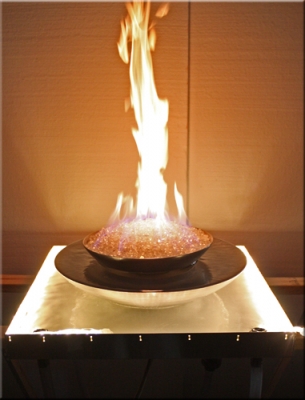
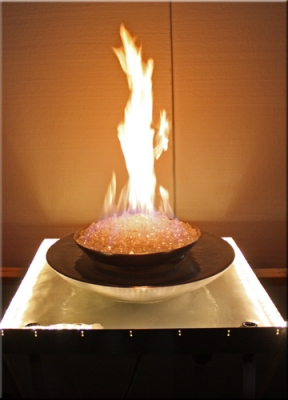
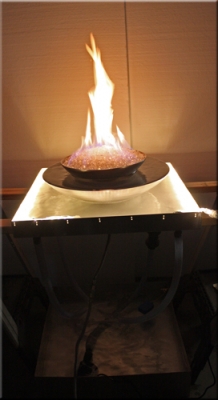
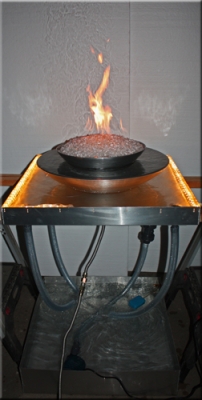
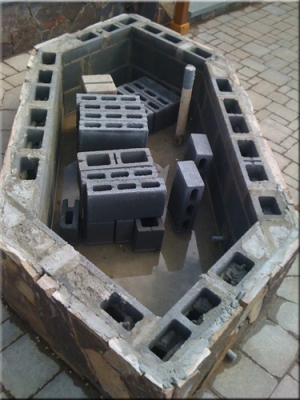
    Pictures 1,2 and 3 are the front views of the fire pits and as you will notice they are not square ( each picture is labeled with the dimensions), they don't need to stay like they are, so if you want to make them square you can. Just go by the front measurement. Hopefully you can design something that will fit there needs.
    I am sure that they are going to want electric ignition, and you can try to place the control valves in the front. Also, with the good New York weather, you want want to have covers for each unit.       
    Thank You so much for your time and I look forward to working with you to complete this project.
 
Jai Crandall
July 3, 2010
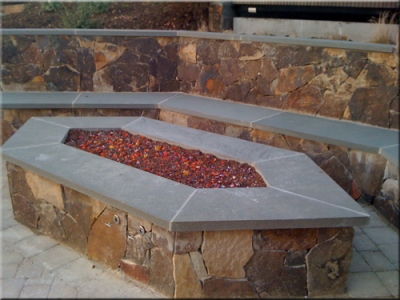
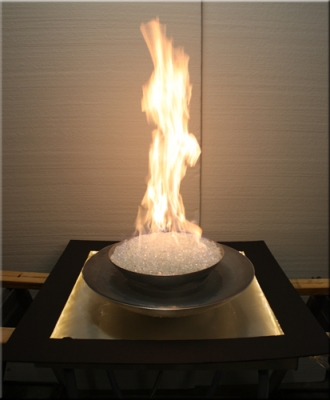
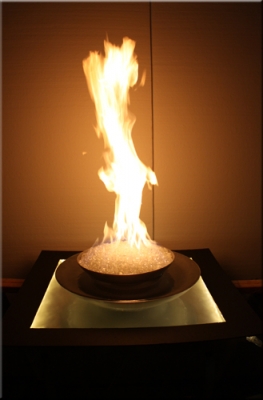
 Now here are the finished pictures on the property. Very nice!
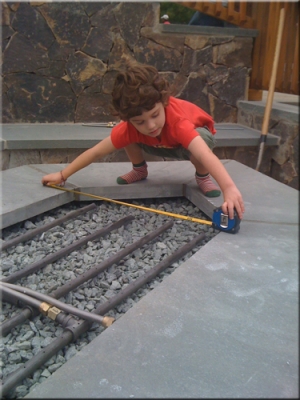
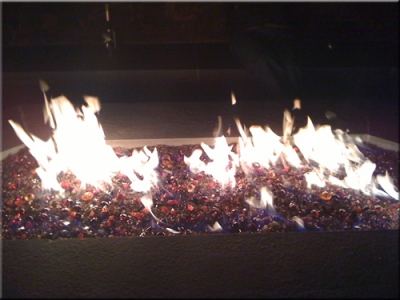
Hey Ed,  Here are some pictures of the burners that I installed. They look great and they are very happy with their performance. Also, I believe that I may have a few more people interested in something similar to what I did for Tom Morgan.  Have a great forth weekend and I will talk to you soon.
 
Jai

Jai  Crandall Tom Morgan 1

Jai Crandall Tom Morgan 2

Jai Crandall Tom Morgan 3

Jai Crandall Tom Morgan 4

Jai Crandall Tom Morgan 5

Jai Crandall Tom Morgan 6

Jai Crandall Tom Morgan 7

That's what I said when I first saw the project, YUK!!!! I tried to figure out what to do????

Jai  Crandall Tom Morgan 8

Jai Crandall Tom Morgan 9

Jai Crandall Tom Morgan 10

Jai Crandall Tom Morgan 11

Jai Crandall Tom Morgan 12

Jai Crandall Tom Morgan 13

Jai Crandall Tom Morgan 14

Jai Crandall Tom Morgan 15

Jai Crandall Tom Morgan 16

Jai came up with the Stainless Steel hollow base design and we went to work.

Jai  Crandall Tom Morgan 17

Jai Crandall Tom Morgan 18

Jai Crandall Tom Morgan 19

Jai Crandall Tom Morgan 20

This is a happy ending!

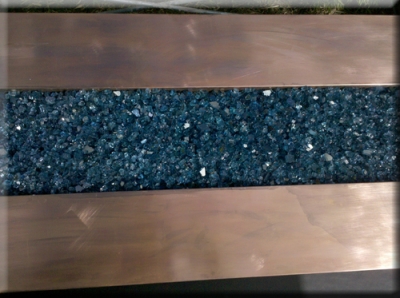
Our propane burners were set to 100,000 btu's each for maximum heat. The glass that we used was Bronze Rust Copper.


____________________________________________________________________________________


Click HERE or on the pictures of the Ritz Carlton Vortex' at Amelia Island Florida to how these were built. See the Videos!

Ritz Carlton Amelia Island Florida Vortex


Ritz Carlton Vortex Florida from Edgar Jaunzemis on Vimeo.

Ritz Carlton Vortex Page

_____________________________________________________________________________________

__________________________________________________________________________

CLICK HERE or on the pictures below to see how Knott's Berry Farm fire pit finished!
Knott's Berry Farm

Knott's Berry Farm

Knott's Berry Farm

__________________________________________________________________________


The next fire pit is from Sandee Visintin and the glass that was used was:

In a stainless steel octagonal fire pit at the beach.
If you take note a 1/2" piece of glass was placed on top of the fire pit for day time use.
Below is where it all started.
Sandee Visintin 1
Sandee Visintin 2
Sandee Visintin 3
Sandee Visintin 4
Sandee Visintin 6
Sandee Visintin 7
If you look closely you can see the reflection of the glass top cover. Not a bad idea!
Sandee Visintin 8
Here is what Sandee and Frank had to say:
Hi Ed,

We love our fire pit, and so does everyone else who sees it.  Your rock is gorgeous…

We keep a glass octagonal table top on it when not in use; the rock is always visible, even when used as simply a coffee table.

Thanks for your beautiful product and great service!!

Sandee and Frank Visintin
Sandee Visintin 5


_________________________________________________________

Click HERE or on the picture below to see how this was made

Green Pastures Fire Feature
_________________________________________________________

The fire pit below was built and designed by Brett Parks in Indiana.  Brett came to us to help hm create his water fire feature for his back yard and be able to winterize it during their frigid winters. The glass he used was a:
We then built a custom shape stainless steel burner to fit his idea. We will explain as we go.
Here is his original concept drawing:
Parks 11
Below is his layout with pavers, electrical and gas line coming up.
Parks 1
6" deep water tank.
Parks 2
Parks 3
Stack a few more pavers.
 Parks 4
Let's test it!
Parks 5
Parks 6
A custom size and configuration ring was fabricated.
Parks 7
Now you are done!
Parks 8
Parks 9
Parks 10
The fire pit below has Azurlite FireGlass/ Fire Glass installed. This fire pit was to have an electronic ignition but the pool builder forgot to wire it, oops! We then installed a battery operated IPI system and we will explain as we move on. The first issue was we were told the pit was 8" deep, it was only 6" deep! That will explain why the glass is mounded so high. they put a board on top of the fire pit and measured it to the top not the bottom.
Ram Palm Desert fire pit  2
We had to mount the gas on top of the ring because of the measuring mistake.
Ram Palm Desert fire pit  4
On the bottom front left of the pictures you can see the blue battery compartment.
This will be just slightly covered with glass but easy to find come the time to replace the batteries.
Ram Palm Desert fire pit  5
First layer of glass going on.
Ram Palm Desert fire pit  6
Ram Palm Desert fire pit  7
Ram Palm Desert fire pit  8
Below you can see that the ignition is just above the surface and the battery box is now gone!
Ram Palm Desert fire pit  9
We had to add more glass, again because of the 6"/ 8" bad measuring.
Ram Palm Desert fire pit  10
Ram Palm Desert fire pit  11
Below here it is finished.
Ram Palm Desert fire pit  13
Yes it is on the golf course in Palm Desert
Ram Palm Desert fire pit  14
Ram Palm Desert fire pit  15
Ram Palm Desert fire pit  18
Below we did a Paparazzi photo shoot! This home took 2 years to build! The gates below had Sea Glass laminated to the glass panels.
Ram Palm Desert fire pit  21
If you take notice to the outside walls, the entire house was covered in marble! Crown moldings included!
Ram Palm Desert fire pit  22
Ram Palm Desert fire pit  23
Ram Palm Desert fire pit  24
Ram Palm Desert fire pit  25
Ram Palm Desert fire pit  26
We only do this once in a while, but the home was outstanding. You should of seen the interior!
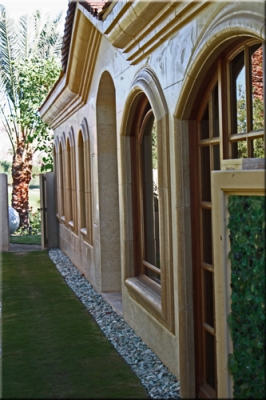
Ram Palm Desert fire pit  27

VortexED '55' NEW! Alcohol Fires!

Alcohol Vortex 15


The fire pit below was designed by Tim Warden of Orange County, California. We helped finish the design/ build of this fire pit.

We will explain as we go forward:

Start with a cantilever design off of the deck overhanging the hill side.
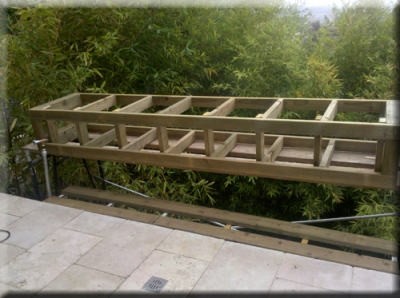
Orange County Fire Pit 1

Close up of the control valves

Orange County Fire Pit 2

Two valves to control two burners. Don't expect to push gas into a massive burner then hope it goes where you want it to??? This helps equalize the pressure to each burner.
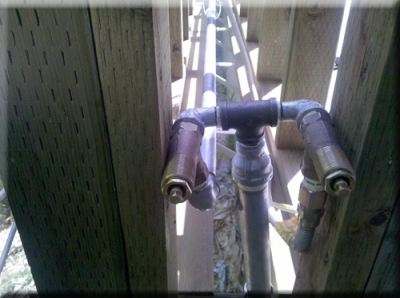
Orange County Fire Pit 3

Below the plumbing is now finished.

Orange County Fire Pit 4

Test burn

Orange County Fire Pit 5

We used two 50" "T" burners in #304 Stainless Steel.
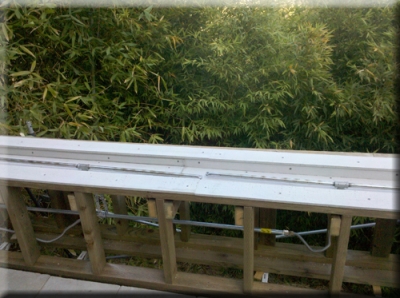
Orange County Fire Pit 6

Copper cladding was added to the top portion and wrapped in water proofing material.
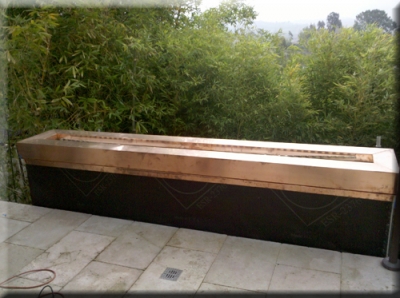
Orange County Fire Pit 7

Durock (cement board) was added the the lower portion for an application of smooth stucco.
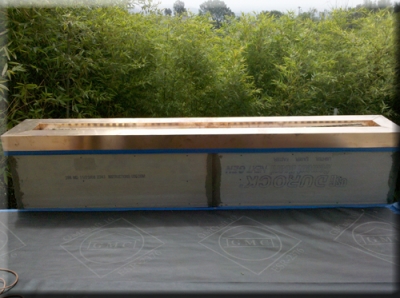
Orange County Fire Pit 8


Orange County Fire Pit 9

Orange County Fire Pit 10

Ford Blue Base Glass was added with Ford Blue Reflective Base Glass
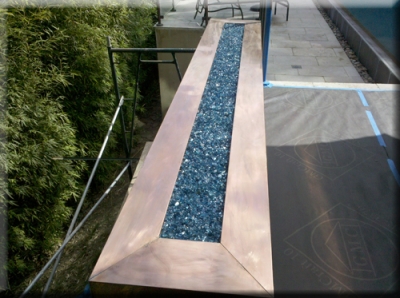
Orange County Fire Pit 11

Orange County Fire Pit 12

Starting to look nice! Real Nice! No that's not Marijuana in the back ground!
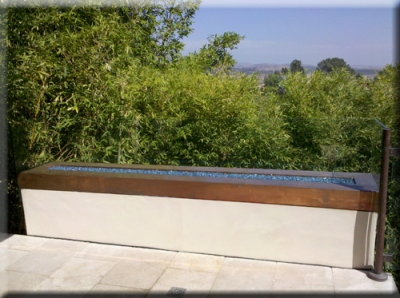
Orange County Fire Pit 13

The 1/2" glass panels get installed with stand off clips on the back side so you don't see the installation.
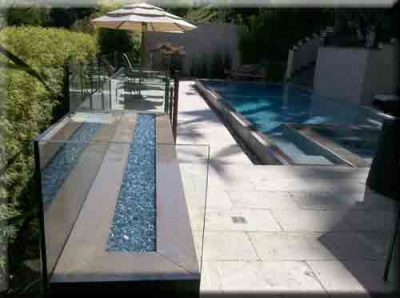
Orange County Fire Pit 14

Looking from across the pool, very cool!
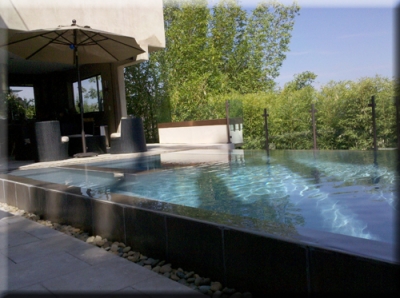
Orange County Fire Pit 15


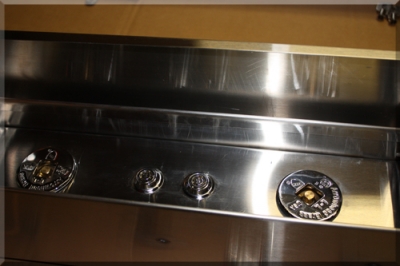
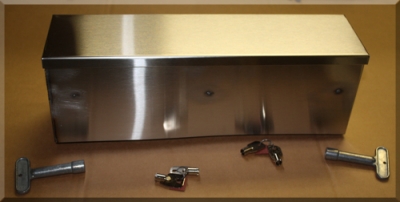
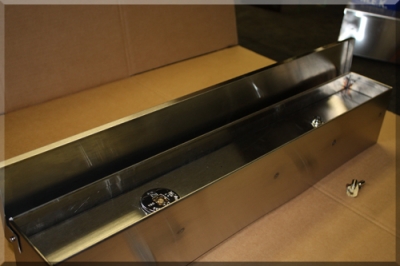
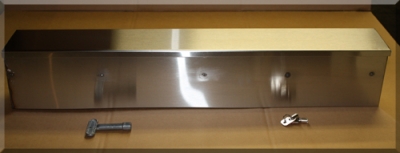
The next several pictures show you a flip top box design for a fire pit control panel. It is constructed from stainless steel or could be made from aluminum. The trimming valves are for adjusting the flame are inside along with an electronic key to activate the electronic ignition. These were made for an apartment complex and only the management had control of the electronic ignition. Here are the pictures.
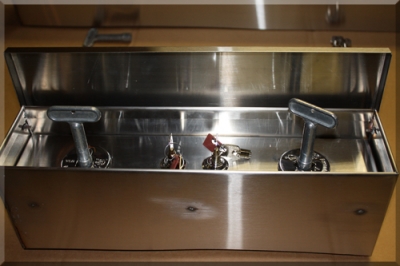
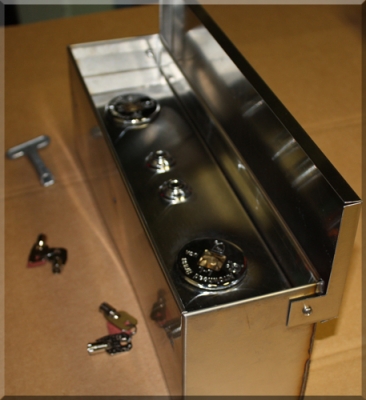
Fireplace Fire Pit Keyed Switch 7

Fireplace Fire Pit Keyed Switch 6

Fireplace Fire Pit Keyed Switch 5

Fireplace Fire Pit Keyed Switch 4

These two separate boxes were made to fit each specific fire pit.
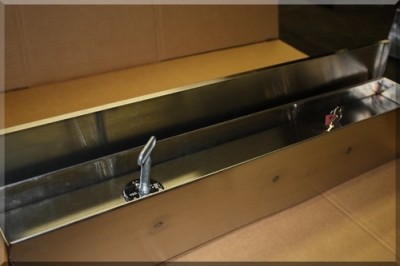
Fireplace Fire Pit Keyed Switch 3

Fireplace Fire Pit Keyed Switch 2

Fireplace Fire Pit Keyed Switch 1


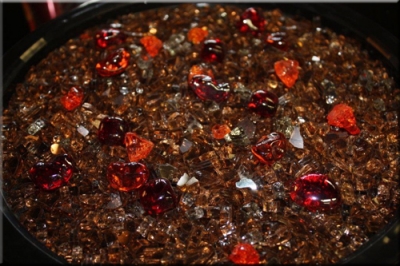
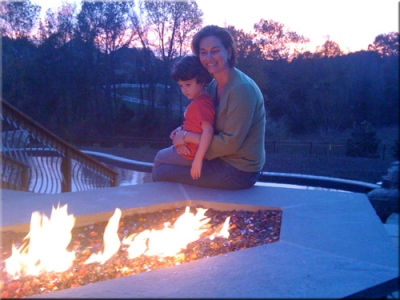
The fire pit below was designed and built by Tamara Lyons and her wonderful family! Junior help most. The glass that was used is:


Bronze Rust Copper Base Glass,

E.D. Diamonds, Red and Orange,

Amber Diamonds,

Orange R140 Topper, this particular color is one of our chameleons. It turns a bright cherry red when heated and cools back to orange when cooled!

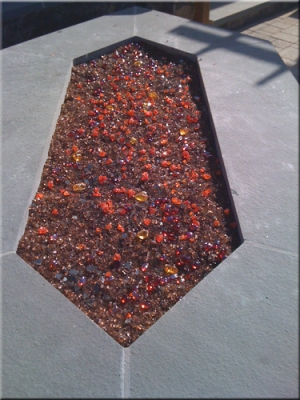
The fire pit had three sets of burners. One in the center and one on each outer edge. This way you can control how large, how much and where you can have fire when you want it.
Tamara Lyons 4

This is how it started

Tamara Lyons 5

Pea gravel base


Tamara Lyons 1

Measure once, cut twice.

Tamara Lyons 2

Ohhh, what color?? There are sooo many. What to do????
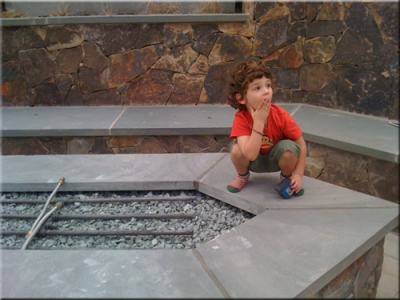
Tamara Lyons 3

So we sent a make up of what colors they liked. We can do this for you as well. Just tell us what colors you want and we will mix a batch and send you the pictures!
Tamara Lyons 9

Tamara Lyons 6

Tamara Lyons 7

Tamara Lyons 8

Tamara Lyons 10

You should of seen the rest of the back yard! Who needs a house! I would live in the back.
Tamara Lyons 11


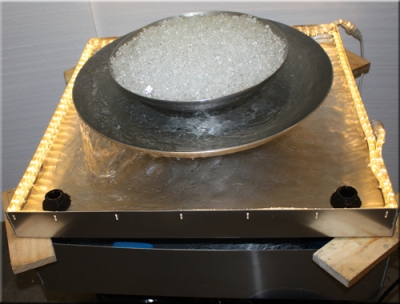
This next set of pictures of a fire and water feature is now in Nebraska with Brian Johnson.

We will explain as we go:

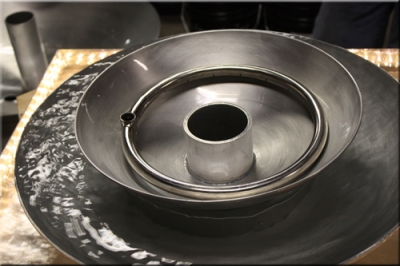
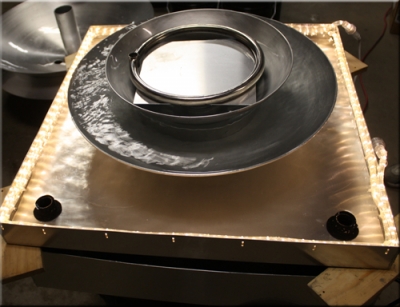
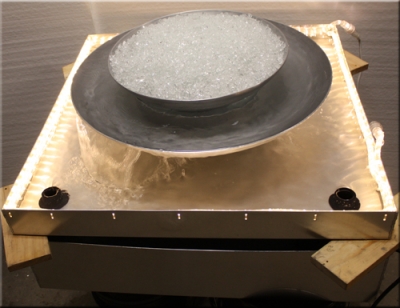
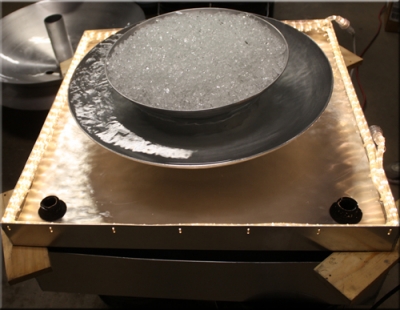
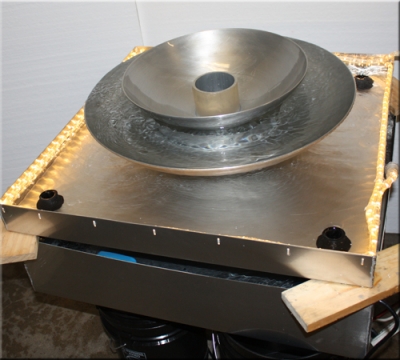
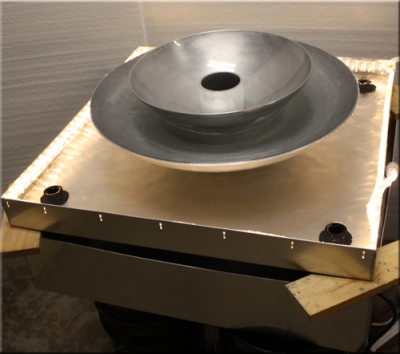
The water spins in the lower bowl spilling over giving you white noise.
Brian Johnson 1

The lights on the inner edger can be LED or Incandescent, which ever you prefer.
Brian Johnson 2

Brian Johnson 3

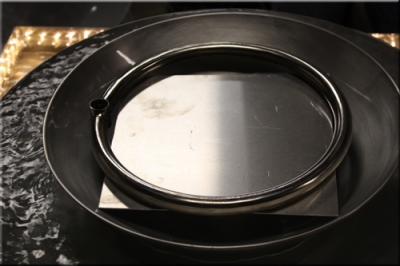
A 12" center-less stainless steel ring is used
Brian Johnson 4

Brian Johnson 8

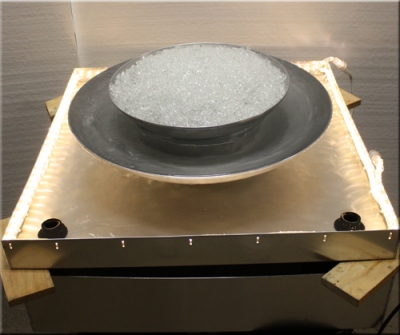
The glass we used for testing is Starfire Base Glass
Brian Johnson 5

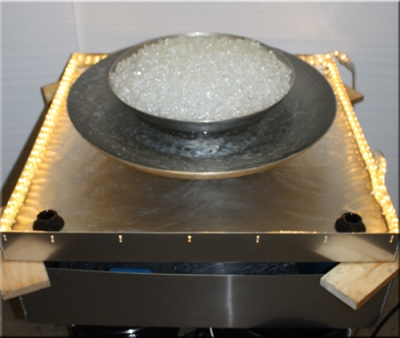
The bottom holding tank can be as close or as far as you like. The hoses which return the water to the lower tank can also be above the water line creating a trickling water noise. This can be adjusted to your desire.
Brian Johnson 6

Brian Johnson 7


Brian Johnson 9

Brian Johnson 10

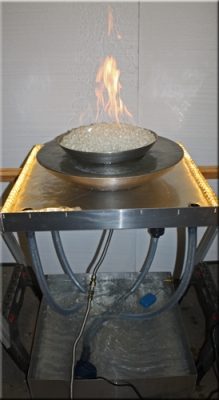
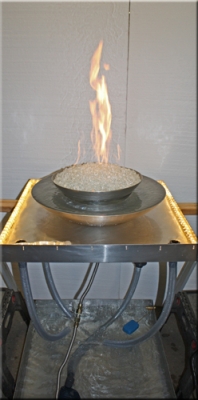
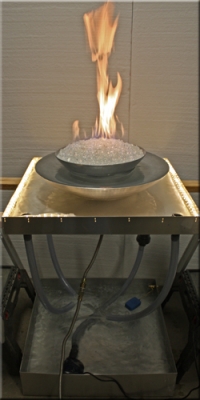
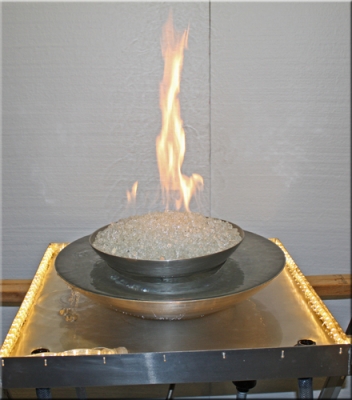
Now with fire!

Brian Johnson 11

You can see the holding tank 24" below and the water is dripping into the tank.
Brian Johnson 12

Brian Johnson 13

Brian Johnson 14

Brian Johnson 15

Brian Johnson 16

Brian Johnson 17

Brian Johnson 18

Brian Johnson 19

Brian Johnson 20

Brian Johnson 21

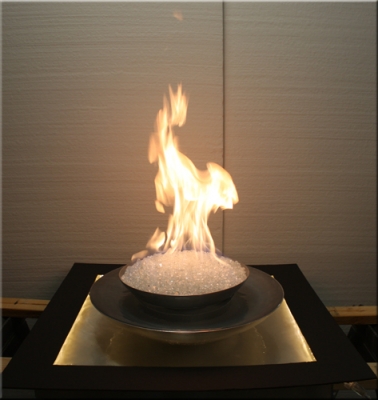
We cut a pattern of a top to conceal the edge light. That is the border you are seeing.
Brian Johnson 22

Brian Johnson 23

Brian Johnson 24


The next fire pit was created by Mike. He used a metal flower pot/ planting tub and just connected it to his gas line. He installed

Clear Base Glass and Gold Base Glass on top.


Mike 1
You can see the logs just outside of the pan on the left, yuk! I personally would of installed a ring burner, but that is just me!
Mike 2
But you have to admit, it is a good idea!
Mike 3

Mike 4

This next fire pit was designed and built by Phil. He installed :
A few pounds of 1/2" Azurlite Base Glass
and Topped it with Ice Ice Ice Topper.
Phil 1
Phil 4
Phil 5
Phil 6

Texas Long Horn Fire Pit LOGO!

Ed, Rebecca, Morgan and crew at Moderustic:
 
Finally completed my project for the Texas Longhorn Alum in my RV Park.  Actual time was only approx 80 hours but did not work on it full time.
 
Had my local welding fabricator build the base out of ¼” square tube for the circles and 1” square tube for the legs and attached some decorative feet on it.  Also attached some L brackets at the top to install the granite top with.
Fabricator also built a 28” diameter by 4” deep pan out of 16ga steel.  Later we decided to add a ¾” lip around the top edge.
We drilled holes in it to install some retractable handles for easier installation / maintenance.  Drilled holes for the pilot assemble to pass through the pan and for the burner assembly to attach.
We had another 28.5” diameter 16ga steel circle cut out to create a lid for the pan to prevent rain/debris from disturbing the Glassel bed.
Used the longhorn cookie cutter cut out to make a 16ga steel flat longhorn cutout to affix atop of the lid
 
Had the pan and lid sandblasted and powder coated black to match the base.  Had the longhorn powder coated candy copper along with a handle to match.
 
Cutout a ¾” plywood base to use to attach the granite to.   Installed Tee Nuts into the plywood so that we could screw the plywood base onto the base of the table later.
Purchased and installed some 110v LED low profile puck lights and affixed to the underside of the plywood to create indirect lighting of the table, routed channels for the cabling to follow and used silicone to keep in place
 
Had my local granite company cut a ¾” thick 52” diameter circle with a 28” opening in the center to accommodate the pan.
Attached the granite to the plywood base using silicone.
 
Installed Cement Board onto the inside of the table base as a bed for the stone tiles.
Installed the Lowes Special Order Solistone 12” x 12” Stone Tiles around the table.
 
Created a bracket inside the table base to hang the AFVK-SP-MH/L  and extended the wiring on the battery box to allow for installation underneath the granite top outside the table base to be able to change batteries later.
 
All the parts are complete so time for the final install
 
1.        Place base in location, propane line already in place as well as 110v electric with X10 remote socket for LED lights.
2.        Install plywood / granite / LED lights onto table base and screw into Tee Nuts
3.        Install Pan on top of granite leaving access into the table to complete connections.
a.        Disconnect Pilot assembly from AF-4000 MOD and run gas line, ignitor and sensor through hole in pan inside the table
b.       Reconnect Pilot assembly back to AF-4000 MOD ( Be sure to use the correct connections or things will not work  J   )
c.        Attach the battery pack to the underside of the granite base in the routed channel to allow the wiring to move in / out for ease of use.
d.       Attach the pilot tube to the AFVK-SP-MH/L module.
e.       Install the burner inside the pan and attach the Gas Outlet connection to the burner.
f.        Attach the Gas Inlet connection to the gas supply line which has a cutoff on it.
g.       Test the remote lighting and check all fittings with soapy water for leaks.
4.        Once everything checked out, install the pan inside the opening.
5.       Install a layer of lava rock under the double burner to lift if from the bottom about 1”
6.       Install ¼” Starfire Glassel on top of lava and covering the burner while leaving the pilot assembly exposed to be able to function.
7.       Tested the remote again to verify operation
8.       Install the Longhorn cookie cutter and fill with Pimento Red Glassel.
9.       Install cover

Bruce Figura bfigura@swbell.net

and now for the construction and pictures...

Texas Long Horns

Texas Long Horns

Texas Long Horns

Texas Long Horns

Texas Long Horns

Texas Long Horns

Texas Long Horns

Texas Long Horns

Texas Long Horns

Texas Long Horns

Texas Long Horns

Texas Long Horns

Texas Long Horns

Texas Long Horns

Texas Long Horns

Texas Long Horns

Texas Long Horns

Texas Long Horns

Texas Long Horns

Texas Long Horns

______________________________________________________________________________________________

We will show you how it came to life, CLICK on the picture below or HERE.

Colleen Clark Fire Table


_________________________________________________________________________________

Click HERE or on the picture below to see all of the pictures of the Corten Steel Fire Pit!

Javier Corten Steel Fire Pit

_____________________________________________________________________

CLICK HERE or on the PICTURES below to see how this became what it is today!

Palm Springs Indoor Fire Pit

Palm Springs Indoor Fire Pit
_____________________________________________________________________

_______________________________________________________________________________

Click HERE to see how it was made, allong with Videos or on the pictures below:

Crandresh Fire and Water Feature

Crandresh Fire and Water Feature

Crandresh Fire and Water Feature
_____________________________________________________________________________

__________________________________________________________________________________

Ed@Moderustic.com 909 989 6129

9467 9th street Unit D

Rancho Cucamonga, California 91730
See about our UNICORN PATENTS

New Product click below!

New FireBalls Version 2024
Moderustic Aquatic Glassel Fireplace Glass Rocks Propane Fireplaces