The fireplace below had a few issues, but easily repaired. Be sure to not let this happen to you! If anyone tries this type of installation, stop them and throw them out! This fireplace installation was in Palm Springs California. It was done with the 2" method which is fine except for the burner the fireplace shop installed. We will explain as we move forward and show you the finished fireplace.
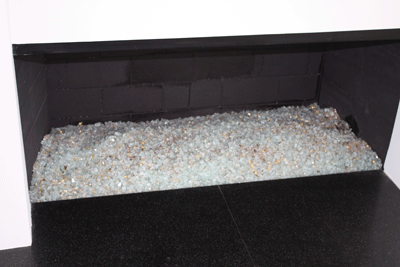
Below is what we saw when we arrived.
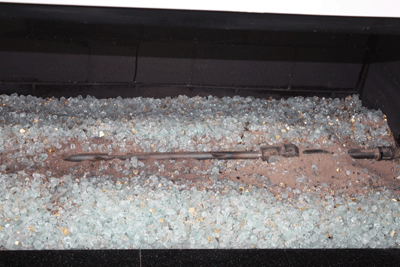
Then we tested the burner we were to replace, oh my!
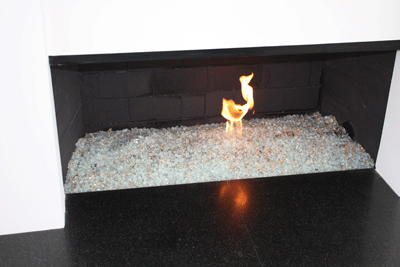
We uncovered to see what was installed and found a single pipe burner. Great Flame! Another issue was the paint job was hideous which was later repainted. Don't let these ignorant installer tell you their stories. They told the customer the paint would dry to match.
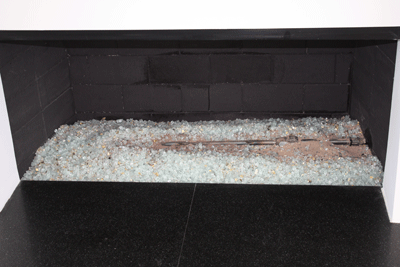
We do approve of a sand filler indoors under lighter colored glass, but the burner must be on top!
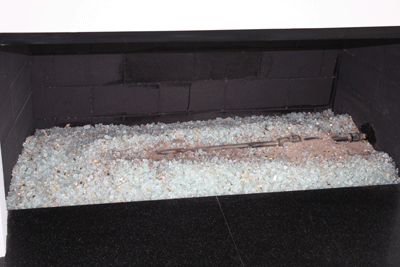
Now we installed a double burner and just watch!
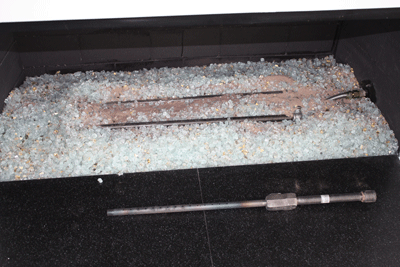
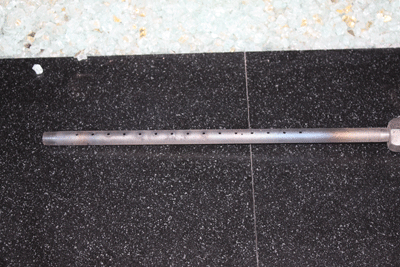
Below is what they pawned off on the customer, DON'T LET THIS HAPPEN TO YOU!
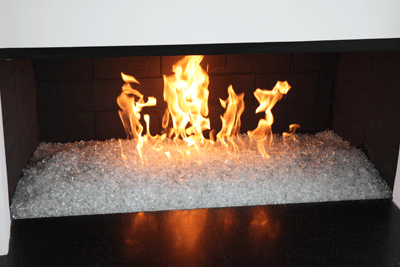
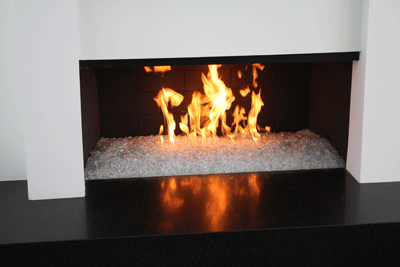
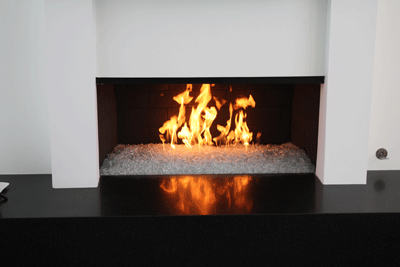
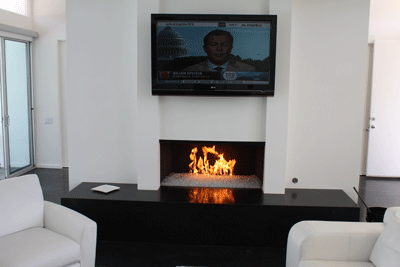
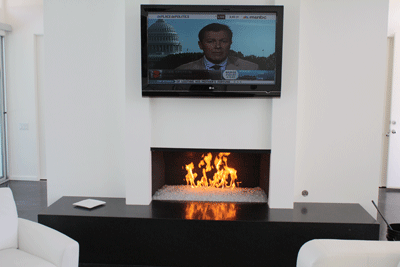
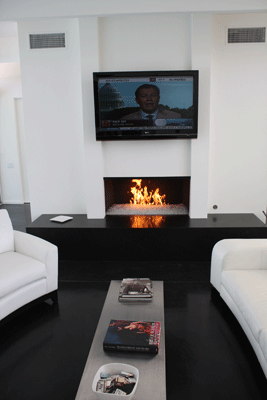
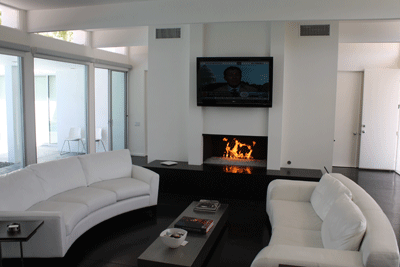
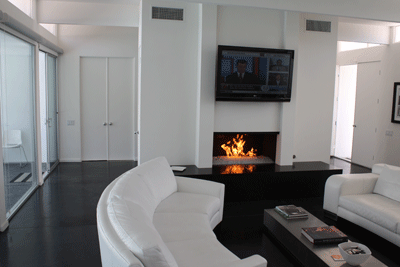
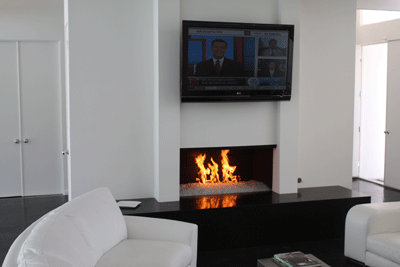
Much better. Then we took several pictures of the fireplace just because! We did top it off with about 15 lbs of Starfire to help hide the sand that was exposed and it worked out just fine.
The fire pit below is in Palm Springs California. We use Azurlite Fireplace Glass and a crushed lava filler underneath. There were a few issues which we resolved.
First issue: Don't use polished Mexican Pebbles as they will chase you across the yard.
Above, second issue, the ring could of been bigger as we installed a triple 30" stainless steel rind.
Below, third issue the plumber installed a 3/8" reducer, why? :-~ The gas comes is with 1/2", the ring is 1/2" so the plumber installed a 3/8" reducer in between the gas supply and the ring. Why in the heck would he do this? Anyway we just installed a 1/2" flex line and the pressure was back and fine.
Cover the wrong material with at least 1 1/2" to 2" of crushed lava.
And pour the Azurlite Fire Pit Glass
We never were sent pictures of the fire pit burning, but we did test it during our installation.
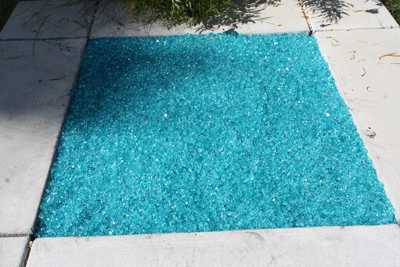
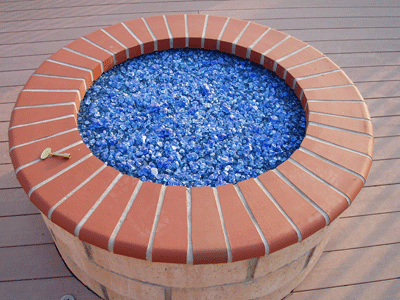
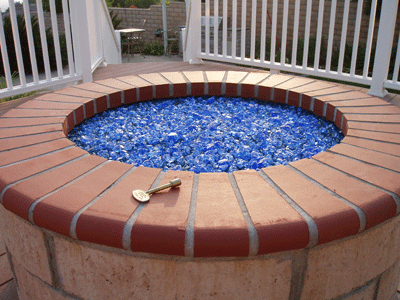
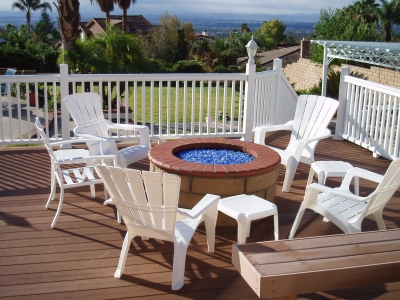
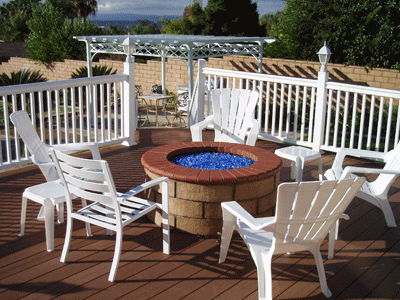
The fire pit below has V Blue, V Blue Reflective and topped with Cobalt blue Topper
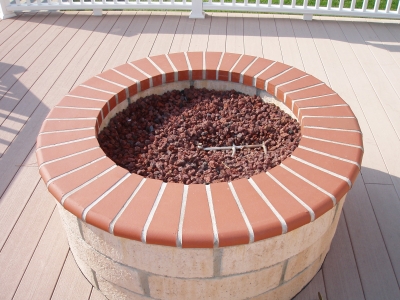
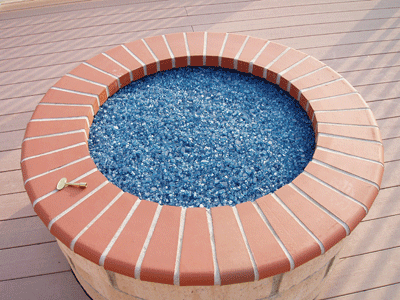
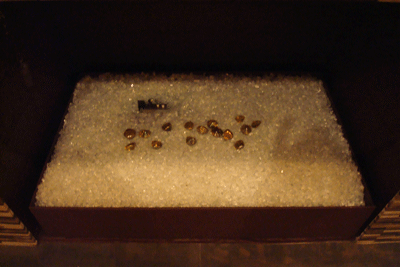
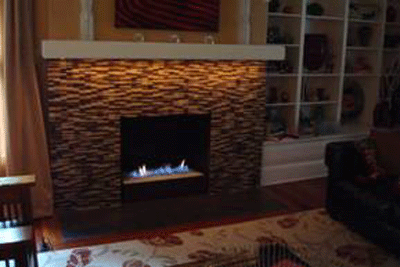
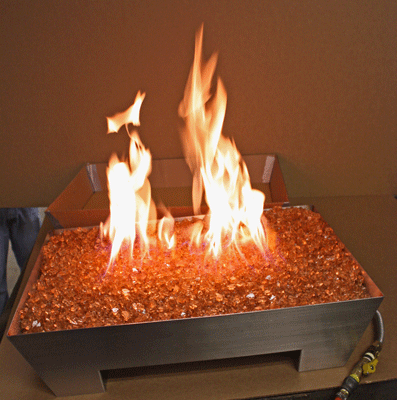
The fireplace below has a steel pan underneath to conceal the 12 volt remote control. We used a Clear base glass and topped it with a Starfire base glass and then added Amber Diamonds on the surface.
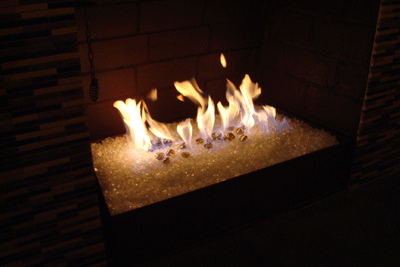
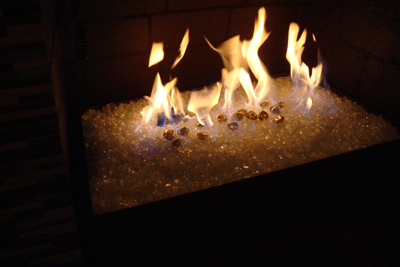
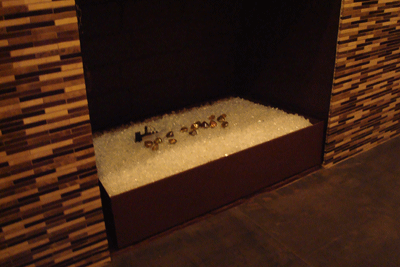
You can see the front plate that was painted to match which is removable if and when necessary to change the batteries. The legs were 4 1/2" and the pan was 2" tall. The removable front metal curtain was 6 1/2" tall.
The fire pit below was built to the customers specs. It was 48" round, 10" tall with 8" legs and constructed from 1/4" aluminum. Then powder coated to match the customers request. We will fill in the details as we go.
Above you can see the cross grid to support the false bottom.
Above you can see the false bottom making it possible to fill it with a 2" fill over the ring.
A custom 42" stainless steel burner had to be built.
The center leg was for the gas and electrical for the electronic ignition
Hopefully we will get pictures of the fire pit installed on top of the water fall in New York.
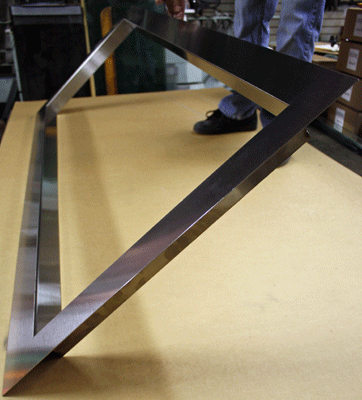
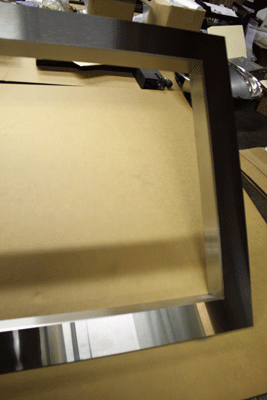
The surround below was a one piece construction face and a 4 piece construction on the rear. We use twin can laser on most if not all of our metal projects as this eliminates warp and keep the projects looking better. This was installed by Silver State Fireplaces in Las Vegas. We have given you several angles to show how nice the stainless steel still looks.
Below you can see the .030 (1/16") edge is still perfect and straight for that clean installation.
The next fireplaces were installed in Malibu California. The family room was on the entry level (second floor) and the roof top deck was located on the 4th floor. We did a little paparazzi photo shoot while we were there. The glass we installed was 1/2" Bronze base glass over a bed of crushed lava.
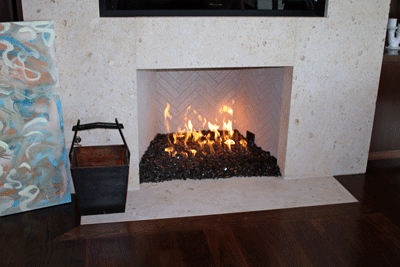
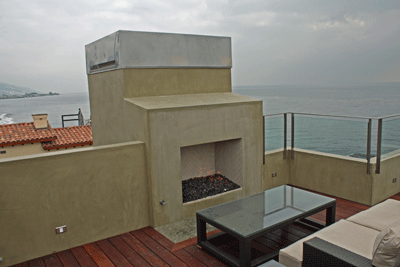
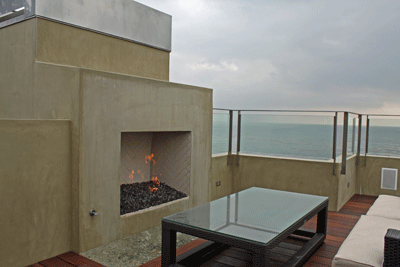
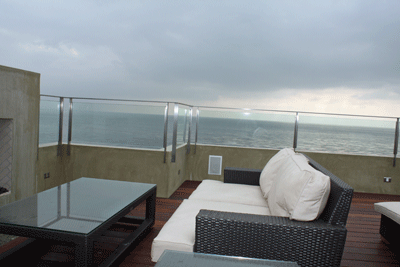
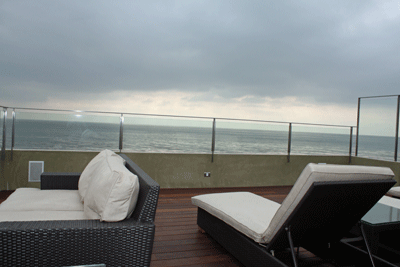
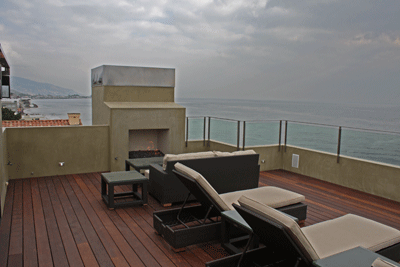
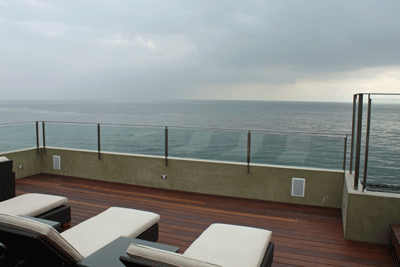
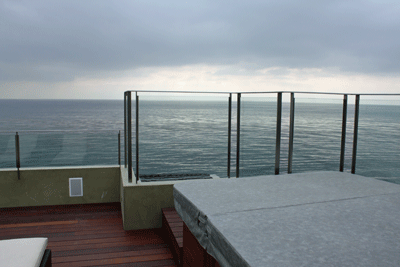
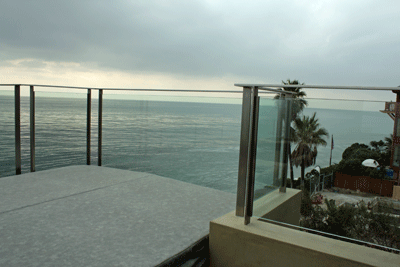
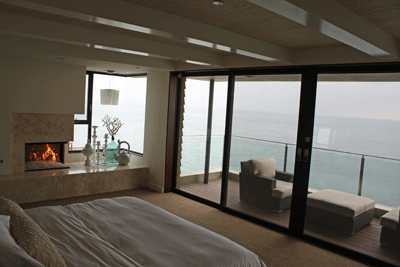
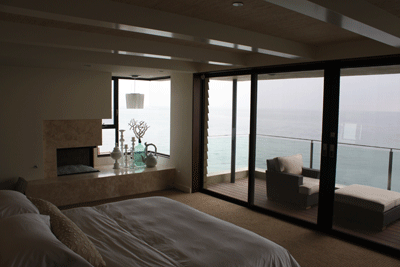
The next fireplace were installed in Malibu California. The master bedroom was on the third floor. We did a little paparazzi photo shoot while we were there. The glass we installed was 1/4" Starfire base glass.
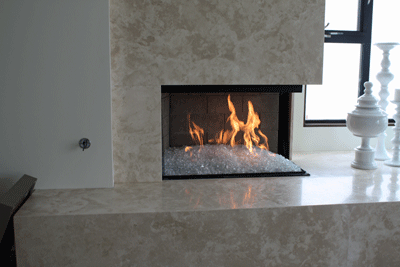
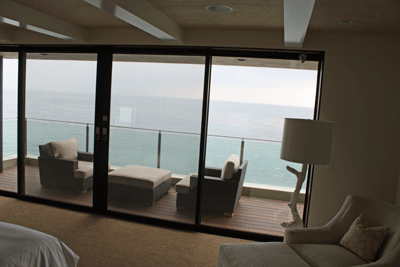
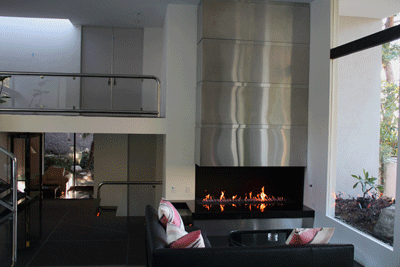
The fireplace below is located in Beverly Hills California. We used a Gray base glass with about 6 lbs of Clear Diamonds.
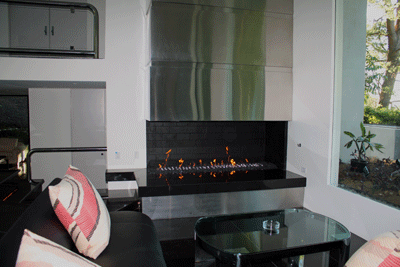
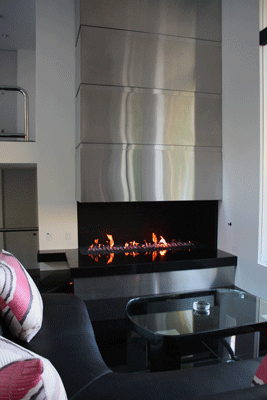
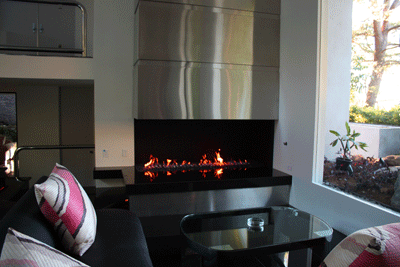
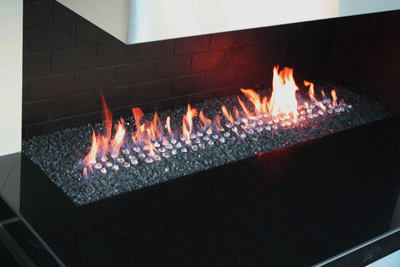
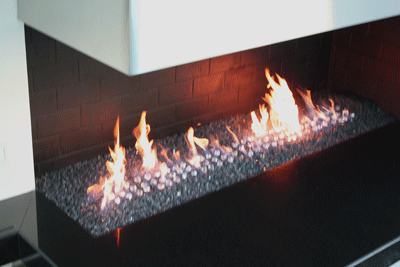
The fireplace below is in Beverly Hills California. We used a Starfire base glass with Clear Diamonds and Black Luster Topper.
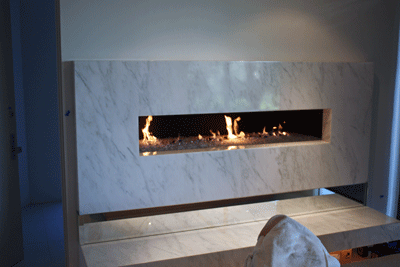
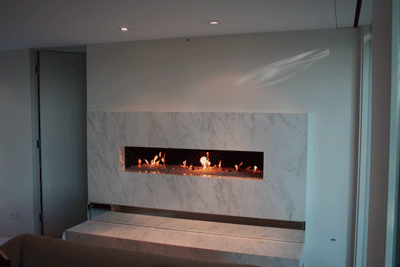
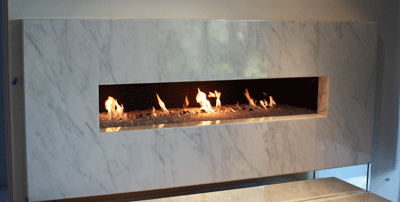
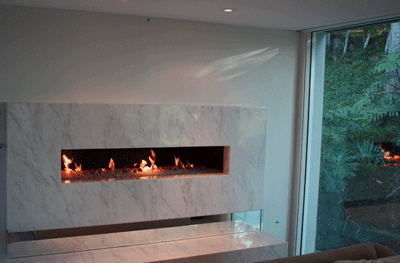
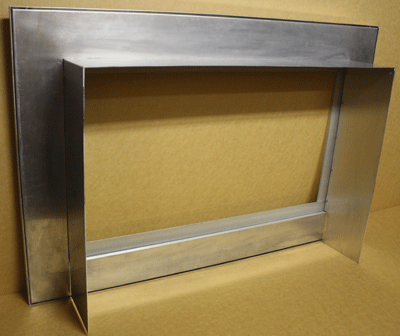
This surround below was installed in Shreveport Louisiana By Martha Heatherwick.. We first sold the Clear base glass to her contractor and then she contacted us for her surround. Step one is to make a template to replicate how it will look when its finished. How much of the opening do you want to still show? Do you want the frosted glass interior edge or no glass at all. How large or small do you want the frame? Each surround is made to fit your requirements.
We will start with the pictures:
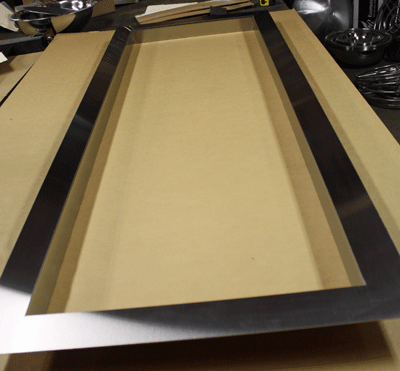
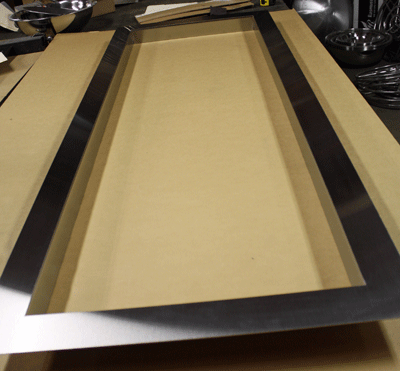
Here is the cardboard template.
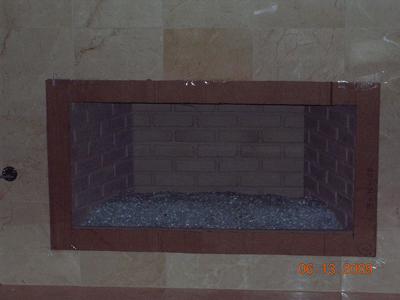
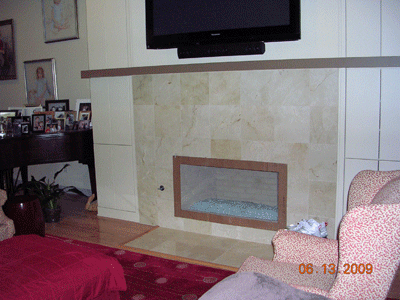
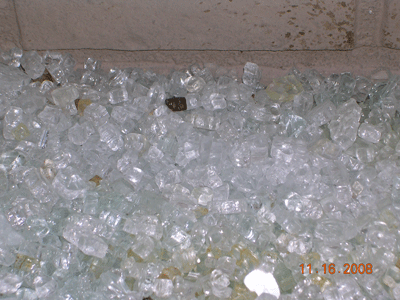
One issue came up, Martha noticed the glass had discolored in a few places. So when we got the pictures we enlarged the pictures only to find splash marks on the back wall. Which her children and grand children don't know how that may of happened! The little beggars were throwing some sort of flammable and or liquids in the fireplace to see what would happen.
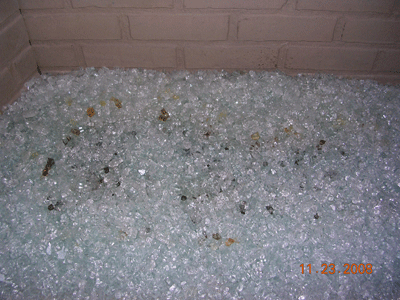
Below you can see the splash marks.
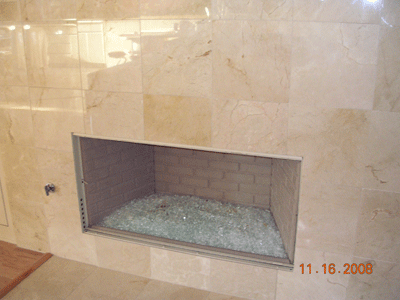
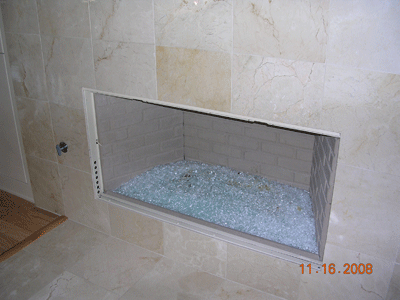
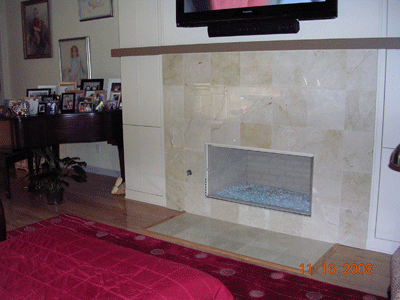
The fireplace looked very nice but as you can see the surround added the finishing touch.
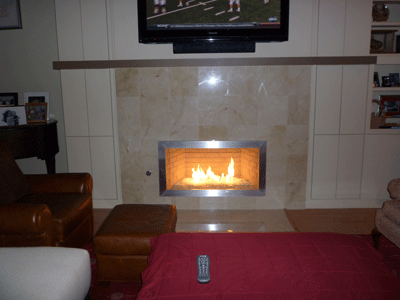
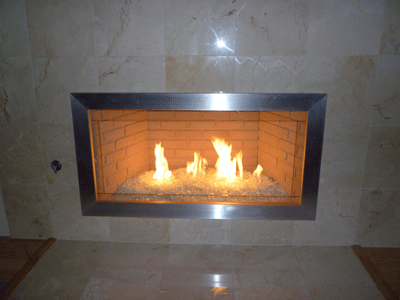
This surround has 3" of aluminum and 2" of non frosted glass on the interior border.
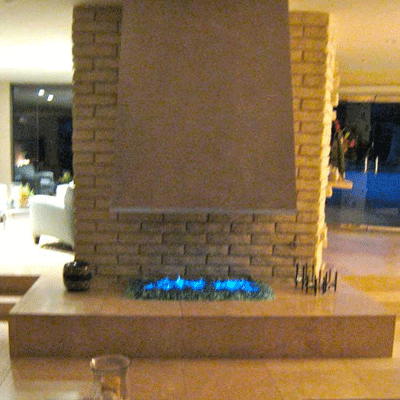
The fireplace below is in Palm Springs and was installed by John, our customer.
He used a sand base with 1/2" Azurlite base glass on top.
This next fireplace is a direct vent conversion and the glass that Charlene used was:
V Blue Reflective,
Black Reflective,
Gray Reflective,
Copper Blue Topper,
Blue Luster Diamonds,
Black Silicone Carbide under the Blues,
Cobalt Blue Diamonds,
Sky Blue Diamonds
and
Cobalt Blue Square Ice.
I think she wanted it to POP and it did!
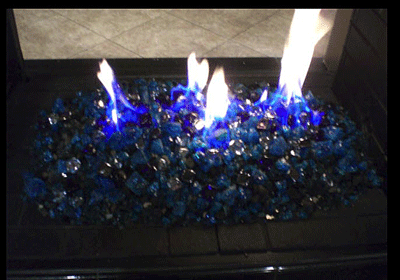
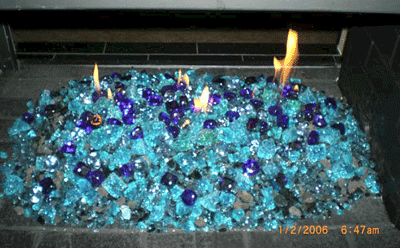
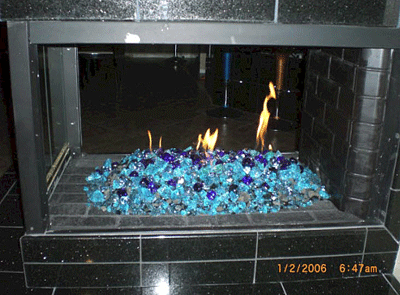
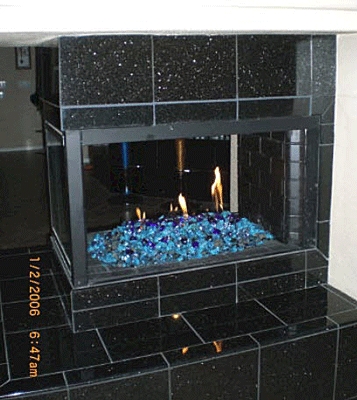
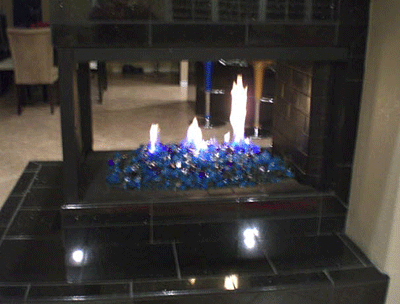
The fire pit below is a mix of V Blue base glass and Azurlite base glass.
The fireplace below had a steel pan built so we could conceal the 12 volt battery operated electronic ignition
beneath the pan. The glass that was installed was:
Clear base glass under the Starfire base glass Topped with Amber Diamonds.
Above and below you can see the solid cover as it hangs over the face to conceal the remote control ignition.
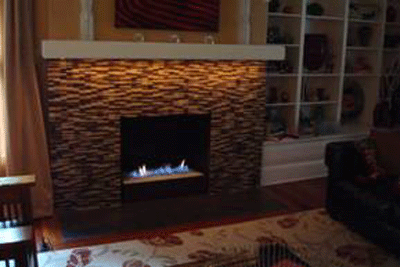
The project below is being featured on HGTV/ Yard Crashers/ DIY Network.
CLICK HERE FOR OUR PAGE ON DIY!
This is a gold mine and river project and as soon as they release the pictures of the project we will post those as well. But in the mean time here is our project we created for the DIY Network/ Idea Factory!
We started with Gold base glass on the two top gold pans.
The lower pan had a bed of Black Magic under the Gold base glass
We were pumping water into the top pan so it would run down through the three pans and then pour back into the gold river Yard Crashers created. Only fire came from the two top pans.
We used three 16" gold pans for this project.
Pictures of the finished project will be posted as soon as the Idea Factory forwards them to us.
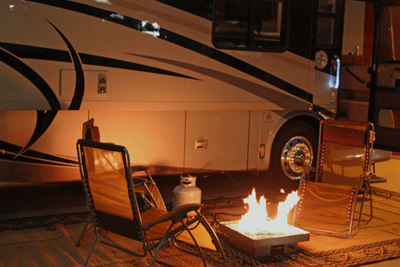
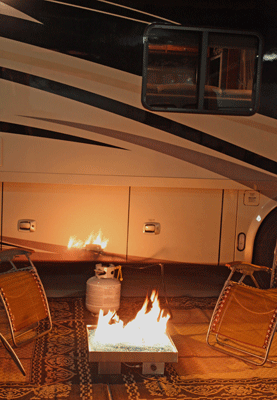
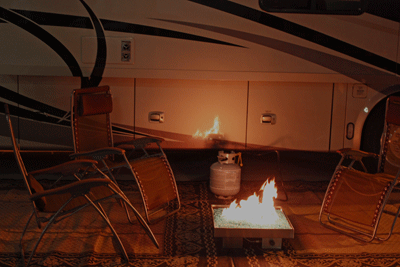
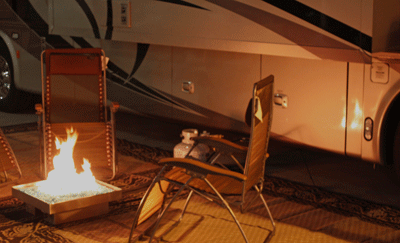
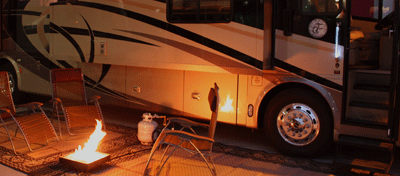
Here are several shots of some different variations of our RV Fire Pits. The come in standard sizes of 14", 16", 18" and 24".
In stainless steel or steel painted in a choice of 25 colors!
They are also being made available is a 20" round pan in stainless, steel painted or aluminum!
The square pans can have special lids/ covers made that are 3" to 6" tall which can be used as a base to set the fire pit on if you don't want it setting on the ground. We will post pictures of these in a few weeks or as soon as we can, time permitting. The pictures that were taken were with the company Motor Home (Tiffen Pheaton Bus)(one odf a kind). The RV Fire Pits were developed for us to take camping. Necessity is the mother of invention!
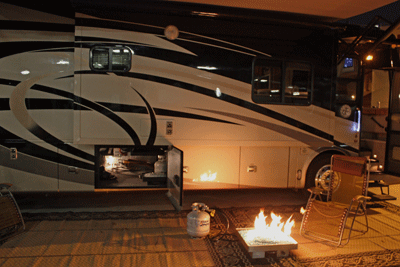
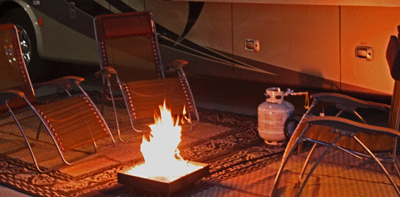
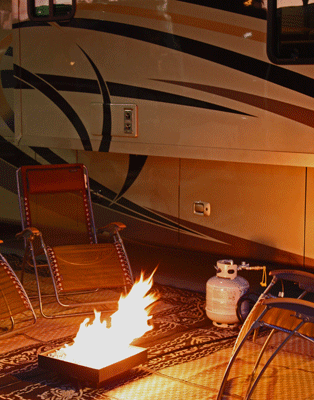
Above and below is our 24" stainless steel RV Fire Pit with Azurlite.
Above we are burning at 80,000 btu's
Below we are burning at 100,000 btu's
All of the RV Fire Pits we build we build with 100,000 btu capability but we recommend not to burn that high.
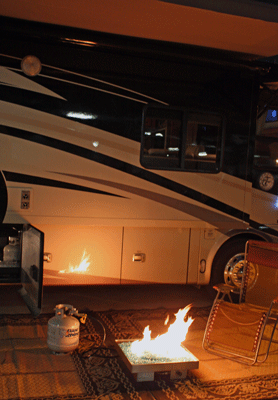
These are sitting on the typical plastic carpets used for motor homes and the bottoms don't get hot enough to melt the carpet.
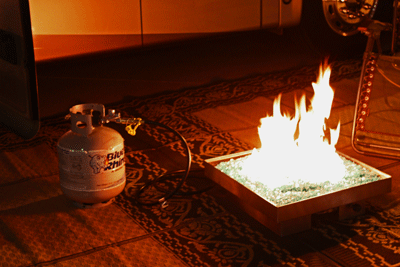
We recommend using a portable 20 lb tank but you can tap into your coaches supply if you would like. We always take at least 2 extra tanks along so we don't have to drain the coaches supply.
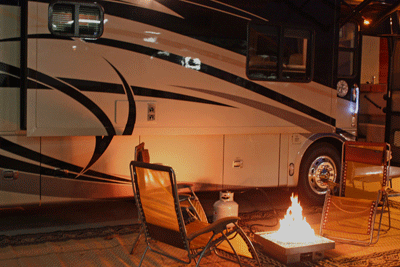
Quick disconnect hoses come in 10'. 12' and even 15' lengths. You can even attach them together.
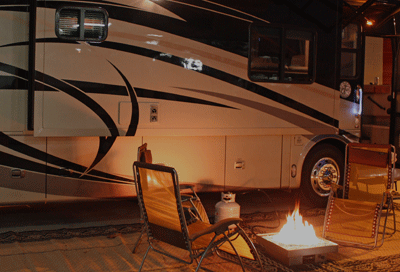
All through out the pictures you can see the propane tank close to the RV Fire Pit. We did this intentionally. You can use as long of a quick disconnect hose as you would like. We also stock this in all sizes.
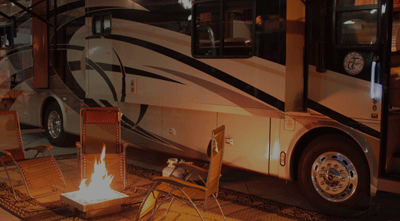
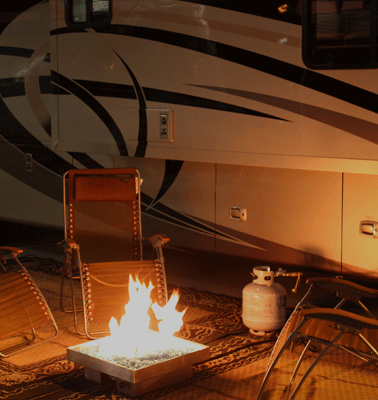
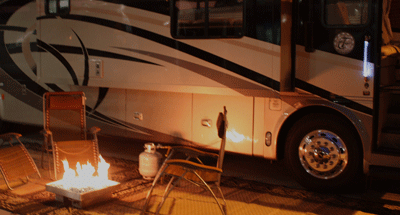
Below you can see it is easy storage.
Below you can see our 18" steel RV Fire Pit.
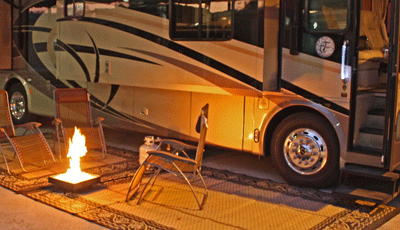
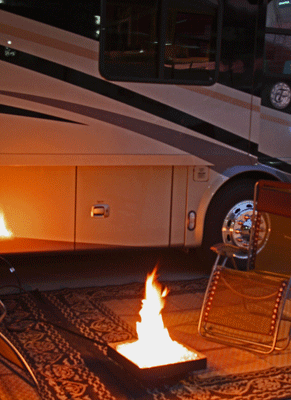
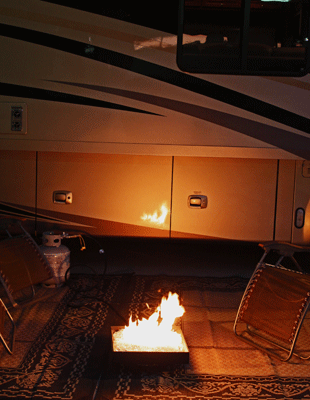
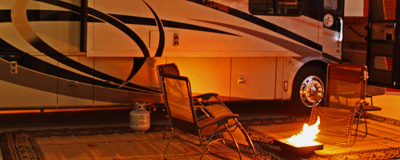
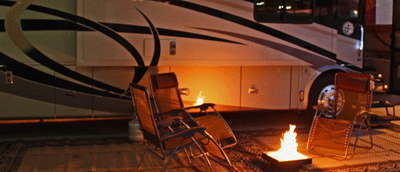
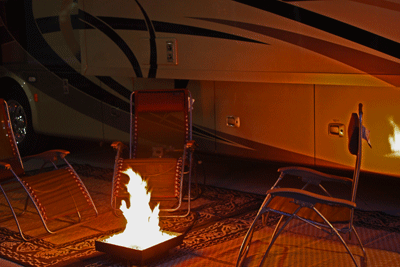
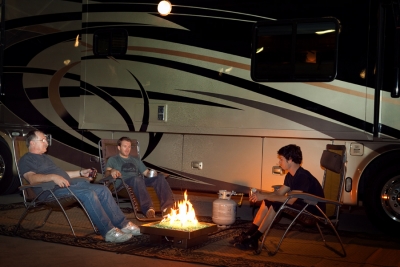
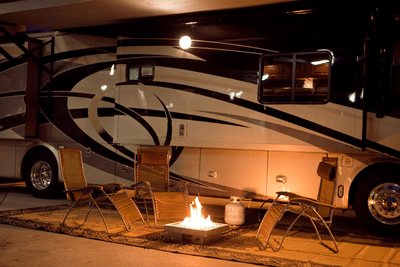
Above and below is our 24" stainless steel RV Fire Pit.
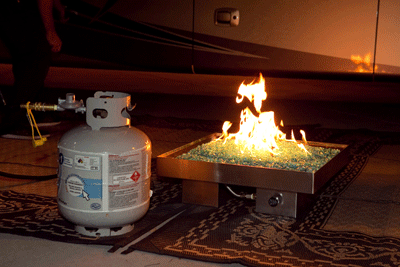
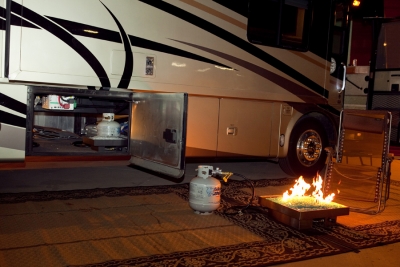
Below David is putting the 18" pit away. With glass the 18" pit weighs about 35 lbs.
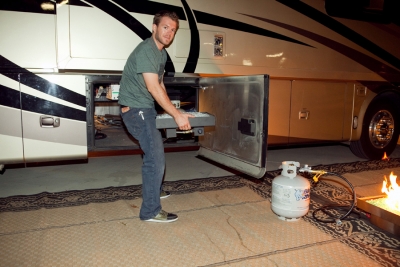
The advantages with these RV Fire Pits is that you don't have your coach or trailer filled with smoke any more! You can sit right outside of your door under your cover of your coach or trailer. One tremendous advantage we found is that when you are under any cover by at least 5' to 6' you create an inversion and you actually deflect the rising heat to travel sideways. No more smoke, soot or even ashes to clean up, ever! These are considered recreational fires by any state fire code and are not considered open flames. Just the same a s a propane BBQ. Now you can have your cake and eat it too!
We will post more pictures or the next generation RV Fire Pits as soon as they become available! RV Fire Pit page
We built a set of fire stick for an architect "Woody Dike" on the
Nipomo, California project (seen above) a few years ago. Then Woody contacted us to build a set for him. He even sent us a drawing and included a diorama!
Check it out and tell us what you think!
Here is the blue print:
and diorama:
Woody is over the top!
Above and below you can see the control valves at the bottom of the Fire Sticks.
Below after installing and fine tuning the gas flow they then covered the base with sand and then topped it with Black Magic and several toppers. Awesome job Woody!
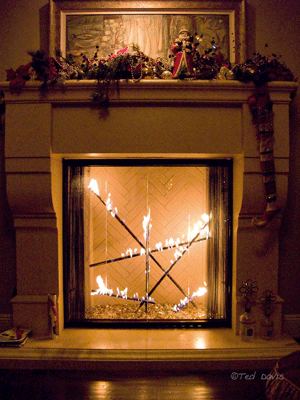
The fireplace below belongs to Robert and Rena in Palm Desert California. They choose a warm brown high heat paint too match their furniture. Here is the just finished surround: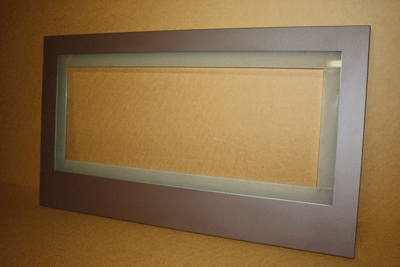
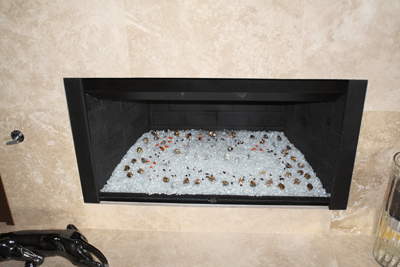
Originally we installed two metal shields to cover and hide the nasty looking side vents. On many fireplaces to keep it minimal we do just the side covers which actually looks fine and finished.
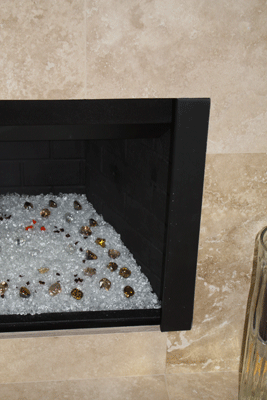
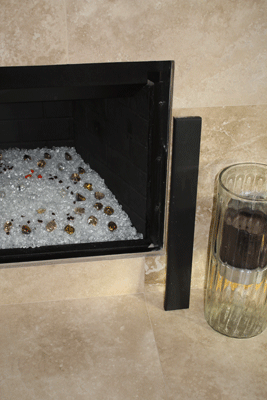
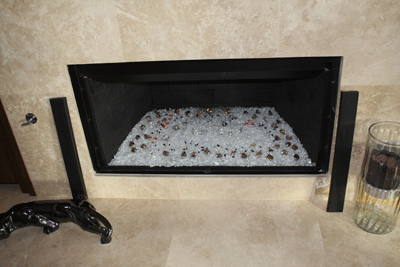
Here is the surround installed. Looks great!
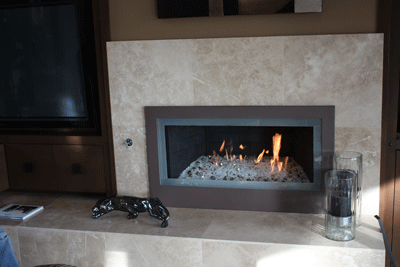
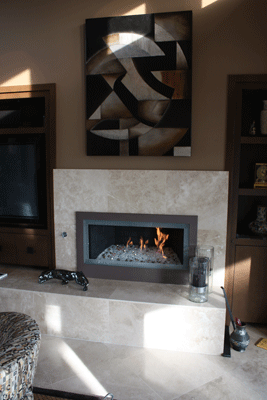
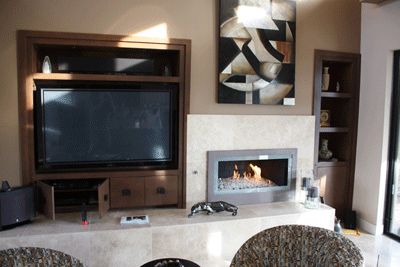
We made 3" sides and top with a 6" bottom with 2" of frosted glass installed on the interior.
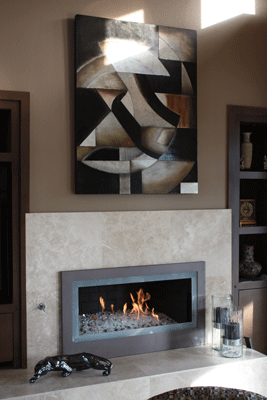
See more Fireplace Surrounds on the Surrounds Page!
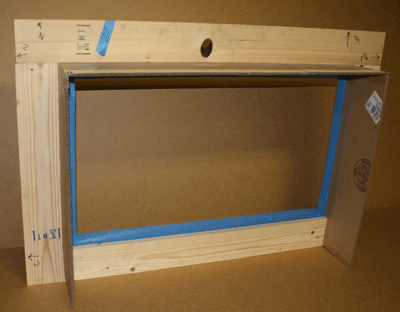
The surround below was installed in Riverside California By Ruben. Ruben made a template to fit his fireplace. A bit over the top but Ruben is good for that! By making a preview template you can get a preview of what it will actually look like before we manufacture it for your fireplace. We will explain as we move on:
The wood and card board template. The blue tape will be frosted glass.
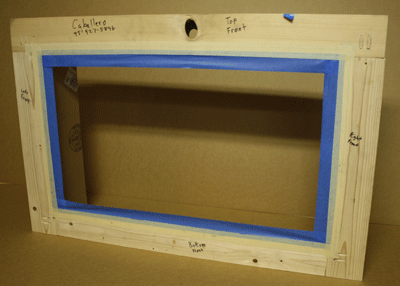
On the back side you can see the cover fins Ruben wanted to have installed. This was to cover what he did not want to see in the fireplace after the surround was installed. In our designs we ask what do you want to see and what don't you want to see.
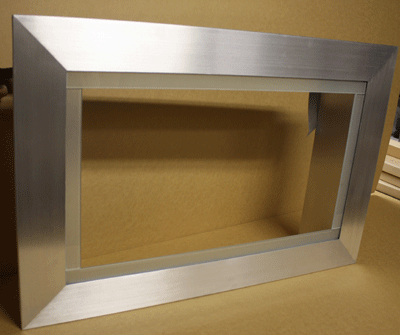
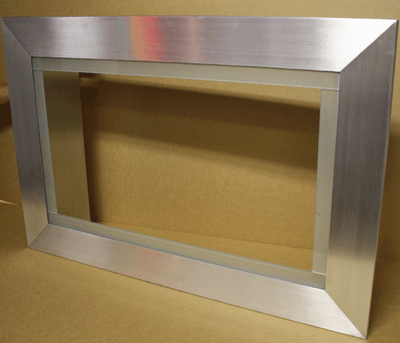
Above and below you can see the surround front finished.
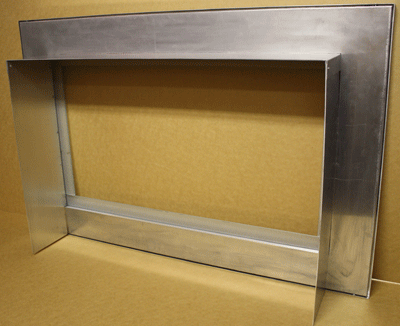
Above and below you can see the back side with the fins attached for installation. We will post pictures as soon as Ruben sends them to us.
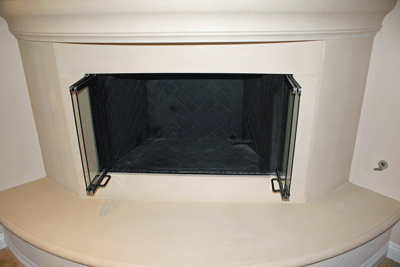
The fireplace below is in Palm Springs California. We used Starfire base glass over a 2"
bed of sand. We will narrate as we go:
Here is the fireplace with the screen removed
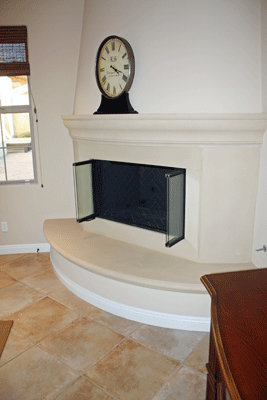
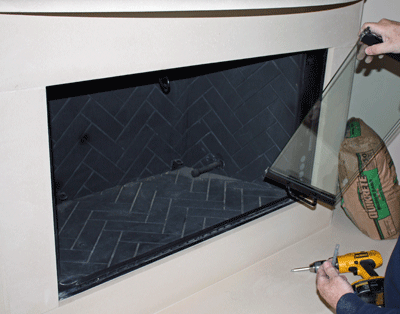
Now we remove the doors, very simple. One screw on each side at the top generally removes the doors.
Below, remove the end of the flex line and screw it on to the stub out coming out of the wall.
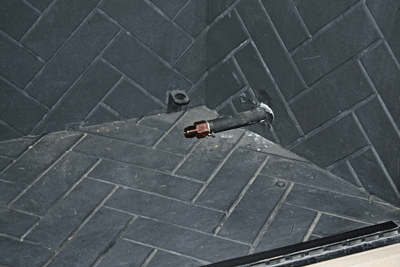
Below, now attach the flex line from the burner to the stub out. Keeping the flex line curled under the burner.
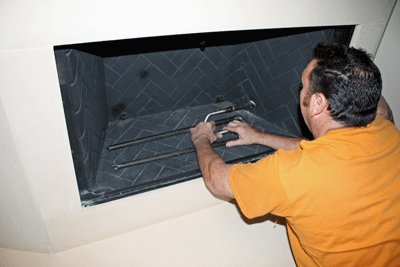
Below, pour in as much sand (on lighter colors) as you would like to raise the glass bed.
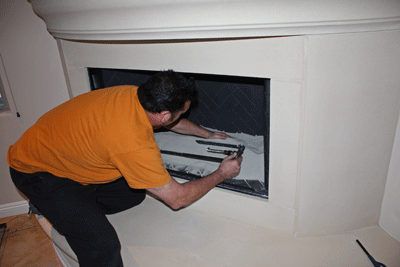
Look how easy! Even my installers can do it! Bring th burner to the top of the sand so it can operate properly. With crushed lava you can keep the burner below the surface. Keep your sand/ lava at least 3" to 4" away from the front!
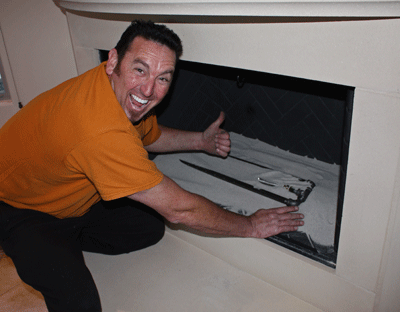
Pour the glass and your done! Our typical install where we don't have to paint is about 12 minutes!
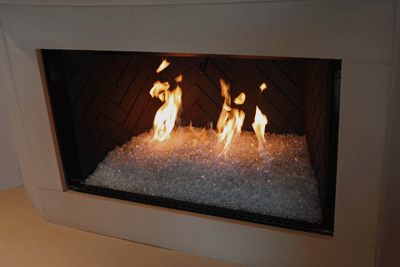
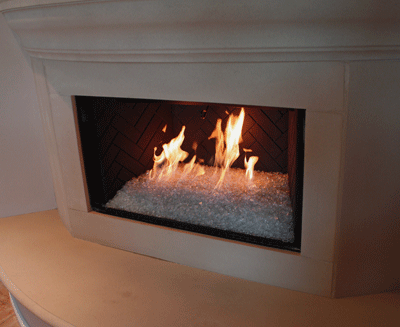
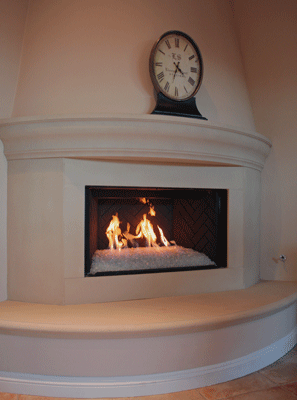
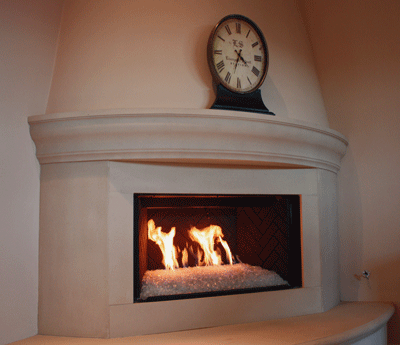
Looks awesome!
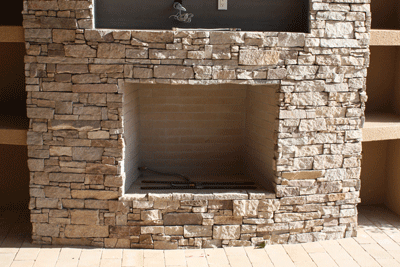
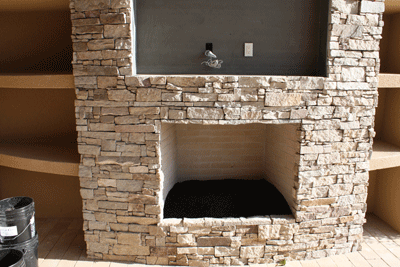
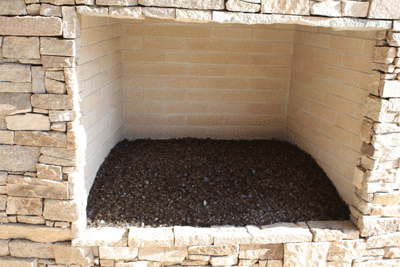
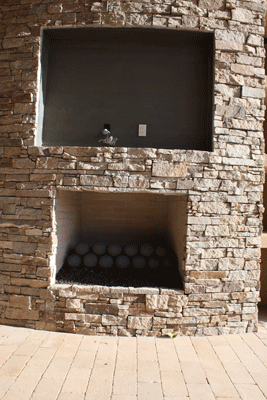
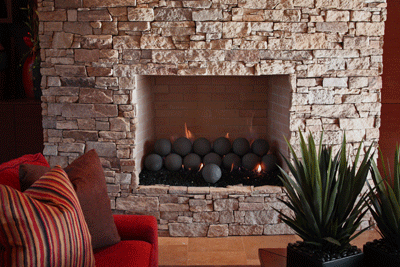
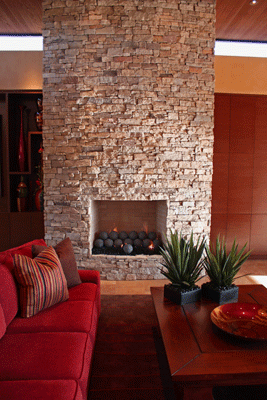
The fireplaces below are located in Palm Desert California. These were both filler with crushed lava (3" to 4" each) and then topped with a Bronze base glass. We then added 6" gray Fire Balls. We will explain as we proceed:
This was the outdoor fireplace. 38" "H" burner was installed.
We then poured in about 4" of crushed lava filler.
Then we poured in about 1 1/2" of Bronze base glass.
Then we stacked in the 6" gray Fire Balls. We couldn't get any burning pictures because it was to bright outdoors.
The fireplace below was indoors in the family room. We started with about 3" to 4" of filler (crushed lava). We used a 38" "H" burner again in this fireplace as well.
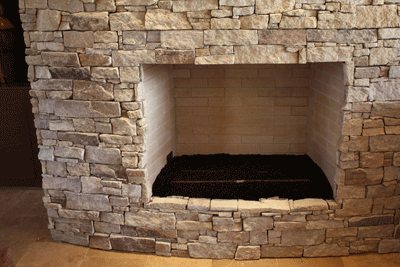
Then we tested the flame pattern to insure the flames were not hitting the walls.
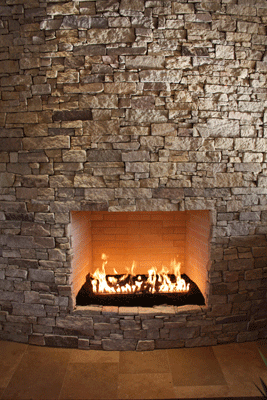
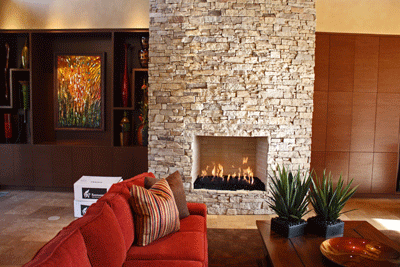
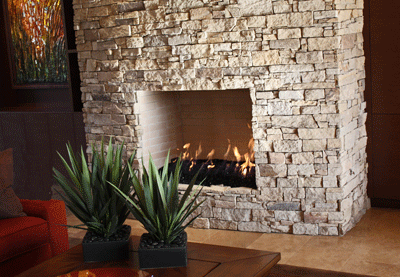
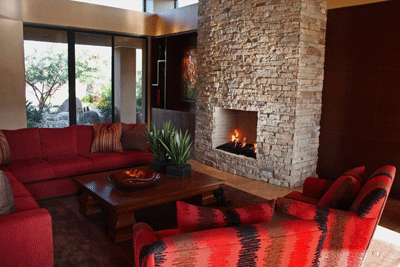
Then we added the 6" gray Fire Balls to the top of the Bronze base glass.
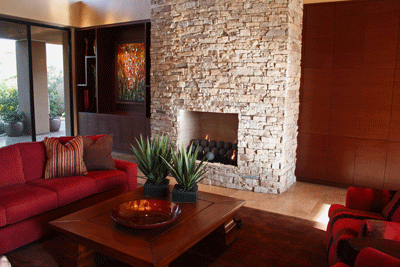
One very nice family room!
The 2 fireplaces below are
Claremont California.
We installed Starfire base glass in each of them and then the customer ordered Ice Ice Ice and diamonds to accent each fireplace. Very nice stone work!
This is the living room fireplace and we poured about 3" of sand under the Starfire base glass. We used a 44" "H" burner under the Starfire.
The family room fireplace was filled with about 8" of sand under the Starfire base glass. We installed a 38" "H" burner on top of the sand.
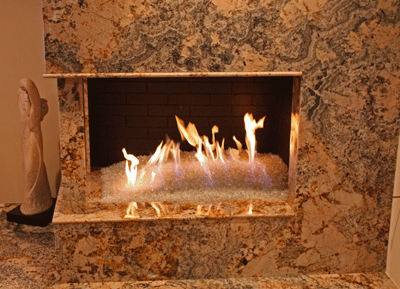
Here is our 18" Stainless Steel RV Fire Pit. Attached is a 15' quick disconnect hose. These will be available in 14", 16" and 18".
Painted steel in 25 colors!
Brushed Aluminum.
Brushed Stainless Steel.
We will producing several RV Fire Pits in the round series as well.
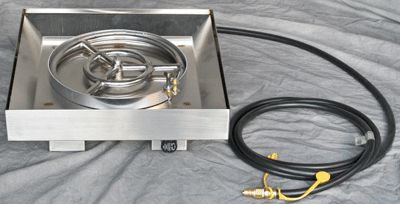
The fireplace below was installed by Scott Hansford of Palm Springs California.
We made an aluminum border to separate the glass from the outer stone layer. This helped in design and saved on glass as well. We will explain as we move on:
Do you see how high the gas connection is? We sent a 90 degree elbow to point the gas line down and then added enough filler to the bottom of the gas line to conceal it under the glass.
The metal border is installed holding the outer layer of rock in place.
They didn't like the post in the fireplace so we cut a mirror to preview if in fact they wanted it covered at all. If they would of wanted it covered we would of made piece of super 8 stainless steel (highly polished) to cover the post. The mirror was only a temporary visual. DON'T USE REGULAR GLASS NEAR ANY FIRE! So if you are not sure, preview it. The glass we used was a Bronze base glass with Gold base glass and Clear Diamonds.
The fire pit below was purchased locally and then we converted it to burn propane without soot! The colors used were:
Starfire,
Water White,
Bronze,
Azurlite,
Ford Blue,
Evergreen.
Galaxy green,
Black,
Gray
and topped with 1 lb of Copper Ruby Red Topper. I guess he wanted a lot of color.
Here is what is looked like when he started. These manufactures have no imagination!
This only cost about $100.00, complete!
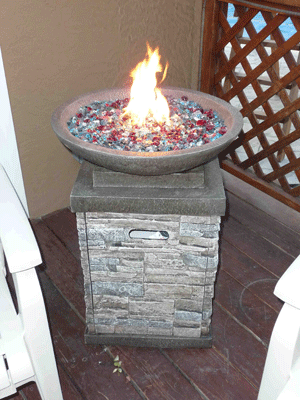
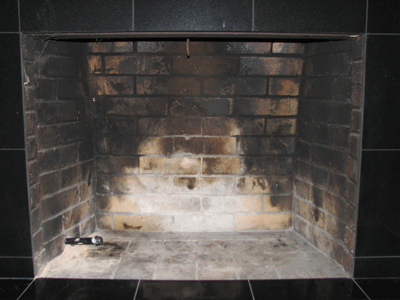
The fireplace below is typical wood burning fireplace which we see every day. Once uncovered it looks like an incinerator. They are pretty nasty looking with out the fire burning. We like to show the before and after so you know what you really have.
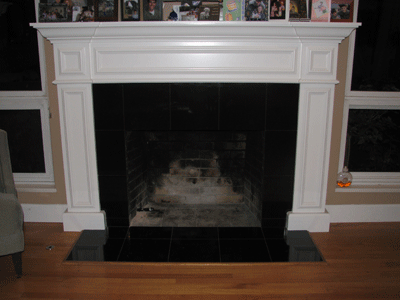
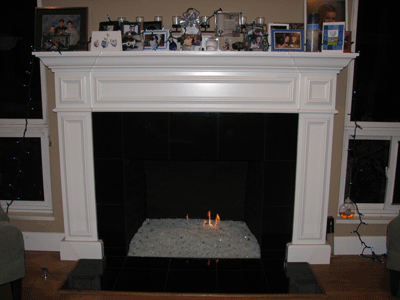
Nice! Very Nice!
We had Starfire base glass installed with Ice Ice Ice on top.
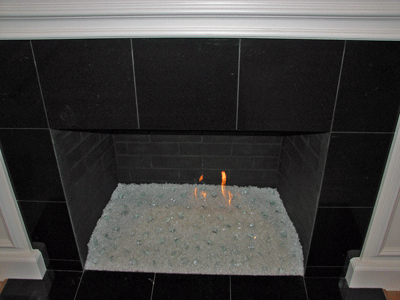
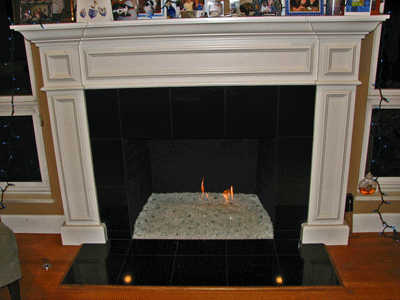
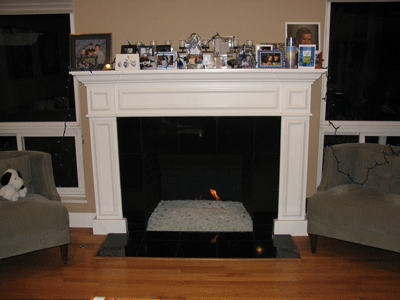
The fireplace below has
a StarfireStarfire base with:
Orange R140 Topper,
Garnet Topper,
Ice Ice Ice,
Cobalt Blue,
Copper Blue and Steel Blue toppers.
The Orange R140 Topper is actually one of our chameleons, it turns to bright red when it gets hot and then changes back!
Our Copper Blue Topper is a chameleon as well. It turns to green and changes back to blue when cooled!
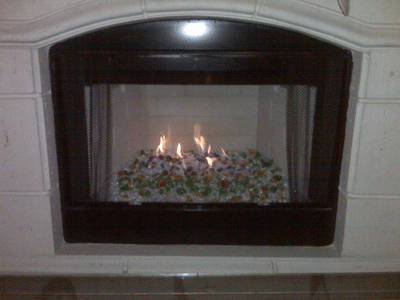
The portable fire pit below was build by Steve, one of our dealers at Extreme Flames. We can sell you all of the components so you can do this your self or Steve can build one for you. Use your imagination!.
You can install the FPPK stainless steel box or just the Copreci Valve to turn it on. The FPPK box also comes with the Pezo Sparker/ Igniter. You can purchase some of the parts or all of the parts, which ever you need.
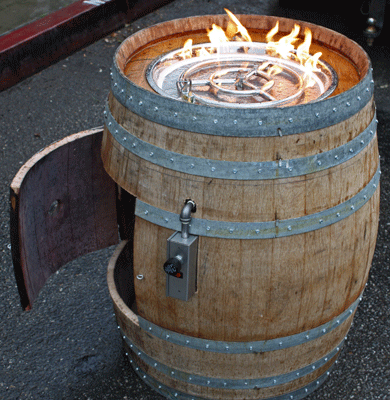
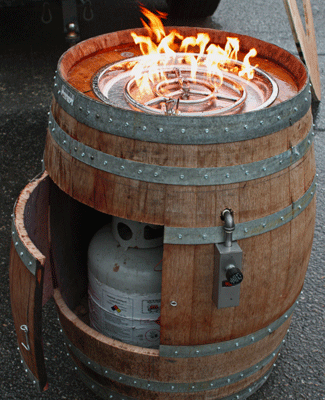
Here are the pictures of the Wine Barrel Project!
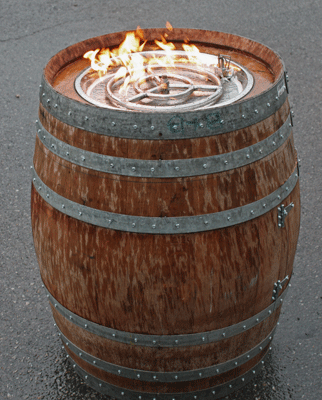
Be sure to screw all of the boards before cutting any holes!
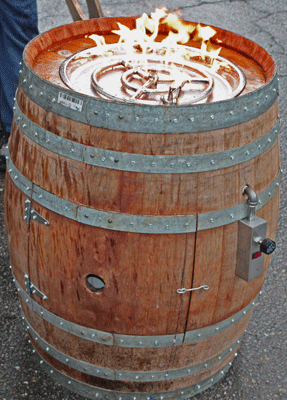
Above is the door and the FPPK box to the right.
We installed an 18" bowl with a false bottom. The ring that was used was a 12" double stainless steel ring.
If you filled the complete opening you will need 45 lbs for a 2" fill and if you only filed the bowl you will only need 18 lbs for a 2" fill.
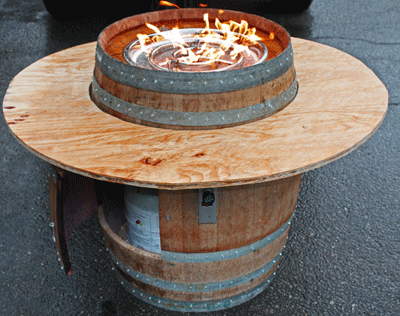
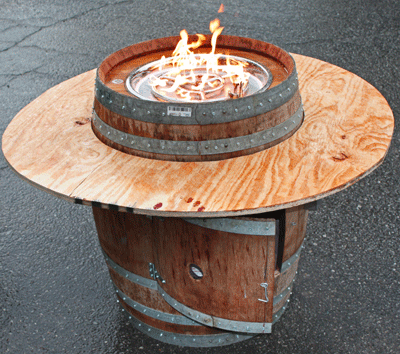
My first choice would not of been a plywood top. Since then Steve is having a 48" round aluminum top being fabricated. You could also use granite, steel, glass, etc..... Use your imagination!
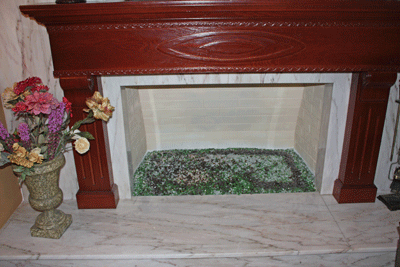
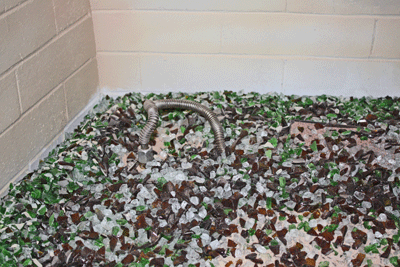
This next fireplace was done with lack of knowledge! First they installed a 18" single burner and some real interesting choices of glass. What they did do correct is have a 3" sand bed under their yuk glass. The first issue we repaired was the stub out on the left side of the fireplace floor. All we did was install a 90 degree elbow and connect a 1/2" flex line to the new double 24" burner. They had left the flex pointing in the air and then reduced it to a 3/8" line and to top that off added they very sad single 18" burner. We repainted their futile attempt (of painting) with dark metallic brown, added 10 lbs of sand and poured 75 lbs of Starfire base glass over the new burner and sand filler. We will explain as we move forward:
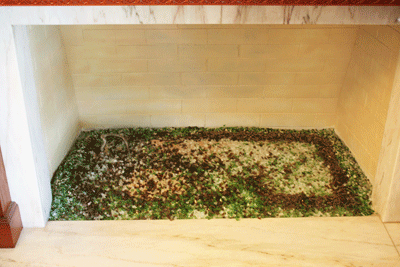
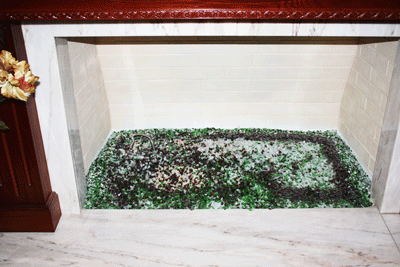
Below you can see the black marks under the paint.
Below you can see the flex line that was installed was left above the surface. Now if we tried that I think our customers would take us out and string us up, what do you think? To top it off this customer was an attorney! Completely happy with what we did.
Here is the new paint on the back walls.
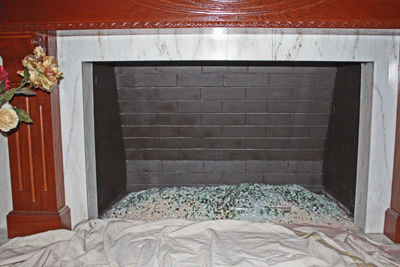
Now we added the Starfire base glass. One thing we have been doing a little bit different is to bring the glass out from the front of the fireplace. We let the glass come out of the fireplace from 3 to 6 inches to make it look even more grand. What do you think?
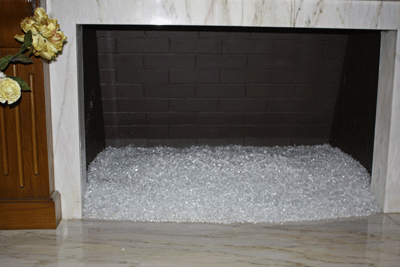
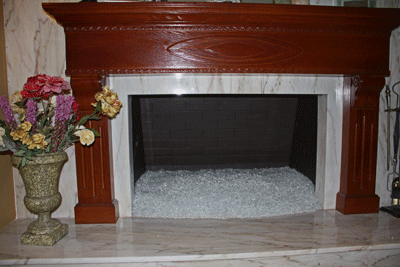
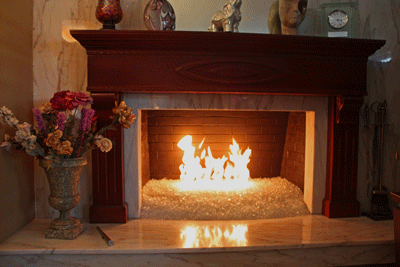
Here is a the almost finished product of what we do! We left several colors with the customer to add. We will post pictures when they arrive.
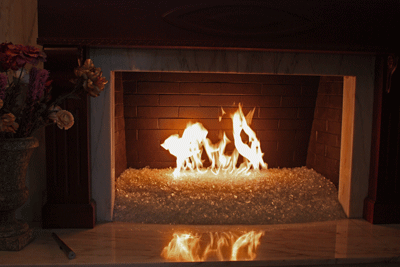
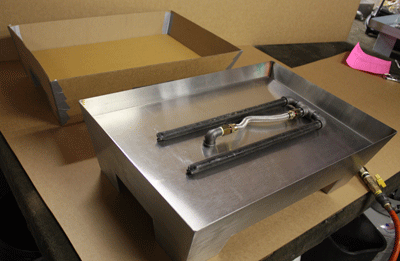
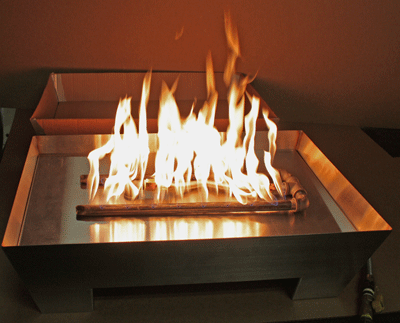
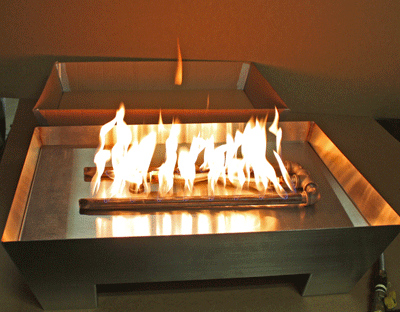
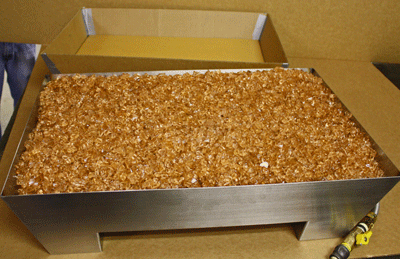
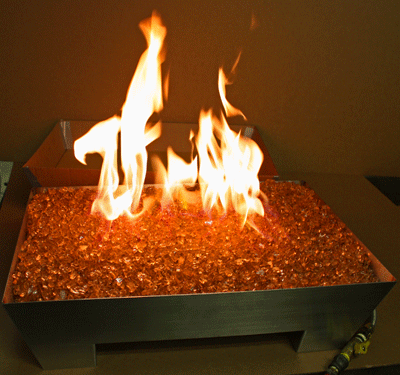
The pan below was created by John Webber of San Diego. He made a cardboard mock up of what he wanted in his fireplace and we duplicated it in stainless steel. Here is John's fireplace now, our pan and we will posts pictures of the finished fireplace with our pan when John sends them to us. The glass that was installed in this pictures of the pan is Pink Rosa base glass.
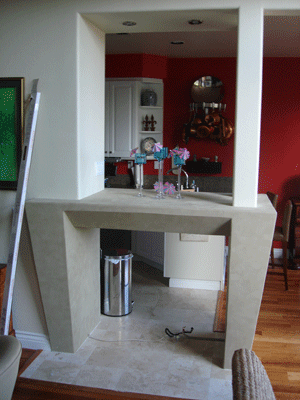
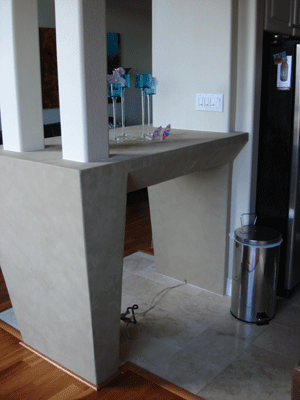
The next fireplace is from Chris Ackopiantz in Palos Verdes California.
Chris lives in a condo complex with only wood burning fireplaces. Chris received permission from his complex to add a propane fed fireplace. Burning wood is not only dirty and nasty, it is very unhealthful as well.
Here are his pictures from beginning to end:
The glass he used was a:
_________________________________________________________________________________
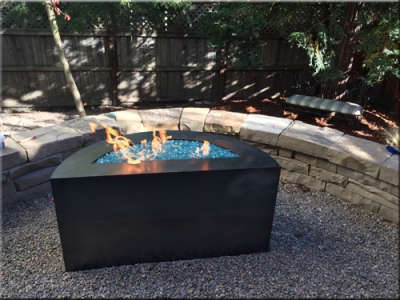
Click HERE or on the picture below to see all of the pictures of the Corten Steel Fire Pit!
__________________________________________________________________________________

