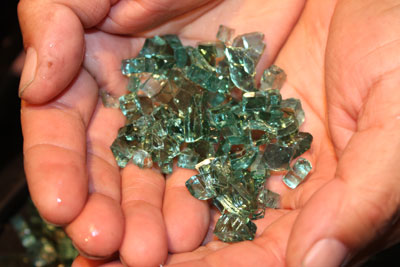
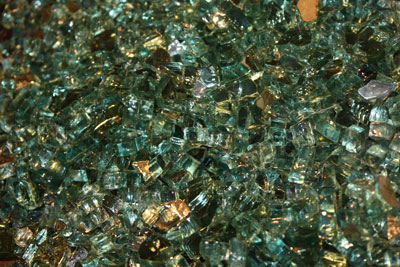
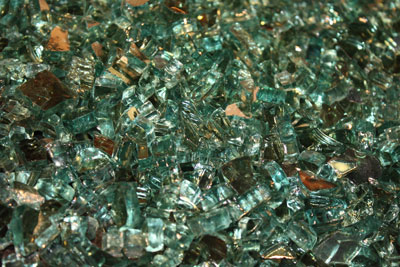
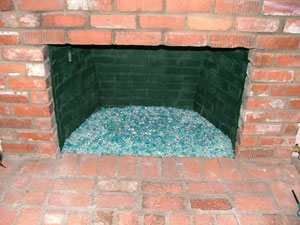
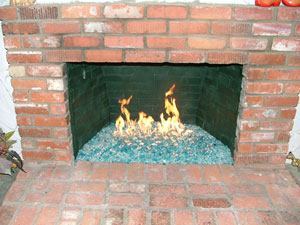
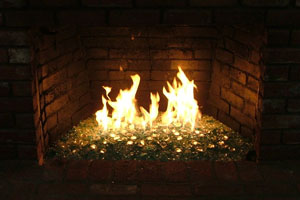
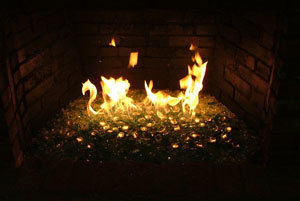
The glass used in this installation is Blue Green Reflective
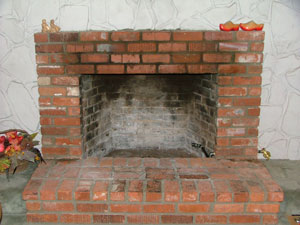
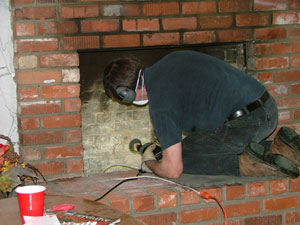
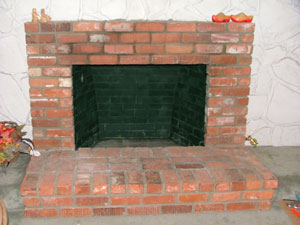
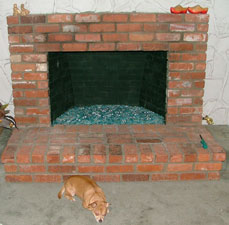
This first picture is a fireplace which is ready for an install and this is how easy it really is! The installation is our 2" method which saves you 1/3 the cost of the glass! Don't be fooled by the antics of some installers.
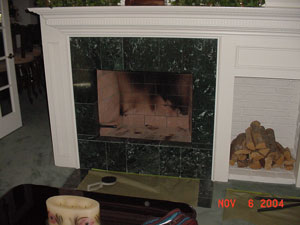
After the fireplace has been cleaned and is now ready for paint.
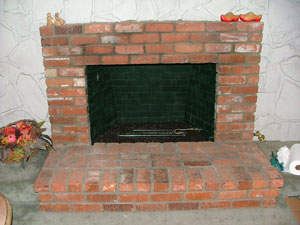
We have installed the burner which is as easy as hooking up a garden hose.
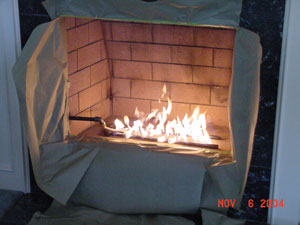
This is a little hard to see but we have 2" of crushed lava rock under the burner which is actually your new base.
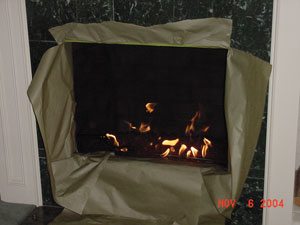
We now have pulled the burner to the top surface and covered the lava rock with sand to expose the burner. We then adjusted the flame pattern by turning the burners to obtain our flame direction.
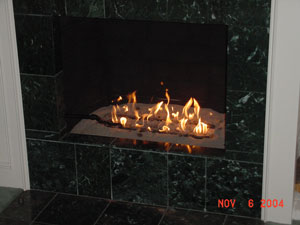
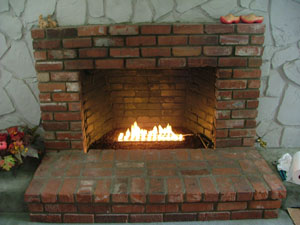
Here is the finished product with Blue Green Reflective and who would know that there is a 2" base of filler underneath?
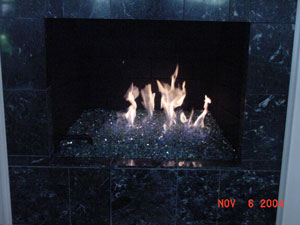
Here is another Blue Green Reflective installation with 2" of filler.
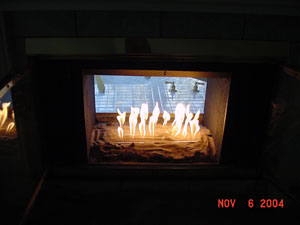
18" x 18" burner installed.
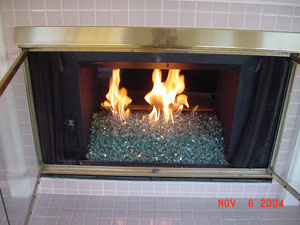
This next self install is a 10 picture install with :
Azurlite, Clear, Blue Green, Blue Green Reflective, Ice Clear, Ice Blue. Very nice fireplace.
Below we have the fire pit that we installed for Reba! In Nashville Tennessee.
Here is her stainless steel fire pit pan as we manufactured it for propane with electronic ignition.
Below is a 36" aluminum pan burner for propane with a 3" outside lip. These can be made to fit any fire pit, fire table of fire fit for natural gas or propane. We can build anything! This pan has a thermo-coupler for safety and air mixer built in to eliminate soot.
Now here is the fire pit with Evergreen, Evergreen Reflective, Blue Green and Blue Green Reflective installed. We also drifted withe the camera and took a few shots of the back yard on the river in her back yard. Enjoy. You can also visit
www.Reba.com for some real cool information and pictures.
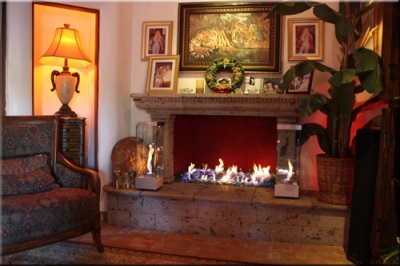
The next several pictures are of Gisella Hunter in Palm Springs. She had us install a
Blue Green Base Glass, painted the interior a Antique Ruby Red, then she topped it with:
Then if that was not enough, she had us build two VortexED Fires to set next to the fireplace.
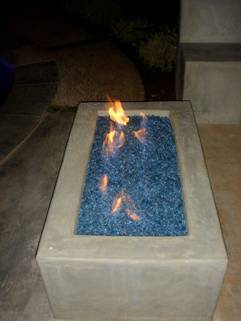
The fire pit below has a Clear base with Ford Blue on top with Blue Green Reflective on the surface
The fireplace below has a mixed base of:
14 lbs Starfire, 14 lbs Amber and 1/4" Blue Green,
topped with 2 lbs of Blue Green Reflective and 1 lb of Jade Green Topper.
here are the pictures from start to finish, a couple of the pictures were a little fuzzy from the customer. Oh well.
Now typically is your fireplace looks like yuck, put candles in it and everyone will tell you how nice it looks! NOT! So don't do it! If it's dirty or looks like a skid mark, clean it and or paint it but don't put candles in it.
A typical fireplace where Fake Logs used to live. Now they are residing in the Fake Forest after leaving nice black skid marks on the walls of your fireplace, nice! Actually the soot you see in your fireplace is carbon monoxide but the fireplace manufactures which manufacture the Fake Logs just don't seem to tell you this little fact! It's poison and it's the furthest thing from being green that you could ever get. If you really still like Fake Logs then just sit in your garage with your car running and entertain your friends and family there. It's just a healthy.
The customer here could of painted his flex line to help hide it a little better. Again what was the plumber thinking, hanging logs? Maybe that's why we plumbed the line so high in the air?
Anyway after all of that it did turn out nice.
The fireplace below has a Clear base with Blue Green and Blue Green Reflective on top.
Above and below you can see there was about 2 lbs added of our Ice.
The fireplace below has a Clear base with:
1/2" Clear base glass,
V Blue and Chunky base glass,
Blue Green base glass,
Azurlite base glass
Blue Pyrite base glass on top.
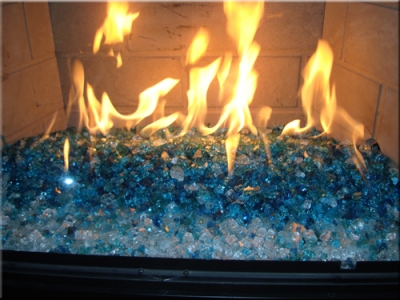
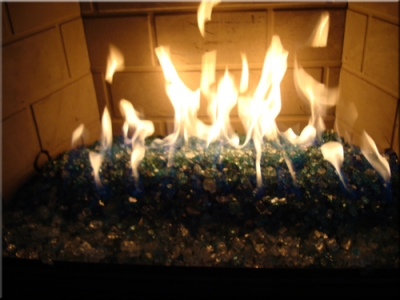
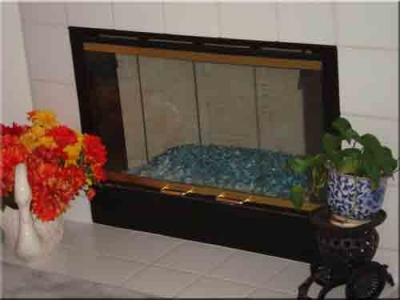
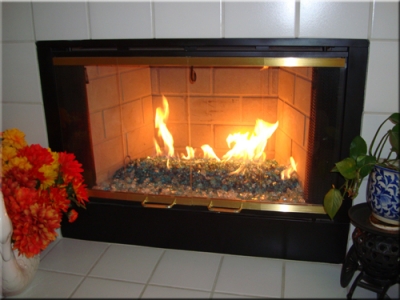
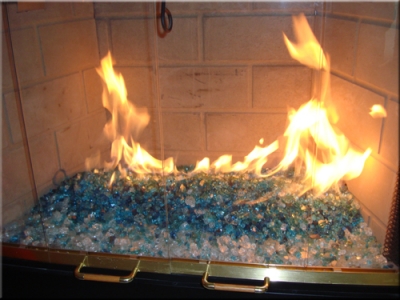
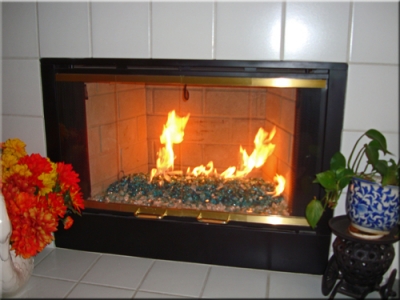
Randy Micek did a nice job on his Palm Desert home! He painted the interior with
Ivory Fireplace Paint. The colors he installed are:
Now we have a splash of color!
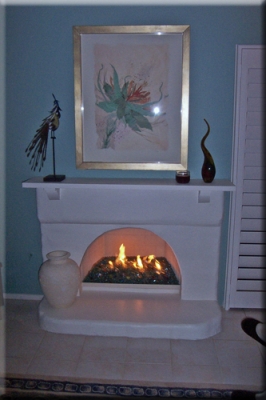
The fireplace below is in San Diego, California and the colors used were:
wow!
The end pictures show that the burner was too close the wall which was an easy fix by moving the burner forward.
This is where is went a little bit wrong, oops. We just had them move the burner forward and now its fine and the back wall was repainted.