| |
|
l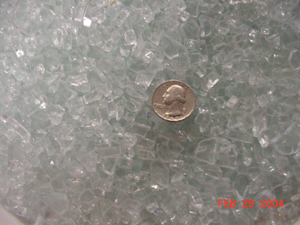
_____________________________________________________________________
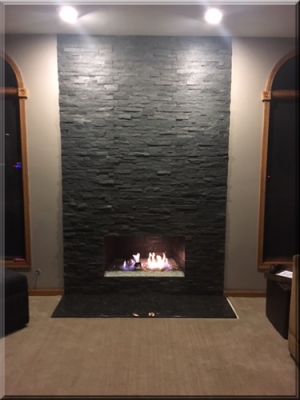
Click "HERE" or on the picture below to see how this started and finished, very simple and very nice
 _____________________________________________________________________ _____________________________________________________________________
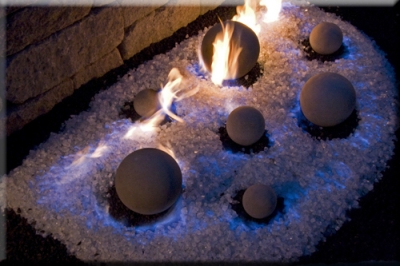
James Maze got creative with our products and set-up an interesting fire pit. A base of Black
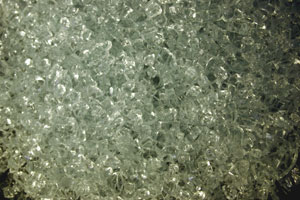
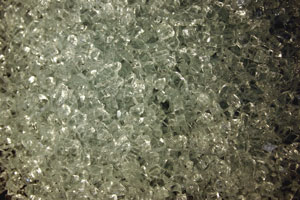
Magic a few 4" & 6" White Fireballs and some 3/16" Clear Base Glass FireGlass.
"My name is James Maze. I am writing you from Columbus, Ohio. I am the owner of a Design/ Build firm specializing in high-end residential hardscapes. In September of 2007 I worked with your staff (possibly yourself-behind the scenes) on our first Outdoor Natural Gas Fire pit. AMAZING SUCCESS!!! Still my overall favorite project we have completed to date."
The fire pit below has a Clear Base Glass,
Cobalt Blue Topper,
Copper Blue Topper and
Azurlite Base Glass for one very nice fire pit and back yard!
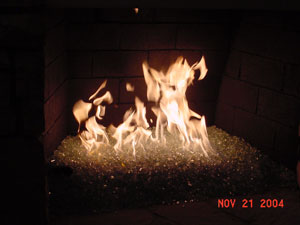
High flame above
Low flame below
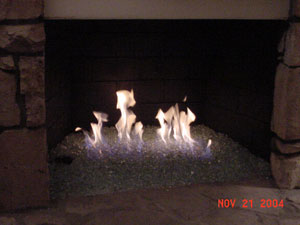
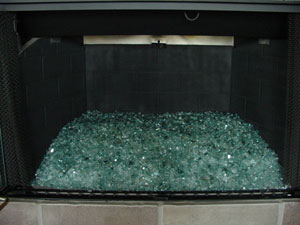
Clear Base Glass with Evergreen Reflective Base Glass above and below.
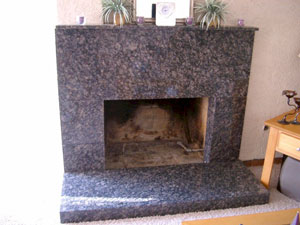
clean and paint
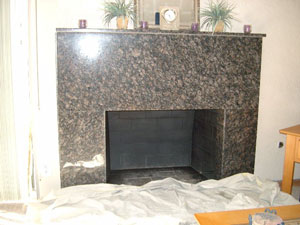
and the final step, pour and light.
Clear base with Blue Green on top.
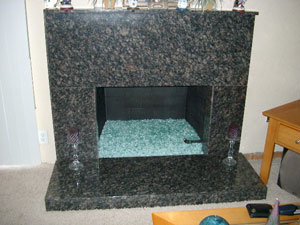
Below is a fire pit with a Clear Base Glass with Azurlite Base Glass and Starfire Base Glass on top
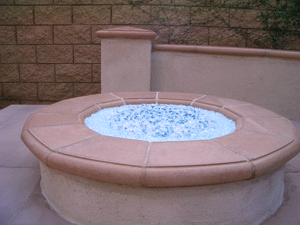
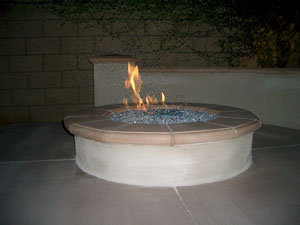
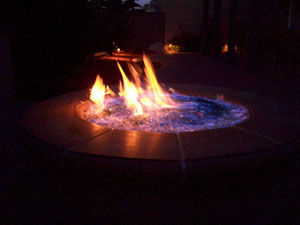
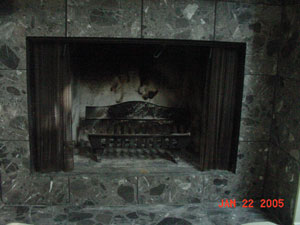
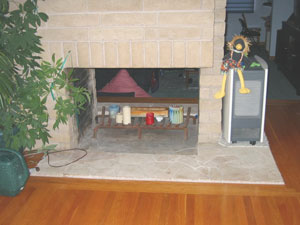
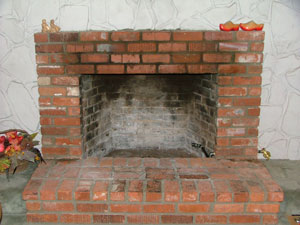
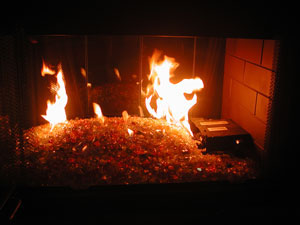
Above, this is how most fireplaces start
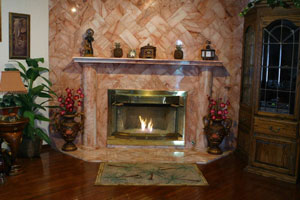
Below is a Clear base with a double burner

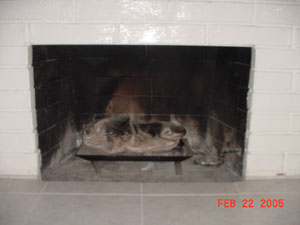
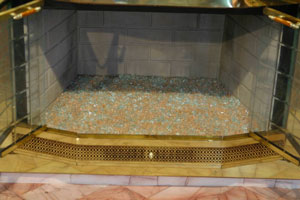
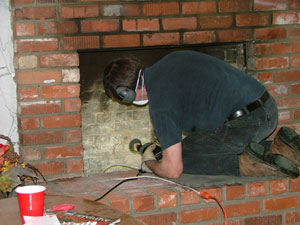
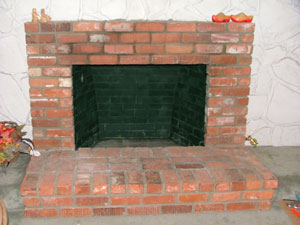
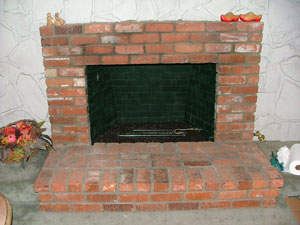
Again this is how most fireplaces look after you remove the doors and or screens
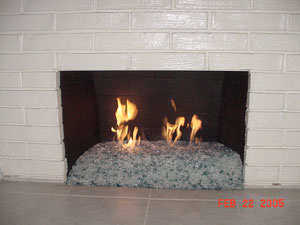
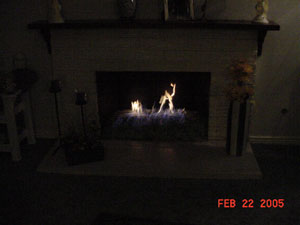
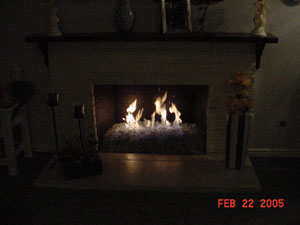
and below is a Clear base with Blue over the top
Below is a Clear base with Coral Orange Topping as a Topper
Above is a Clear base with Coral Orange Topping
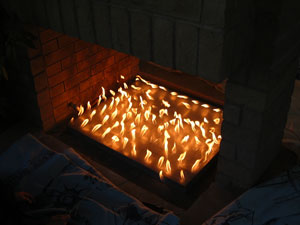
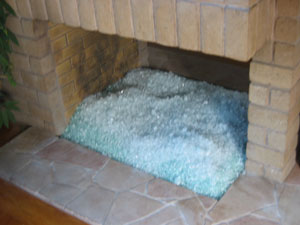
The pictures below are of John Hanson in Northern California and he did a pan burner we provided and installed it himself.
A Clear base with 3/4" Clear on top
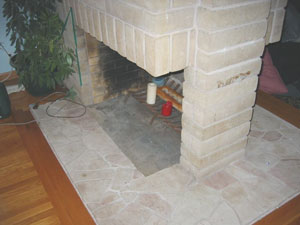
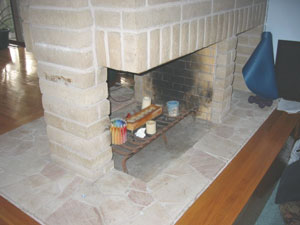
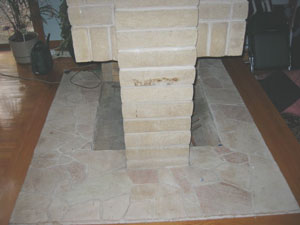
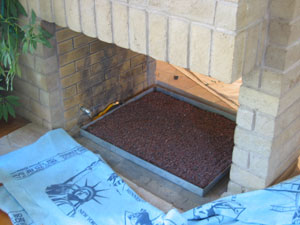
Here is how it all started
The bottom of the pan goes in
The top goes on and you light it
Now the glass
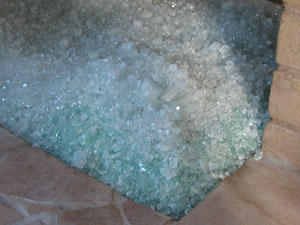
and now the magic
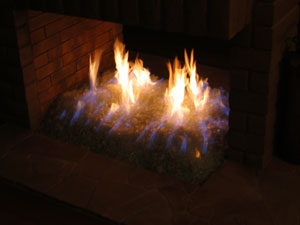
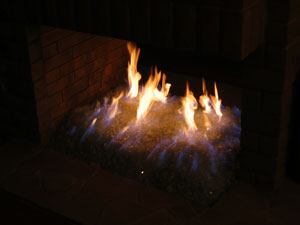
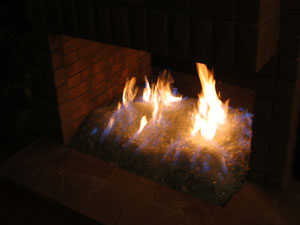
This is how the pan started
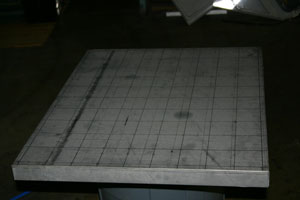
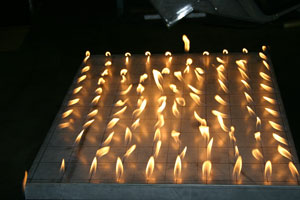
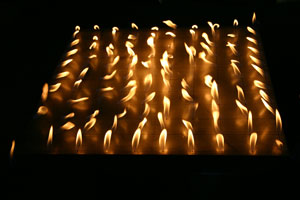
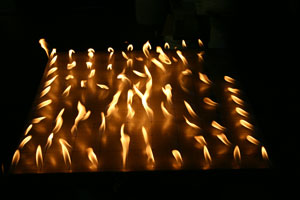
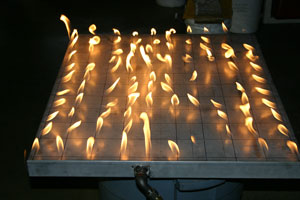
There you have it, simple as that. Great job John Hanson!
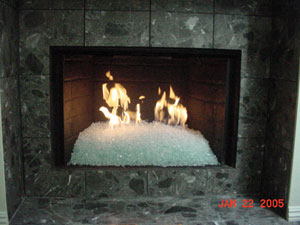
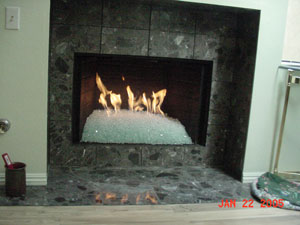
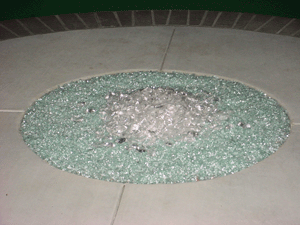
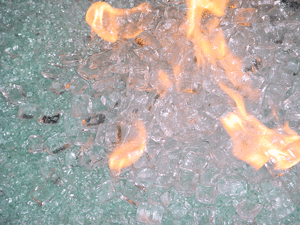
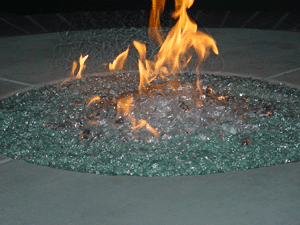
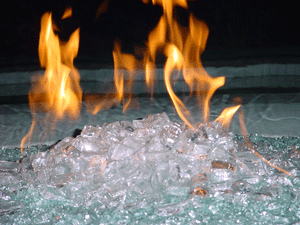
The 3 lower pictures have a Clear base with Ice on top. This fireplace also has a new surround frame that we now manufacture also found in the Surrounds page.
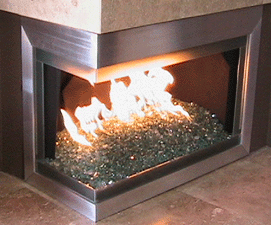
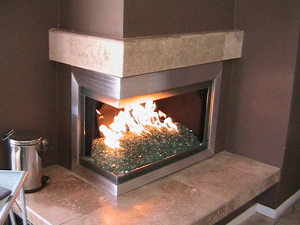
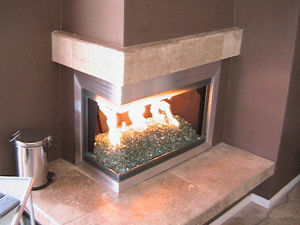
The fire place below has Clear. Azurlite and Azurlite Reflective.
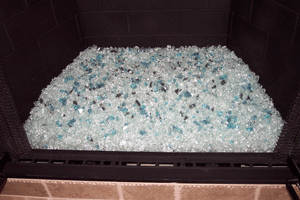 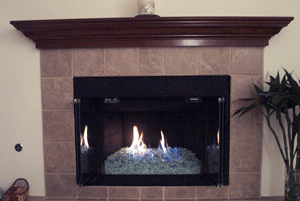
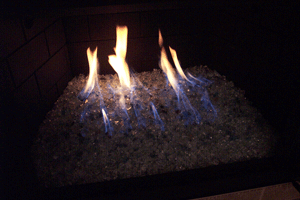 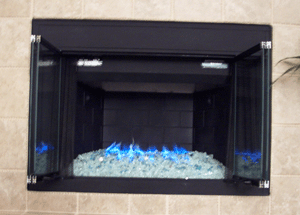
The 2 pictures below are a Clear base with a dash of Plum Topping.
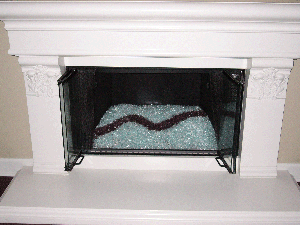 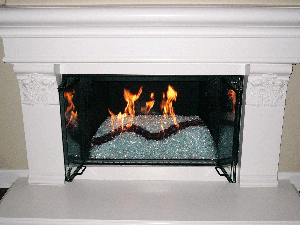
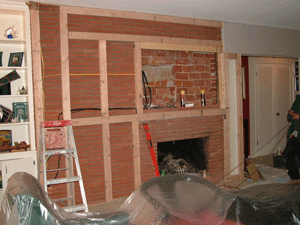
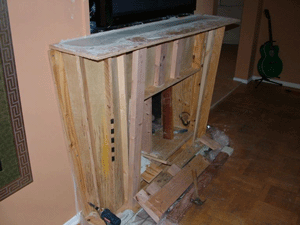
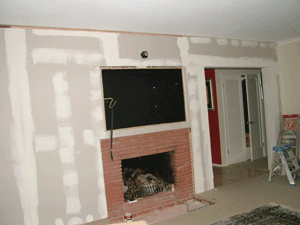
The fireplace below has Clear, Gold and Black. A little drywall and paint and here you have one cool fireplace!
 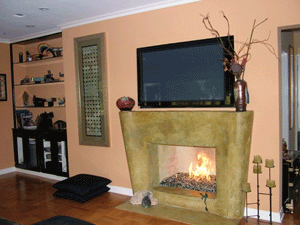
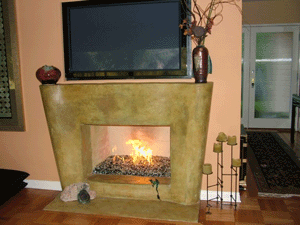
The fire pit below has Clear, Starfire, Amber Topping, Amber Topper and Dark Red Orange Topper.
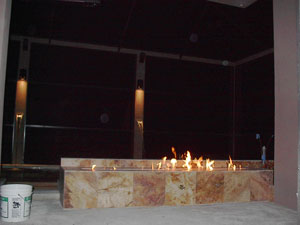 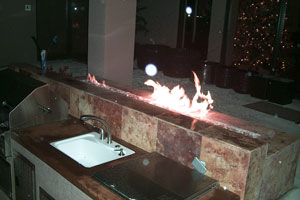
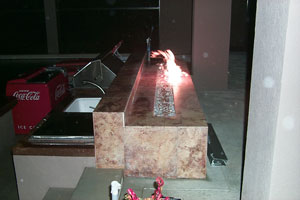 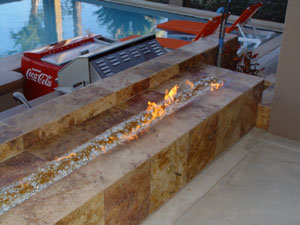
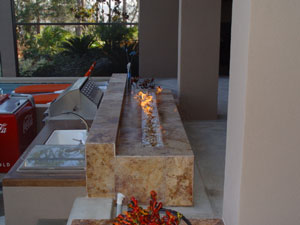
The fire pit below has Clear with our very own ICE!
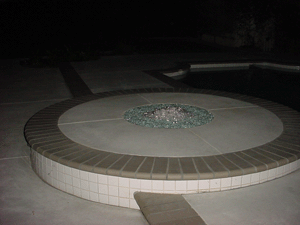  
  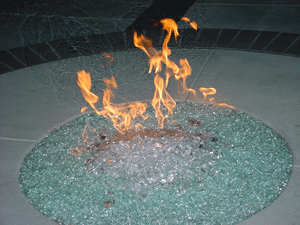
The fire pit below had Clear and one really cool flame effect!
This is in Etiwanda, California
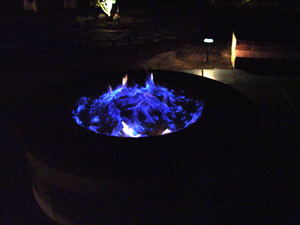
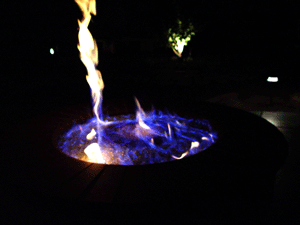
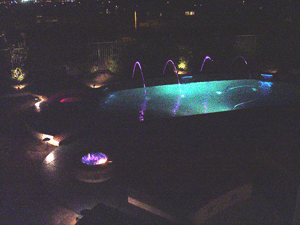
Here is a fireplace before and after with Clear and a splash of Ice
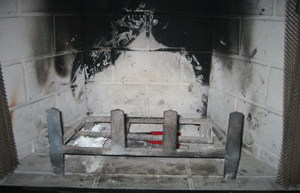 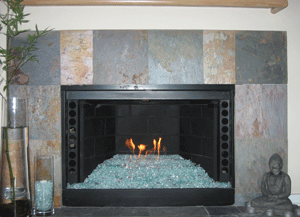
The fireplace below has Clear installed and had a double burner which was converted to a triple for more flame effect.
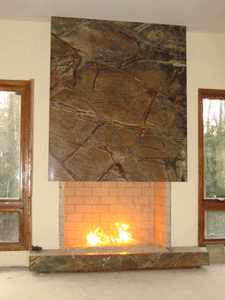 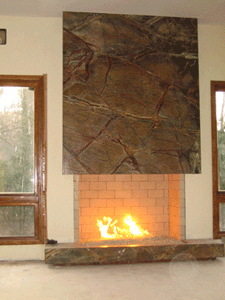
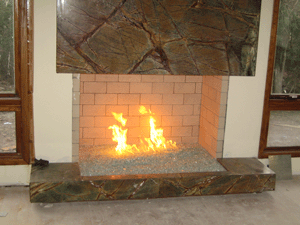 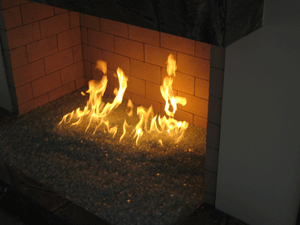
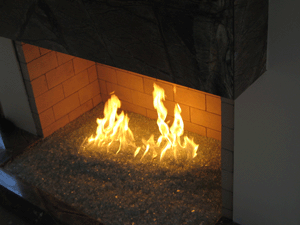 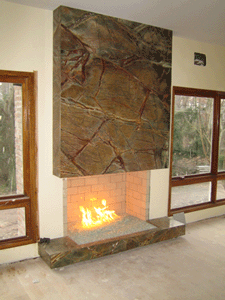
The fireplace below has Clear installed
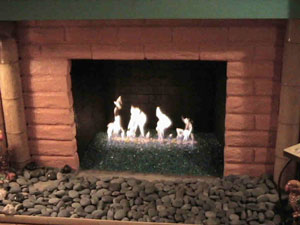
The 4 pictures below are all Clear glass


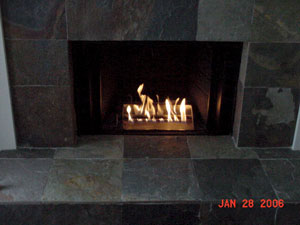
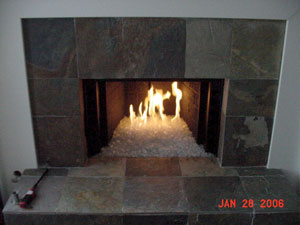
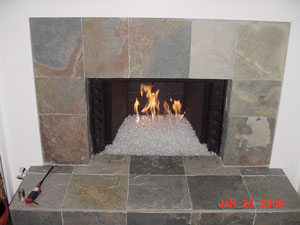
The 6 pictures below show a self install with all glass using the original burner which didn't have a bad flame pattern. 1/8" Clear was used as a base and then Starfire was added to the surface saving money and it did look great. It's a simple as that.
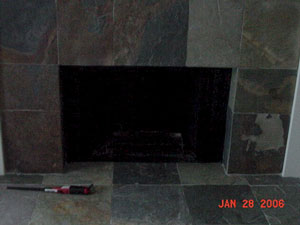
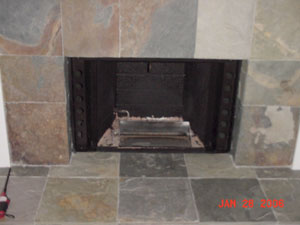
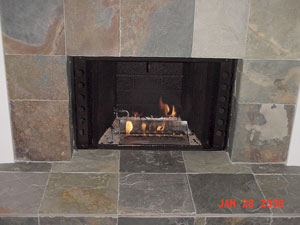
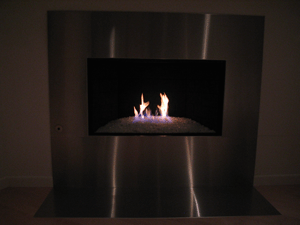
This is in Yorba Linda, California with a stainless steel surround and Clear glass.
The 2 fireplaces below are the same fireplace! This fireplace started out with a brick face and Clear glass
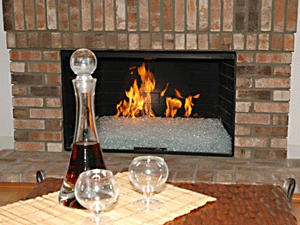
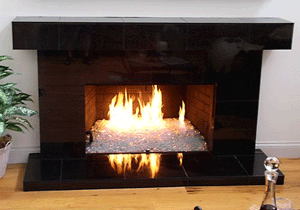
After a little black granite and some Clear Ice, we have a very nice fireplace!
This fireplace belongs to Carl Herkes
The fireplace below has a Clear base with Bronze on top
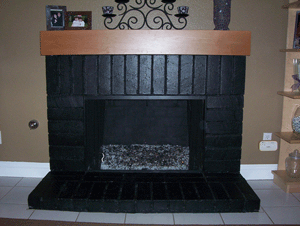
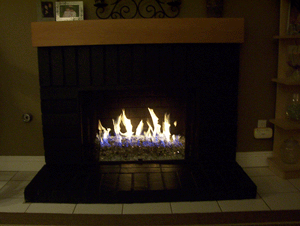
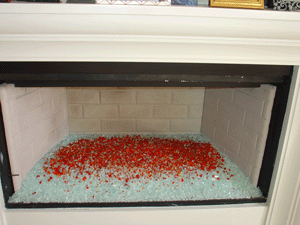
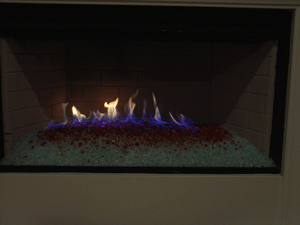
The fireplace below has Red and a Clear base
|
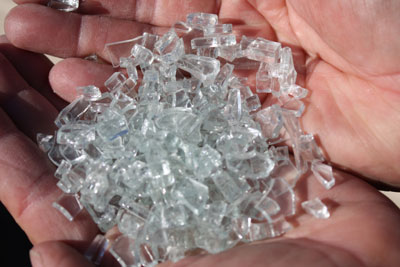
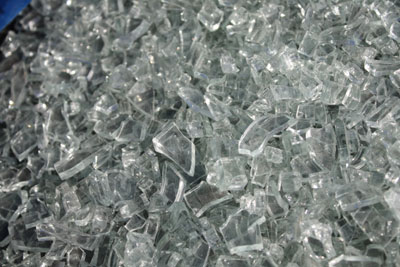
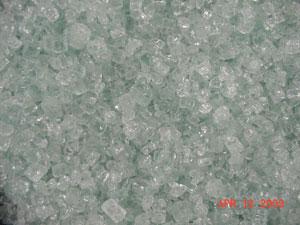
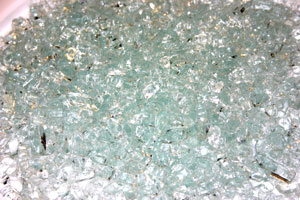
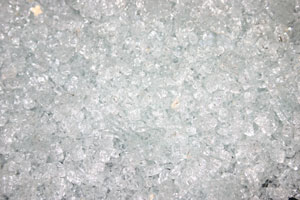
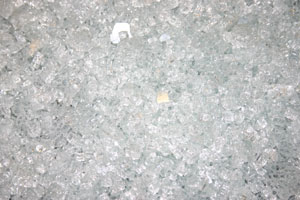
3 /16" Clear Light
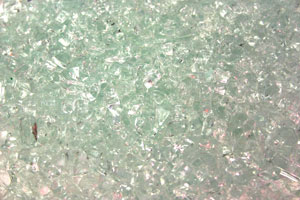
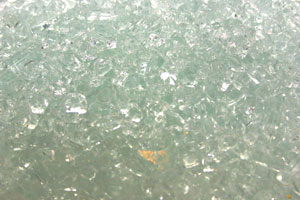
This product is not Starfire but it is not a true clear with as much of a blue/ green cast. It would be a second cousin to Starfire and or Mid Ground for clear. This is a good substitute for Starfire.
This next self install is a 10 picture install with :
Azurlite, Clear, Blue Green, Blue Green Reflective, Ice Clear, Ice Blue. Very nice fireplace.
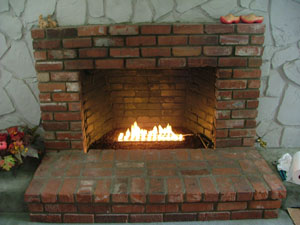
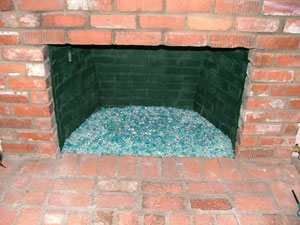
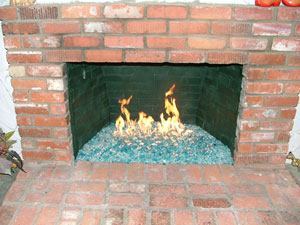
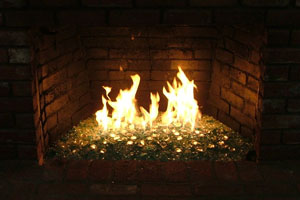
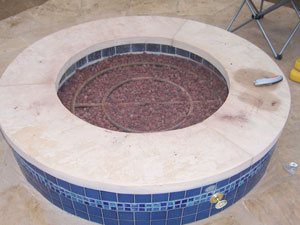
The pictures below are of a self install fire pit with crushed Lava rock and a Clear base
1/2" to 3/4" lava rock is use just to the bottom of the ring.
If you want a higher center then pour a little more filler on top of the ring.
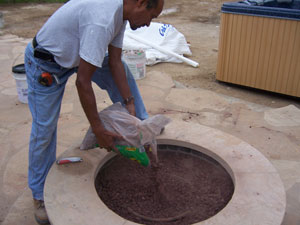
Now we will pour the crushed lava rock (1/4" to 3/8") over the filler as this will stop the glass from falling through the lava rock.
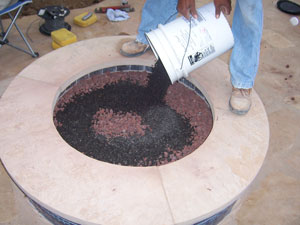
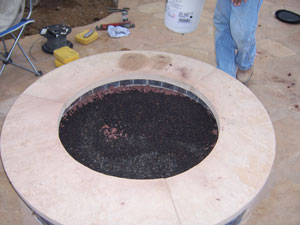
Finish shaping and pour the glass
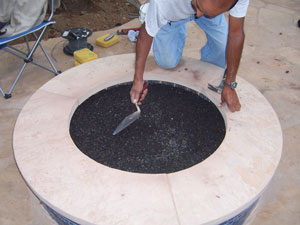
This is a 36" fire pit which requires 56 lbs for a 1" cover and 80 lbs for a 1 1/2" cover.
We used the 1" method, 56 lbs which as you can see works just fine and no you can't see though the glass.
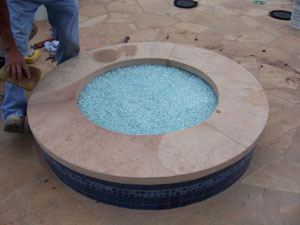
The second step will be to add color and Toppers which we should post in a few days and night time pictures with the fire on
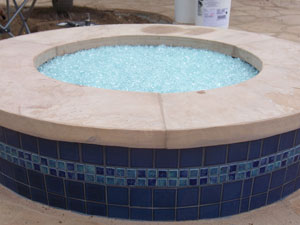
If you have been told to use more glass than 1" or 1 1/2" of glass over the crushed lava rock, then someone was trying to line their pockets with your money.
The fire pit below has a clear base with Azurlite and Ford Blue on top. Then it was topped with Dark Red Orange Topper, Yellow Amber Topper and Amber Topping.
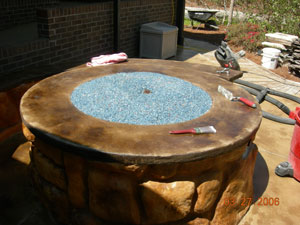
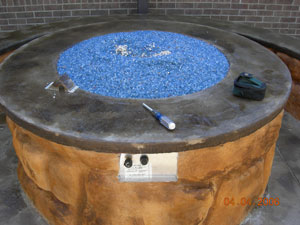
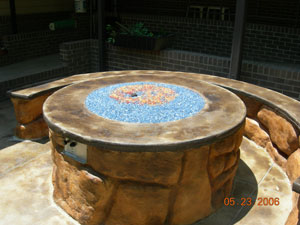
This fire pit has Clear, Chunky Clear, Starfire and 1/2" Starfire and a water fall going into the fire, pretty cool!
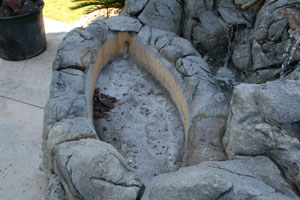
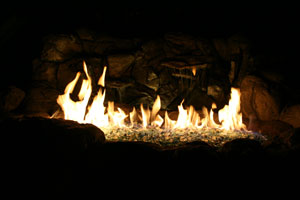
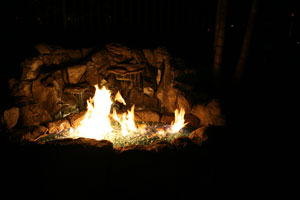
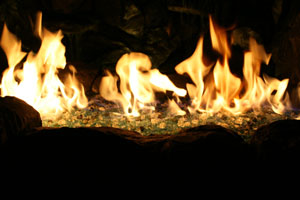
The fire pit below has a Clear Base Glass with Starfire Base Glass and 1/2" Starfire Base Glass, Yellow Amber Topper. Cobalt Blue Topper and Emerald Green Topper and a little bit of ICE ICE ICE Topper. The earth as the back yard and a lot of friends, wow!
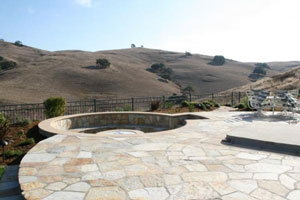
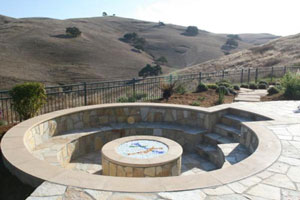
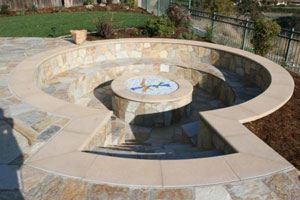
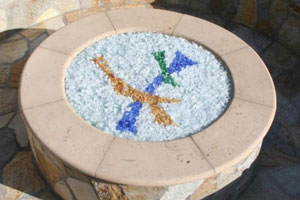
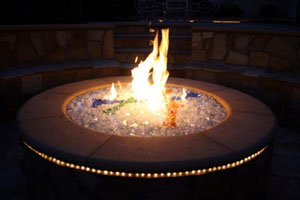
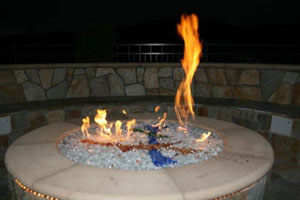
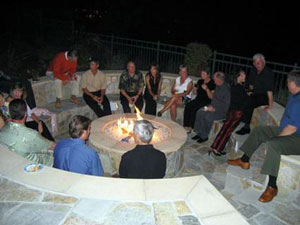
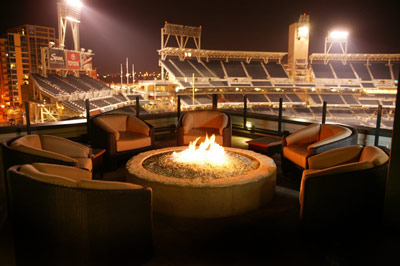
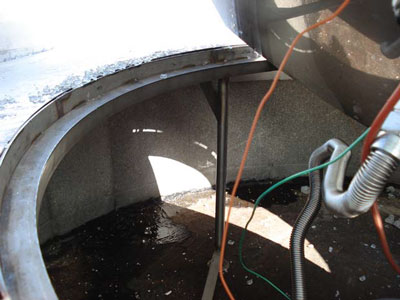
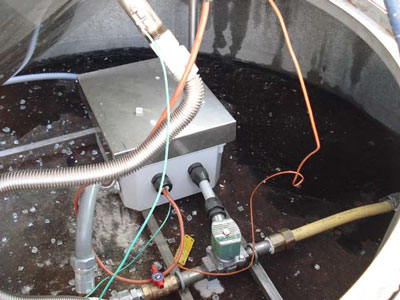
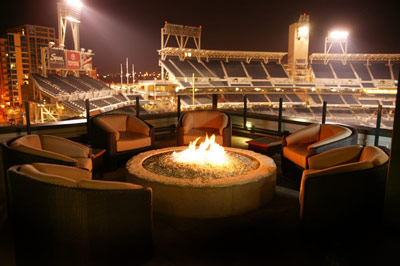
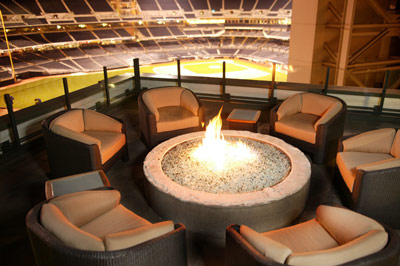
The fire pit below has an electronic ignition and Clear glass installed. This is next to the San Diego Stadium Downtown San Diego at the "Legends" Again this was installed by Cesar, one of our dealers in San Diego.
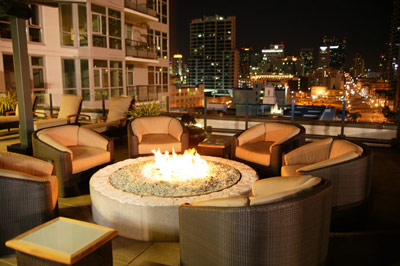
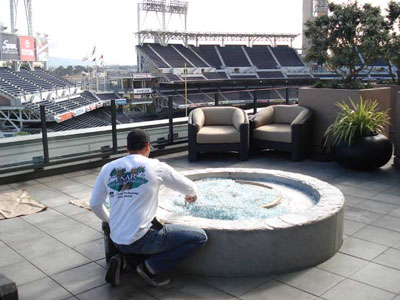
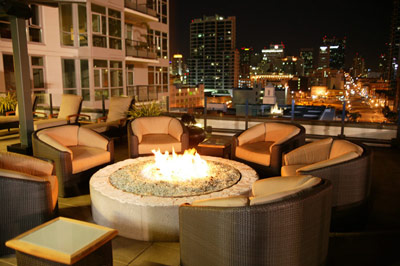
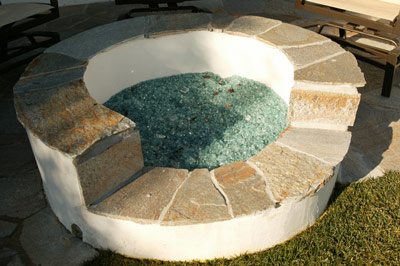
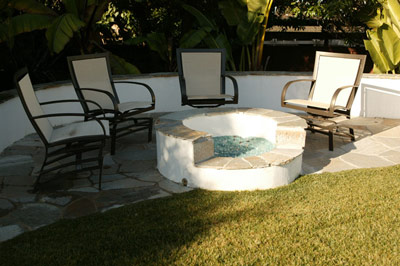
The fire pit below was built and installed with Clear base glass. Again by Cesar in San Diego.
The fire pit and fireplace below are located at the hotel Casa 425 in Claremont California, Downtown Claremont.
www.Casa425.com . The fireplace had a splash of Clear base glass over a ribbon burner with a remote control for a simple but elegant look.
The fireplace is just inside the front doors as you enter to greet you.
The fire pit below is also at the Hotel Casa 425,
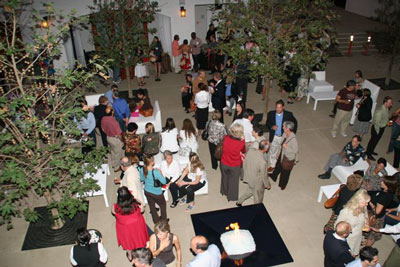
www.Casa425.com and is in the court yard at the hotel. There are 2 of the fire pits and they are 60" x 60" x 20" tall and they are powder coated black with a Clear base glass installed over an 18" round stainless steel ring.
It's like Where's Waldo, can you spot the 2 fire pits below?
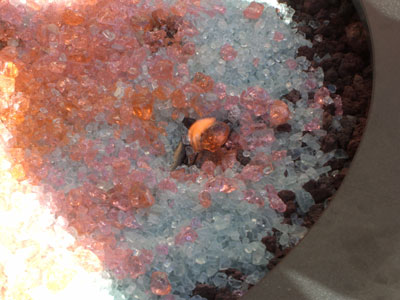
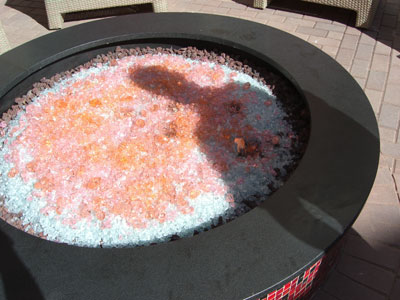
The fire pit below is in Glendale, Arizona at the Renaissance Hotel. We installed an electronic ignition with a 30" stainless steel ring. The glass use was a Clear base with Starfire on top and topped with 42 lbs of Apricot Topper. These pictures were taken with the edges still exposed which were covered by a layer of Starfire.
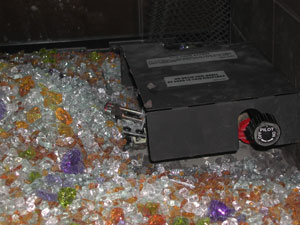
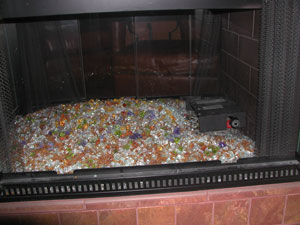
The fireplace below is a propane fireplace with a propane burner and remote control. We used a Clear base with Starfire on top. Then we added:
Medium Amber Topping,
Yellow Amber Topper,
Steel Blue Topper,
Dark Red Orange Topper over the base glass. The controls were covered after the install was finished. If you look closely you can see the pilot light assembly.
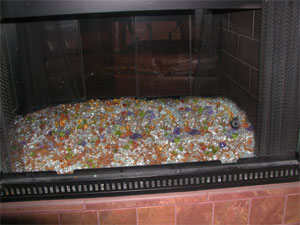
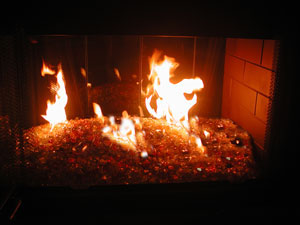
We have over the last few years helped design and and sold dozens of custom fireplaces. The one here was installed in Beverly Hills, California. We designed the fireplace, custom candle pan burner with electronic ignition. We used a Clear base glass from a simple a modern look. We will be posting the pictures as we have time in the near future.
We did the fireplace not the White onyx. What we did does not show but it's what made the fireplace what it is,
designED !
If you take the time to notice the nice texture of the glass. It's because we tumble it (patent pending) that's what also make us and our glass different from anyone else.
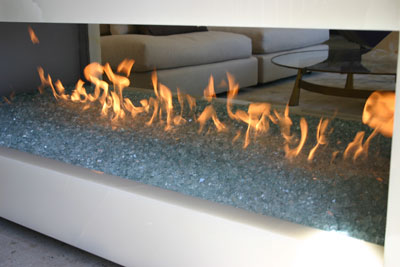
The fireplace below is a propane fireplace. A bed of crushed lava was installed and a Clear base glass was used to cover it all up.
Step 1, paint it!
Step 2, cover the old brick!
Finish the face and floor, very nice!
Install the propane pan burner
Fill in and all around the pan with crushed lava rock.
On the left side you can see the gas connection which will soon be covered as well. On the right side the control cover will be covered as well. This propane pan burner was fitted with a remote control, radio frequency.
Now that your finished your ready for FIRE! Have your spouse light it in the event they didn't follow the instructions! (just kidding again)!
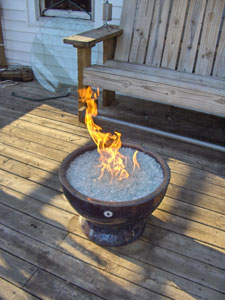
The Terra Cotta pot below is fed by natural gas and was topped with a 1 1/2" layer of Clear over a bed of crushed lava rock.
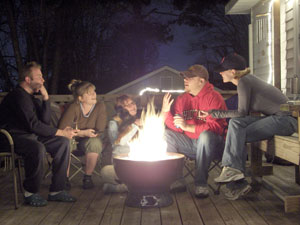
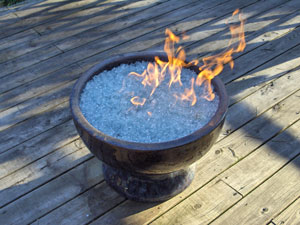
The gas line was drilled from the bottom of the deck and the pot was placed on top
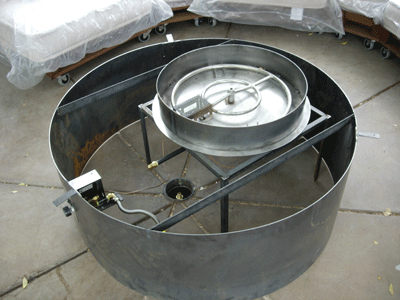
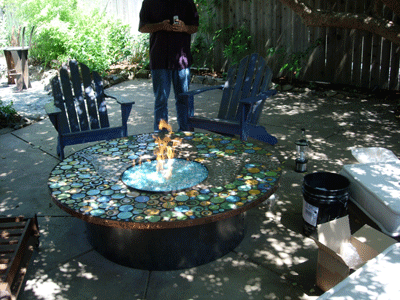
The fire pit below is in San Francisco, California. They use one of out FPPK units.
Here you can see the simple construction.
A local artist made the glass inlay top. Very cool!
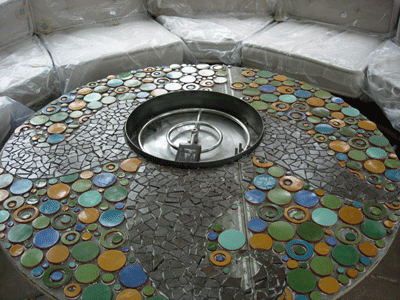
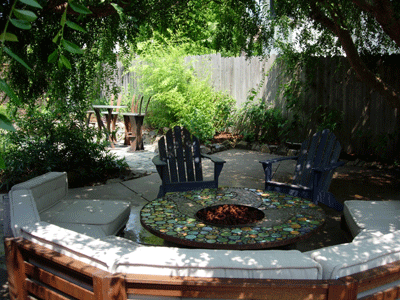
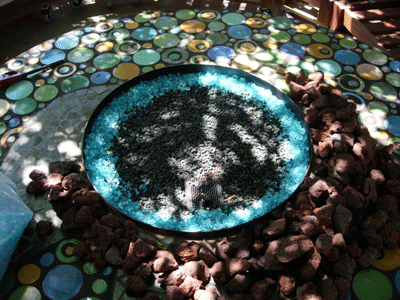
We supplied the FPPK and the Clear glass
The fireplace below belongs to Todd. As you are going to see one great before and after transformation.
He used an 1/8" Clear base with Starfire on top. Then he added Red R Topper, Black Luster Topper and a few Clear Diamonds.
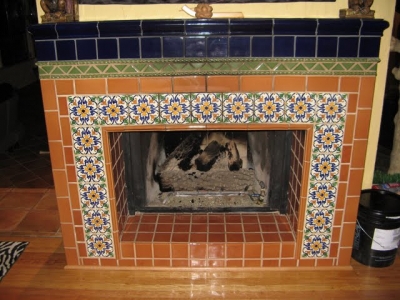
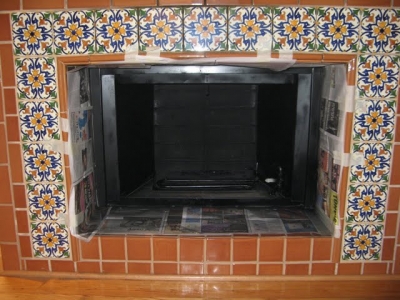
Out with the old and in with the new!
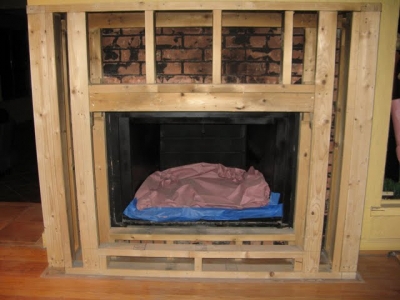
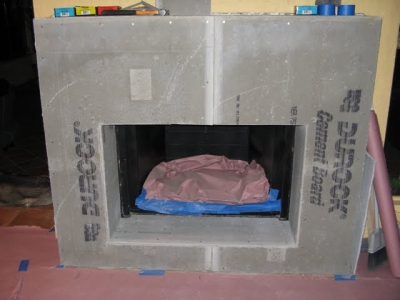
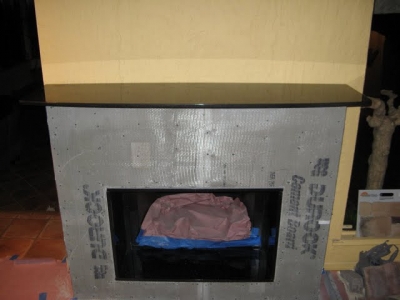
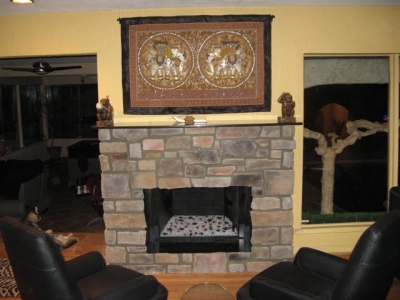
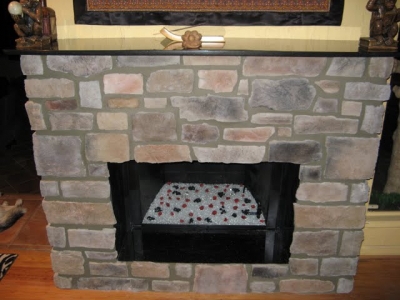
We would of liked more pictures of it burning but Oh Well!
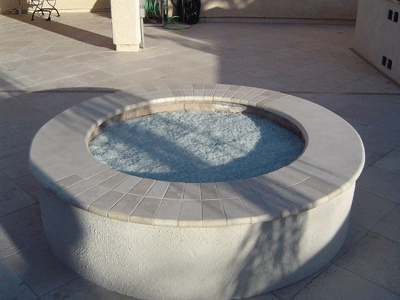
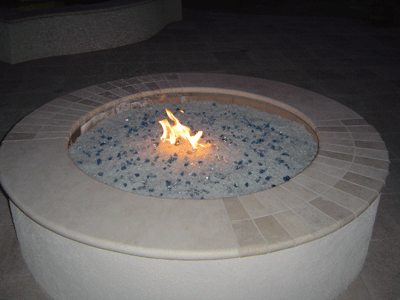
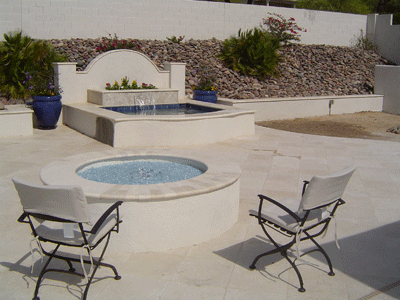
The fire pit below (from Randy Cox) has a Clear base with Pale Cobalt Blue Topper and Aquamarine Topper for a simple but very nice fire pit.
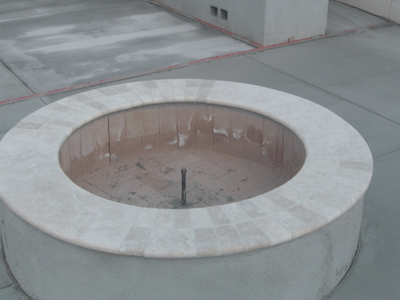
Below you can see the larger 3/4"/ 1" crushed lava rock as a base filler.
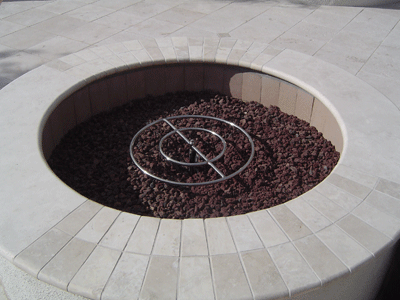
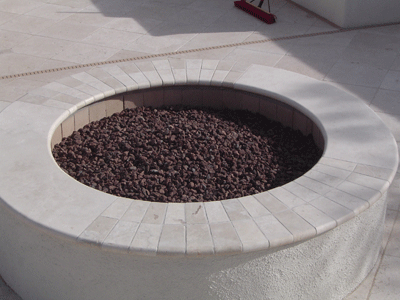
Below you can now see our 1/4" crushed lava to finish off the larger lava.
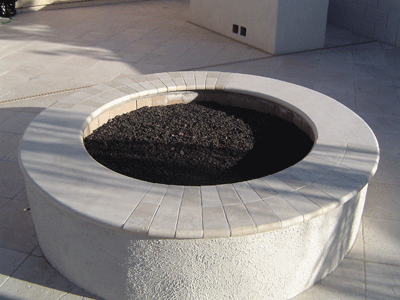
The glass goes in and your finished!.
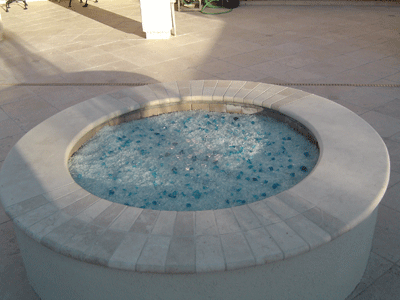
Randy installed a 22" stainless ring and when he took the picture he had the flame on low.
The fireplace below has a Clear base with:
1/2" Clear base glass,
V Blue and Chunky base glass,
Blue Green base glass,
Azurlite base glass
Blue Pyrite base glass on top.
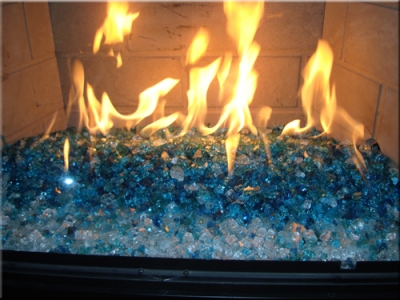
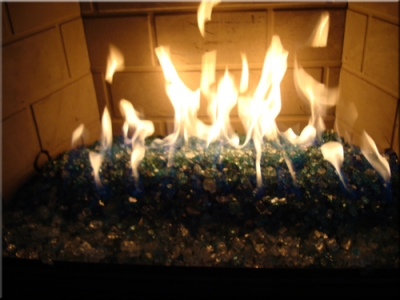
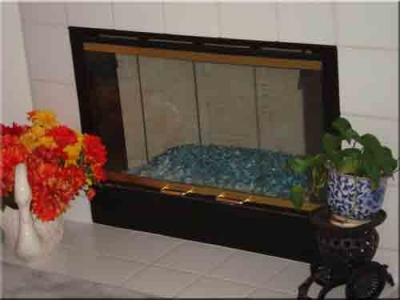
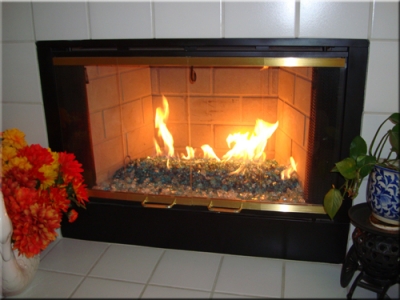
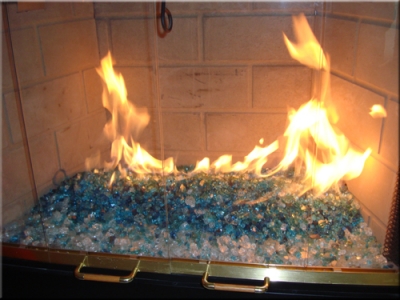
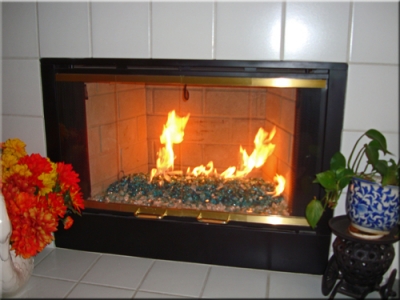
The fireplace below is in San Diego, California and the colors used were:
wow!
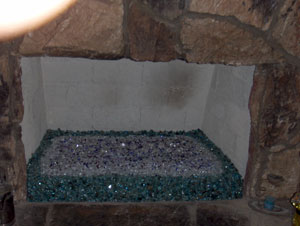
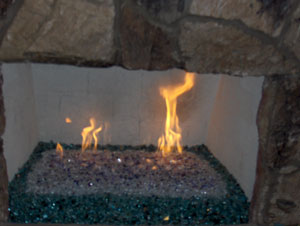
The end pictures show that the burner was too close the wall which was an easy fix by moving the burner forward.
This is where is went a little bit wrong, oops. We just had them move the burner forward and now its fine and the back wall was repainted.
The fire pit below has a Clear Base Glass with Azurlite Base Glass and Ford Blue Base Glass on top. Then it was topped with Dark Red Orange Topper, Yellow Amber Topper and Amber Topping.


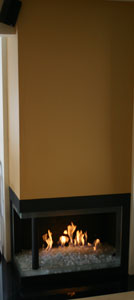
The fireplace below has a 3" layer of crushed lava, 1/4" Clear Base Glass, 1/2" Starfire Base Glass, 3/4" Starfire Base Glass for the chunky look and a flush surround to finish it off. A very impressive and modern house and fireplace. From beginning to end, here we go.
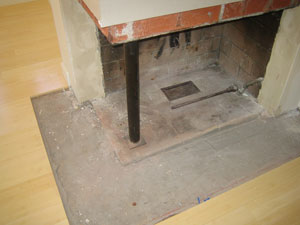
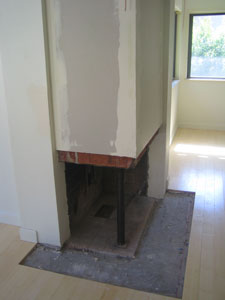
We also floated the walls to level the fireplace and get it ready for the surround.
A little bit of granite on the floor
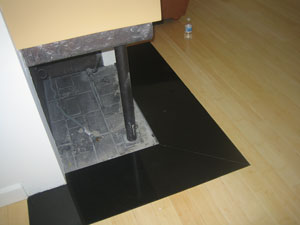
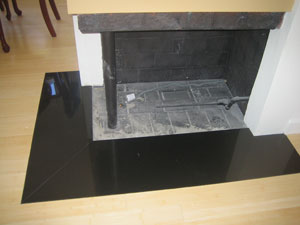
If you notice to the right there is no valve to turn it on? The plumber from a few years ago has it to the right about 5 feet, DUMMY! Lets fill the fireplace with gas before we get there and see what happens! Don't hire that plumber.
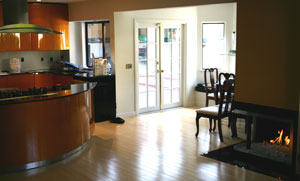
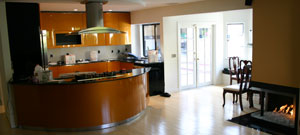
We are now going to do an extended 3/4" glass radius counter in the kitchen in front of the stove for a glass counter top.
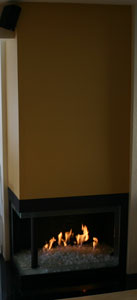
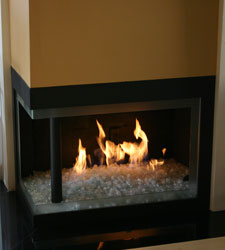
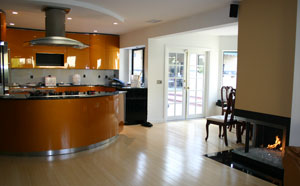
We also bent all of the kitchen handles to contour the cabinets.
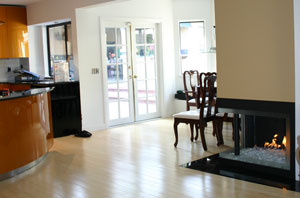
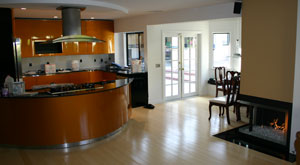
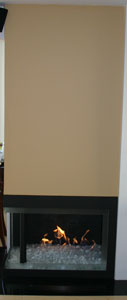
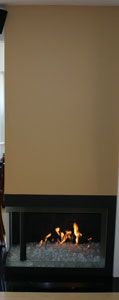
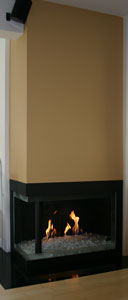
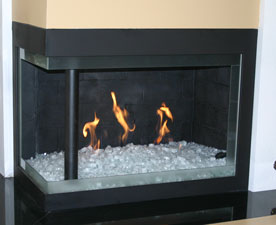
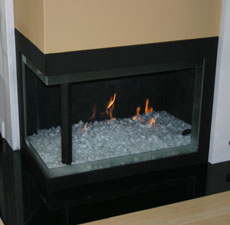
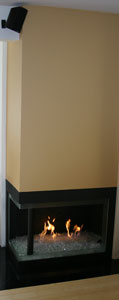
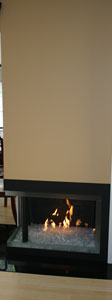
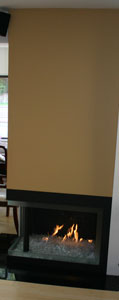
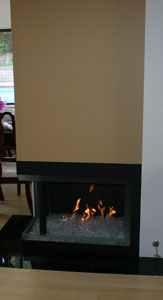
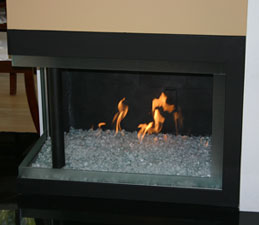
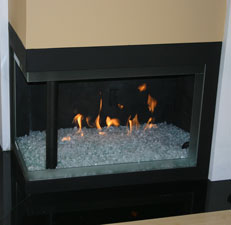
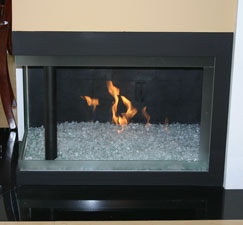
Now you can see the fireplace valve to the right.
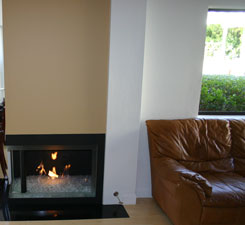
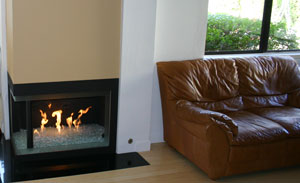
We flush fit a surround to the wall for a final finish. This was a satin black aluminum frame with 2" of glass installed
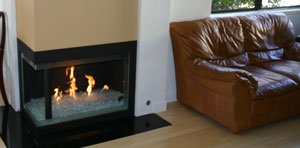
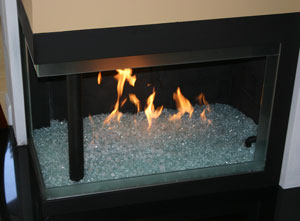
We are capable of any size project from design to a full installation (depending on our current work load). There is nothing we can't do as we are the the first and foremost authority in our field. We never say NO! We do only what the other companies can only dream about!
Ed

