http://www.aquaticglassel.com https://www.aquaticglassel.com
Moderustic Aquatic Glassel Fireplace Glass Rocks Propane Fireplaces

Ed@Moderustic.com 909 989 6129

Remotes, Surrounds and Fireplaces!

The fireplace below is in Pasadena, California. This fireplace is a two sided fireplace with a remote control, two stainless steel surrounds, quad "H" burner, custom 2" stand off quick release brackets on the surrounds, 2" install with crushed lava rock filler, Black Reflective and it looks awesome!

These 2 pictures show the bracket system being installed.

lara 1lara 2

As you can see these have been hinged.

lara 3lara 4

lara 5lara 6

The base connection and remote control are being installed.

lara 7lara 8

After the burner is connected we always test burn. Make sure there are no LEAKS!

lara 9lara 10

For those of you who want remote controls, you can see there are a few items to hide. Once you get the glass in over the pipes and connections, it's not too bad. For this type of remote control there has to be a safety pilot light and thermo coupler with the valving system.

lara 11lara 12

The flames are low at this point because the meter has to be turned up by the gas company as there is not enough pressure for this type of burner.

lara 13lara 14

The crushed lava goes in now and the burners are pulled to the surface before we pour the glass over the lava and glass. Do not pour the lava up to the edges but keep it back about 3" to 4" from the edges.

lara 15lara 16

lara 17lara 18

lara 19lara 20

If you look at the front lower right of the fireplace you can see the electronic eye of the remote control.

lara 21lara 22

This surround had a front base plate with 2 pins standing up to receive the surround which had 2 holes in the same place. Then the 2 brackets lifted up to attach and hold the surrounds in place. The customer wanted this child proof, so we invented a way to do this and it turned out great.

lara 23lara 24

lara 25lara 26

lara 27lara 28

lara 29lara 30

lara 31lara 32

If you will notice this surround was 2" away from the fireplace as this is the design the customer wanted. Pretty cool idea! The bracket system we created is child proof and easy to remove the surrounds as well.

lara 33lara 34

lara 35lara 36

lara 37lara 38


Click below or on the picture below to see step by step makeover

Darrel Kelley Fireplace Remodel

Here is a picture below of the actual remote unit for the fireplace and on the right is the electronic eye which goes on the outside of the fireplace. The remote unit is shown with out the heat shield. This type of remote control has a variable flame and must have a standing pilot light.

mmvkrck 1


The propane burner below was made to inset flush to the floor with a remote control underneath the pan. The pan sat 5" below the surface so the glass would appear to be just above the surface. The outer ring was bolted down to keep the glass from falling underneath the burner in the event you ever had to service the burner or remote control. The tower you see is actually for the air mixer to draft fresh air to the propane before it burns.
ventless 1
ventless 2
ventless 3

As you can see we drilled it to look like a ribbon burner. This is what was ordered by the customer.

ventless 5
ventless 6
ventless 7
ventless 8

The fireplace below has a battery operated remote controller.


The fireplace below was done for Nick Cannon (http://www.nickcannon.com/) in Hollywood Hills California. We installed a remote control inside of the fireplace on the left side as you will see. The remote control was an IPI (Intermittent Pilot Ignition) so the pilot light only goes on when you turn the fireplace on with the remote control. We use a lava base filler and topper it with 1/8" Black Base Glass for a very fine layered look. The fireplace was coated with a high heat concrete mix to make it look wider and lower. A very contemporary look and it looks great.
The remote is on the lower left side with crushed lava all around
nick cannon fireplace 3
nick cannon fireplace 3a
We have turned it on to a low flame
nick cannon fireplace 4
nick cannon fireplace 5
nick cannon fireplace 6
Now we add the 1/8" Black Base Glass
nick cannon fireplace 7
nick cannon fireplace 8
nick cannon fireplace 9
nick cannon fireplace 10
and now you have one very simple but unique fireplace. You almost can't see the remote because of the glass color. The remote was to go inside the left cabinet but the plumber forgot to show up, oh well. But it's done and everyone is happy.
nick cannon fireplace 11


The fireplace below is in Glendale Hills California. We installed Starfire Base Glass with about 1 lb of Ice Ice Ice Topper on top. Then to finish it off we installed a brass surround with bronze frosted glass. The customer loved it! She is the CEO
of Fredericks of Hollywood! Awesome house by the way.
brass surround 1
brass surround 2
brass surround 3
brass surround 4
brass surround 5
brass surround 6
brass surround 7
brass surround 8
brass surround 9


The fireplace below was installed by the customer (Kim Clark) with a remote control, propane burner manufactured by us and topped with Starfire Base Glass. The fireplace was transformed form an ordinary to work of art, nice job!
kim 2
kim 3
kim 5
kim 6
kim 7
kim 8
The picture below has the burner being tested
kim 9
This is the remote control on the lower right with the pilot light assembly
kim 1
We now have fire!
kim 10
kim 11
kim 12
kim 13

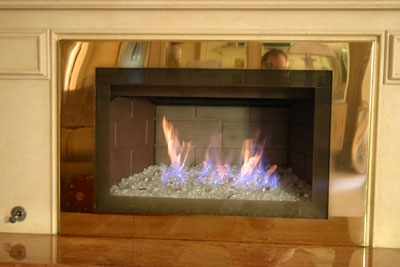
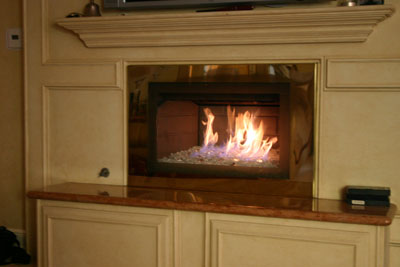
The fireplace below is in Palm Springs California. We installed Starfire Base Glass and painted the interior ivory white and installed brushed surround with clear glass edging.

ps 4

ps 5

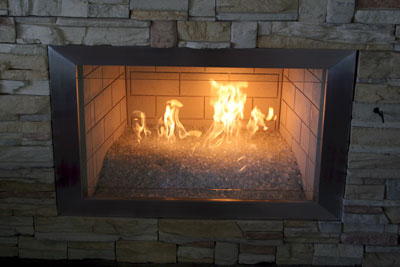
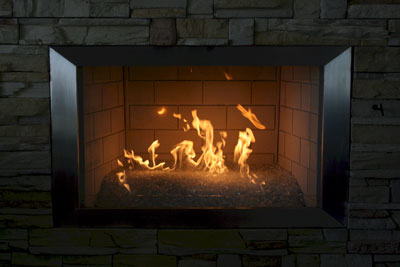
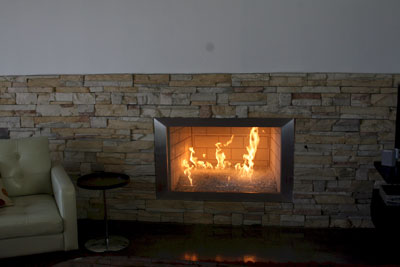
Now it starts to come to life!

ps 6

ps 1

ps 2

ps 3

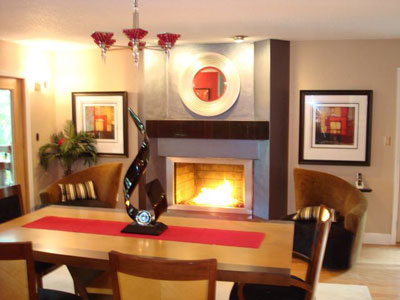
It just looked sooo good, we had to post all of the pictures!

ps 7

ps 8

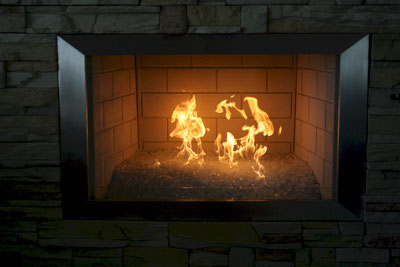
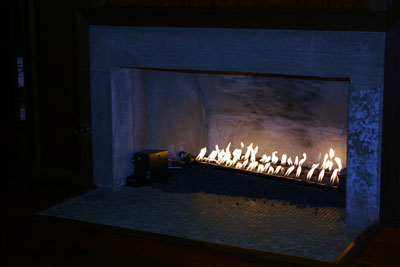
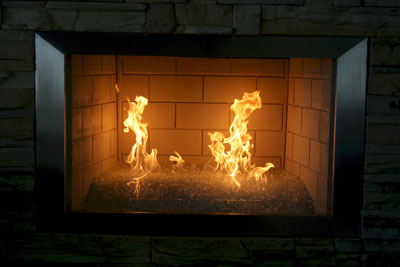
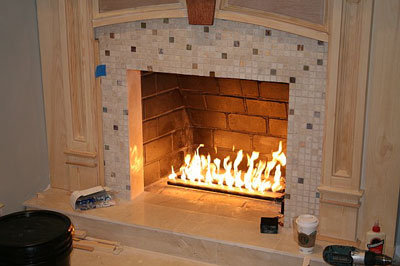
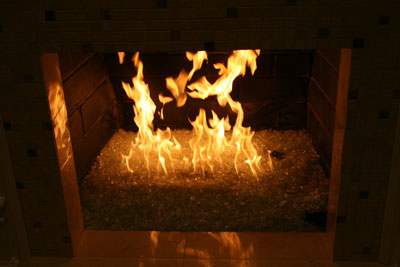
Amazing flame work by night and below simple and nice to see by day.

This surround has 4" sides and 3" top and bottom. Every fireplace is a little bit different as we recommend a cardboard template so you can get a preview of what it will look like before hand.

ps 9

ps 10

ps 11

ps 12

ps 13

ps 14

ps 15


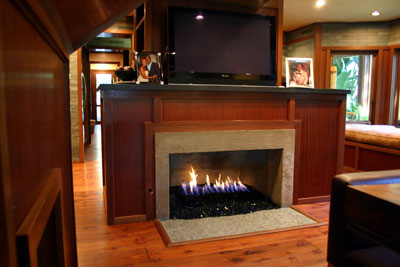
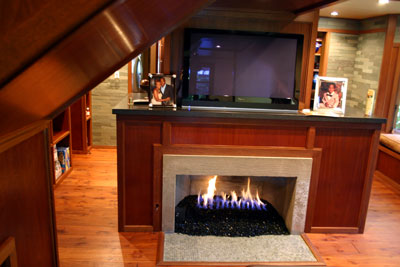
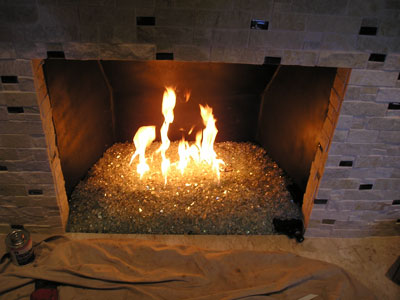
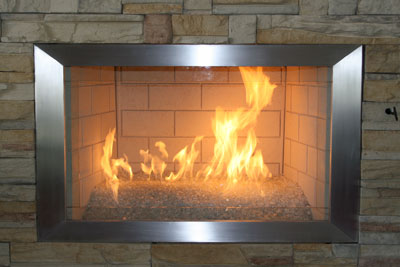
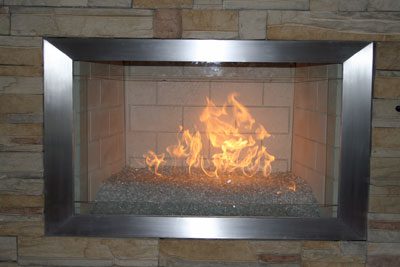
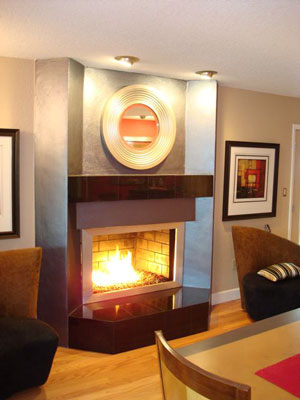
The fireplace below has a Starfire Base Glass with Citrine Topper, Dark Red Orange Topper, and Orange Topper with a touch of our Ice Ice Ice Topper. This was a complete remodel in natural gas and a remote control was added with a pilot light

kim 1

kim 3

kim 5

kim 6

kim 7

kim 9


kim 1

kim 2

kim 3


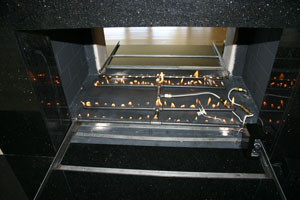
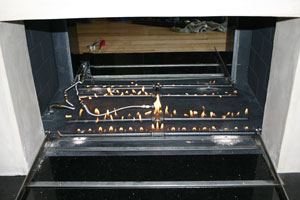
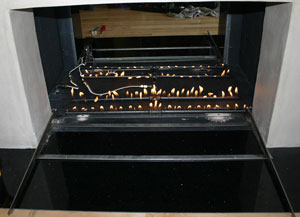
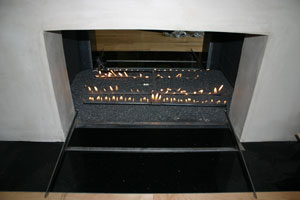
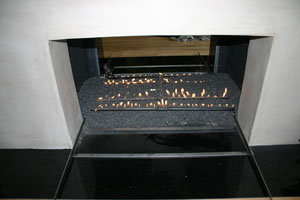
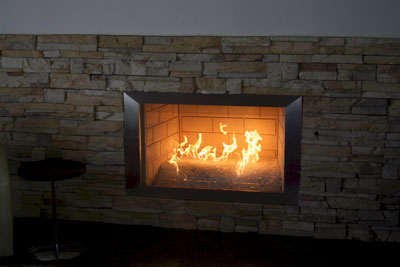
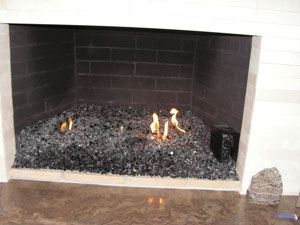
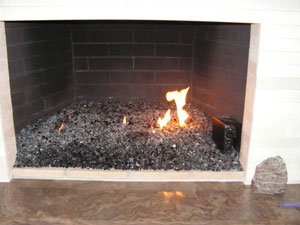
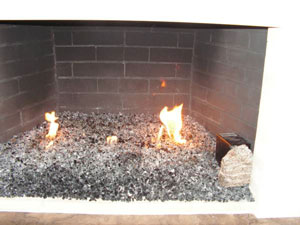
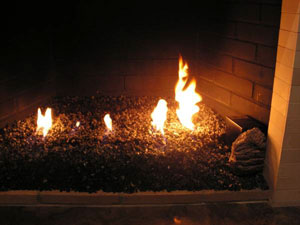
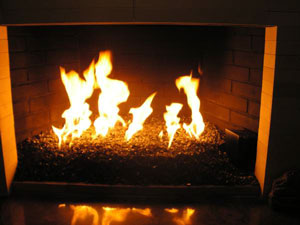
The fireplace below in in Lakeland, Florida and was installed by John Addison for his customer. The fireplace has one of our propane pan burners with a remote control. We built a brushed aluminum surround with out the inner glass per the customer request. The glass that was used was a Gray base Glass with Black Base Glass and Copper Ruby Red Topper on top.

john 1

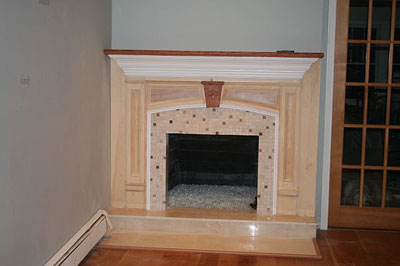
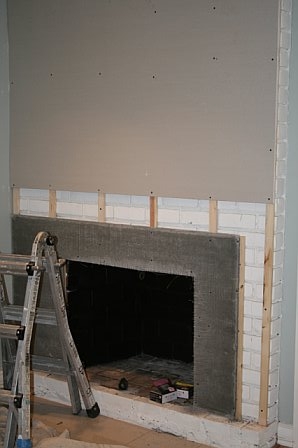
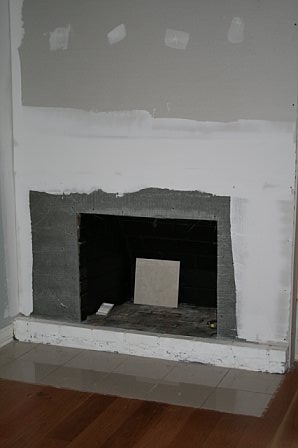
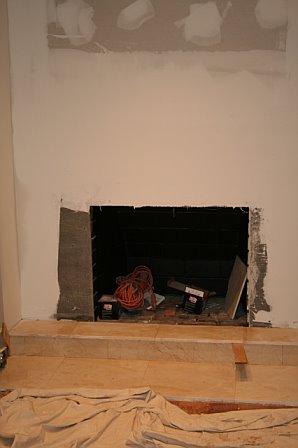
As you can see the fireplace was not much to look at until we added our touch.

john 2

john 3

john 4

john 5

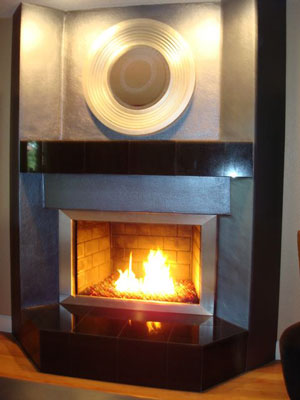
You be the judge, We think it turned out wonderful!

john 6


The fireplace below is a propane fireplace. A bed of crushed lava was installed and a Clear Base Glass was used to cover it all up.
Step 1, paint it!
pat 1
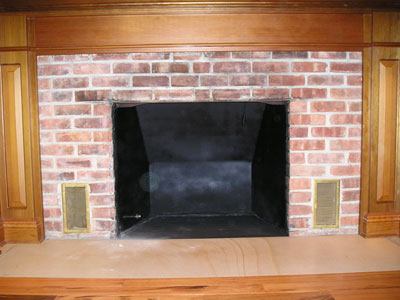
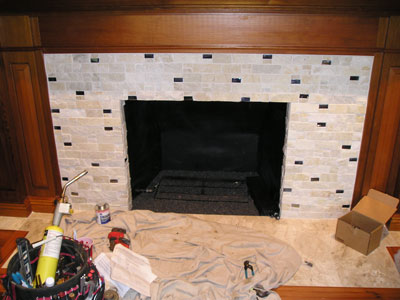
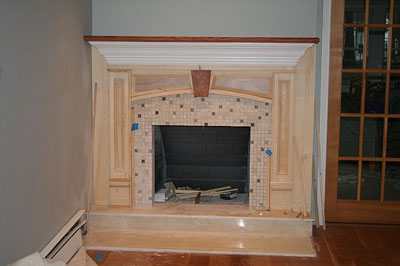
Step 2, cover the old brick!
pat 2
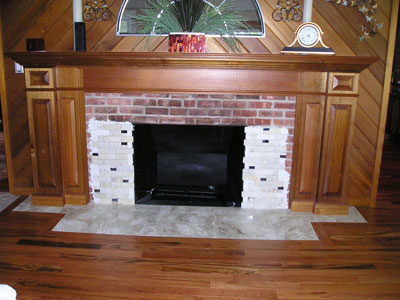
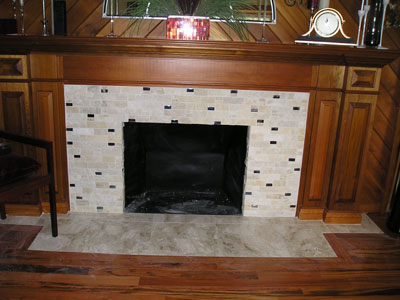
Finish the face and floor, very nice!
pat 3
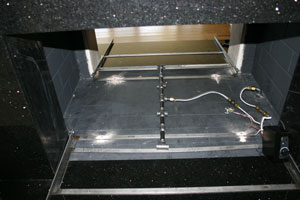
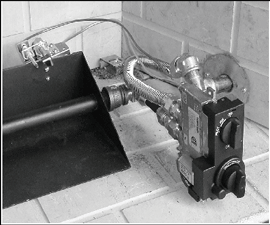
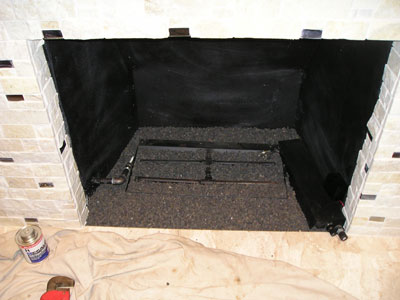
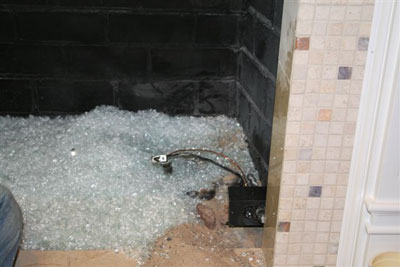
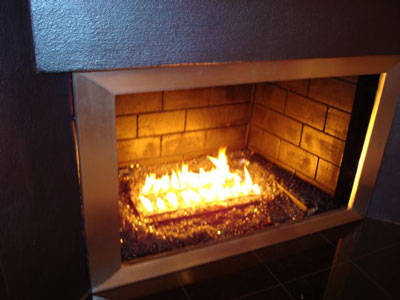
Install the propane pan burner
pat 4
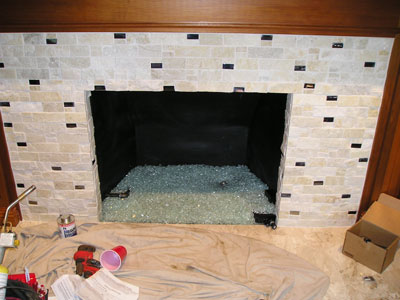
Fill in and all around the pan with crushed lava rock.
pat 5
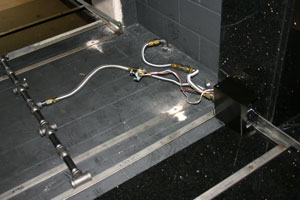
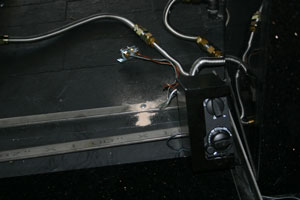
On the left side you can see the gas connection which will soon be covered as well. On the right side the control cover will be covered as well. This propane pan burner was fitted with a remote control, radio frequency.
pat 6
pat 7
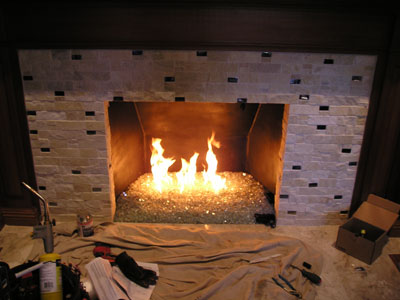
Now that your finished your ready for FIRE! Have your spouse lite it in the event they didn't follow the instructions! (just kidding again)!
pat 8
pat 9


The fireplace below has a Bronze Base Glass with Starfire Base Glass on top. The customer installed a Maxitrol remote control on the right side

frank 1

frank 2

frank 3

If they would of used more filler it could of covered the remote at least on the top portion.

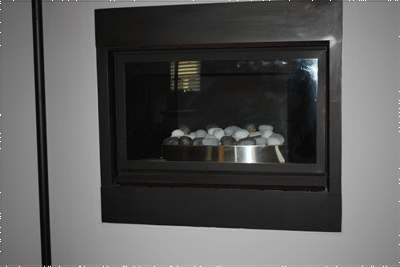
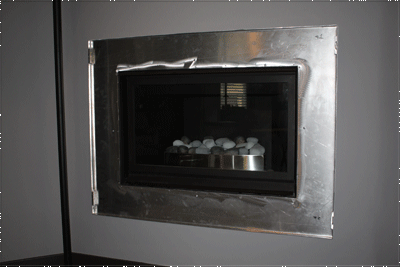
Putting a ceramic pine cone in a glass fireplace defeats the purpose, you think?  I would of used a a fire stone or even a fire ball.

frank 4

frank 5

frank 6


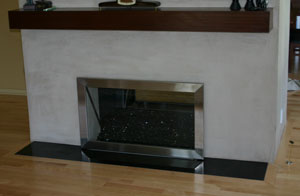
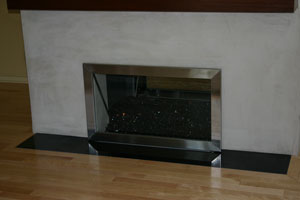
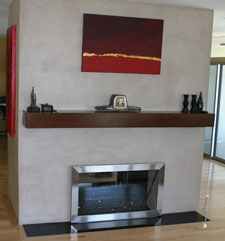
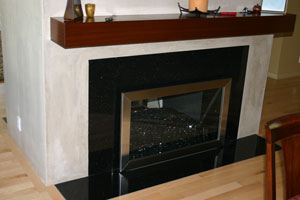
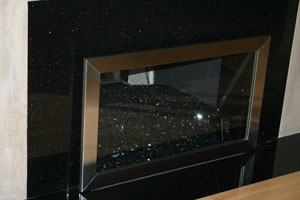
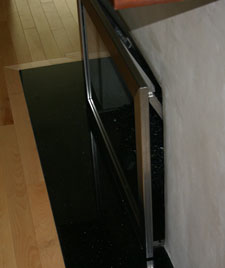
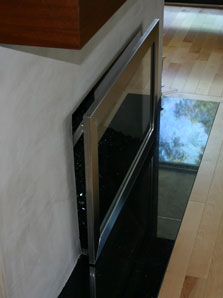
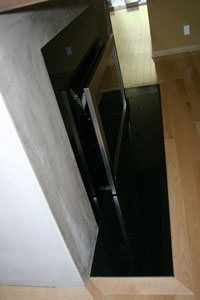
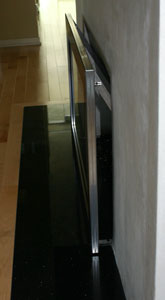
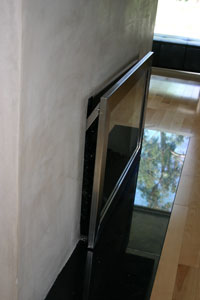
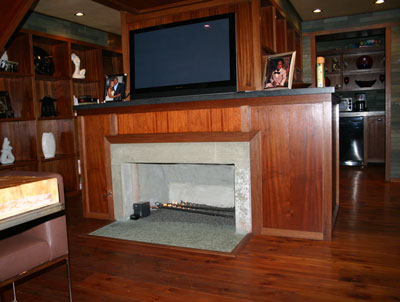
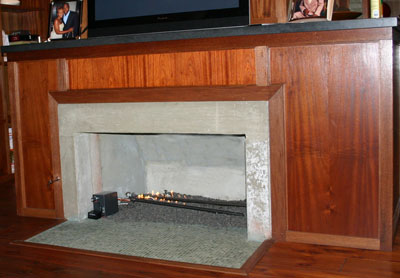
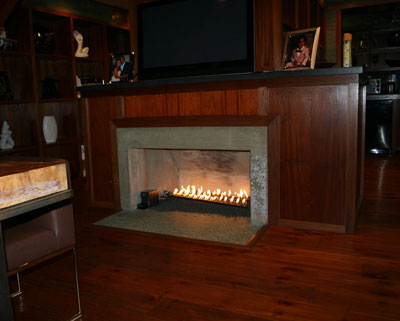
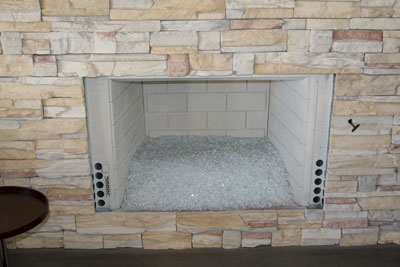
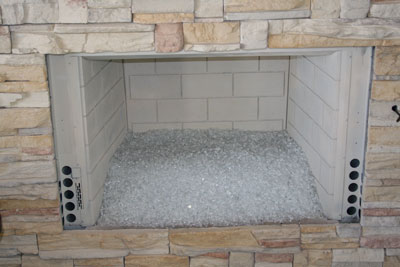
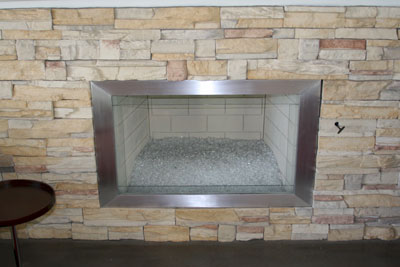
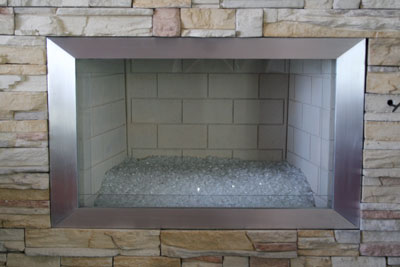
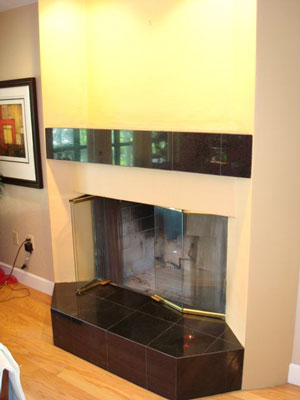
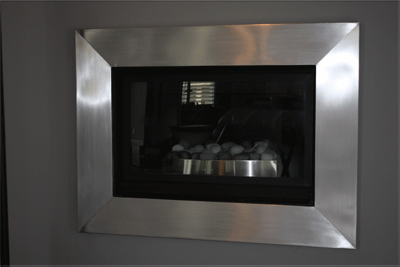
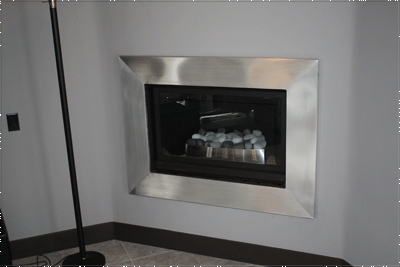
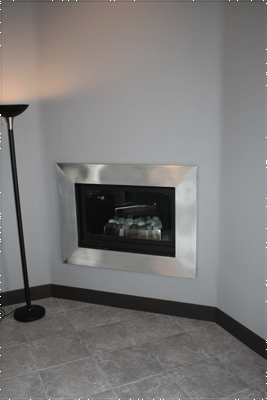
The fireplace below is a direct vent fireplace in Arroyo Grande (Pismo Beach, California). We mounted the back and then attached the face. This surround was with out a perimeter of interior glass. We usually border a 2" band of glass all around the inside edge. We use aluminum for this project.

pismo 1

This is the standard black frame for the fireplace.

pismo 2

Below you can see the back of the surround attached to the fireplace.

pismo 3

pismo 4

Then we just slip the front cover over and done!

pismo 5

pismo 6 


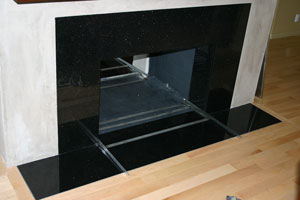
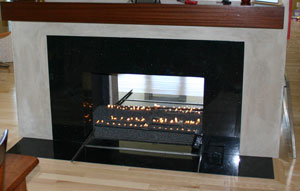
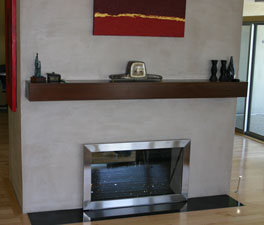
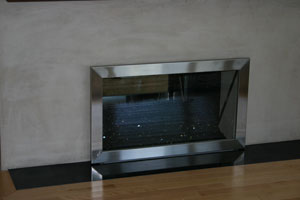
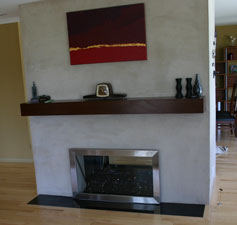
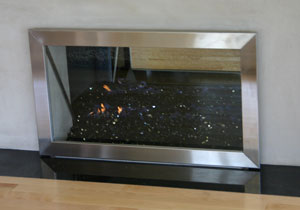
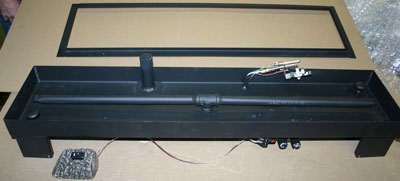
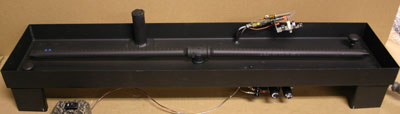
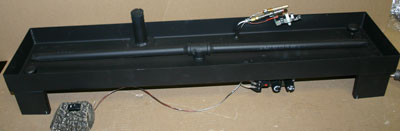
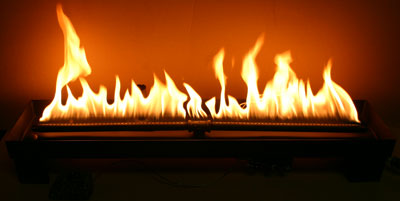
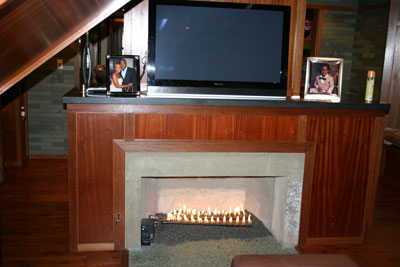
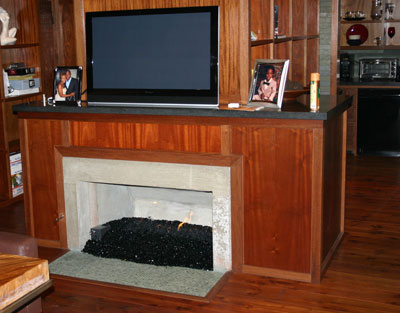
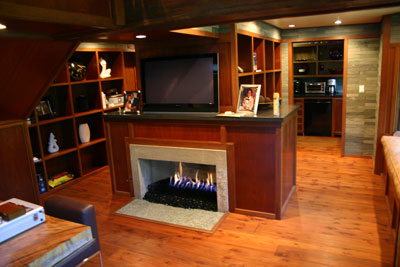
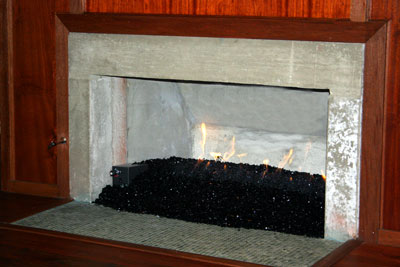
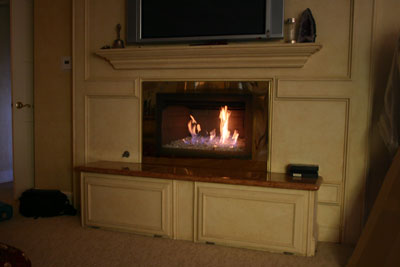
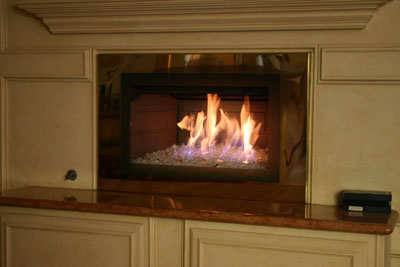
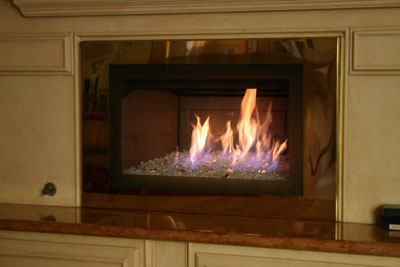
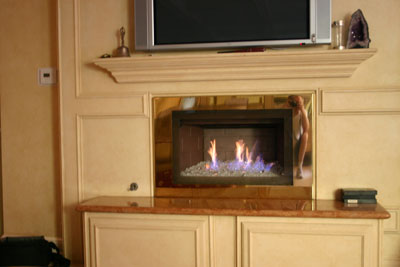
The fireplace below has a steel pan underneath to conceal the 12 volt remote control. We used a Clear Base Glass and topped it with a Starfire Base Glass and then added Amber Diamonds on the surface.

Jim Malless 1

Jim Malless 2

Jim Malless 3

You can see the front plate that was painted to match which is removable if and when necessary to change the batteries. The legs were 4 1/2" and the pan was 2" tall. The removable front metal curtain was 6 1/2" tall.

Jim Malless 4

Jim Malless 5


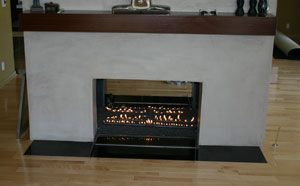
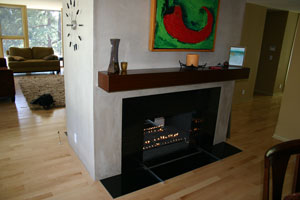
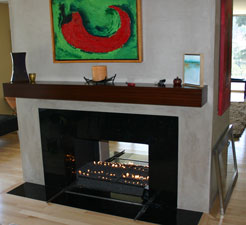
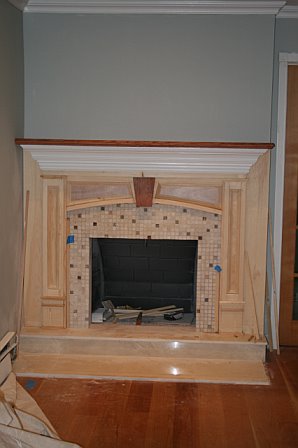
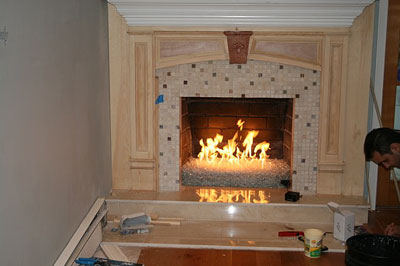
The fireplace below belongs to Robert and Rena in Palm Desert California. They choose a warm brown high heat paint too match their furniture. Here is the just finished surround:Robert Rena 1

Robert Rena 2

Originally we installed two metal shields to cover and hide the nasty looking side vents.  On many fireplaces to keep it minimal we do just the side covers which actually looks fine and finished.

Robert Rena 3

Robert Rena 4

Robert Rena 5

Here is the surround installed. Looks great!

Robert Rena 6

Robert Rena 7

Robert Rena 8

We made 3" sides and top with a 6" bottom with 2" of frosted glass installed on the interior.

Robert Rena 9


The surround below was installed in Riverside California By Ruben. Ruben made a template to fit his fireplace. A bit over the top but Ruben is good for that! By making a preview template you can get a preview of what it will actually look like before we manufacture it for your fireplace. We will explain as we move on:

The wood and card board template. The blue tape will be frosted glass.

Caballero 1

On the back side you can see the cover fins Ruben wanted to have installed. This was to cover what he did not want to see in the fireplace after the surround was installed. In our designs we ask what do you want to see and what don't you want to see.

Caballero 2

Caballero 3

Above and below you can see the surround front finished.

Caballero 4

Caballero 5

Above and below you can see the back side with the fins attached for installation. We will post pictures as soon as Ruben sends them to us.

Caballero 6

Ed@Moderustic.com 909 989 6129

9467 9th street Unit D

Rancho Cucamongs, California 91730
Moderustic Aquatic Glassel Fireplace Glass Rocks Propane Fireplaces