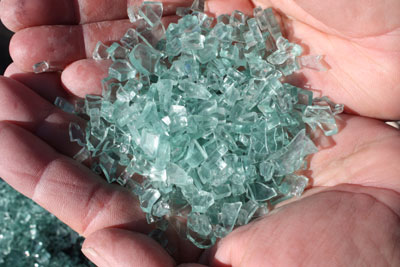
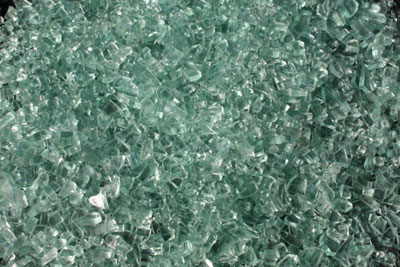
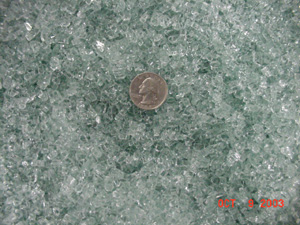
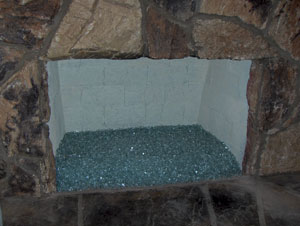
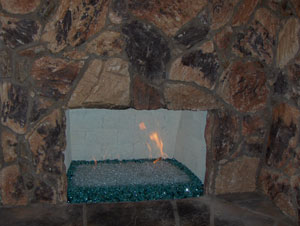
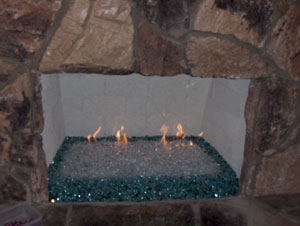
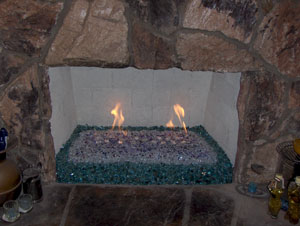
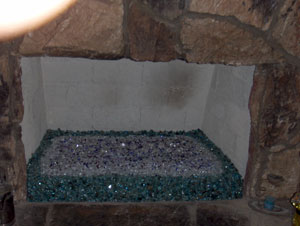
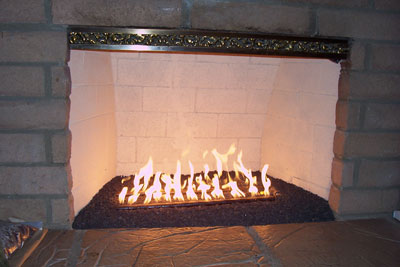
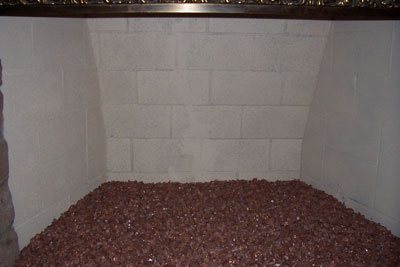
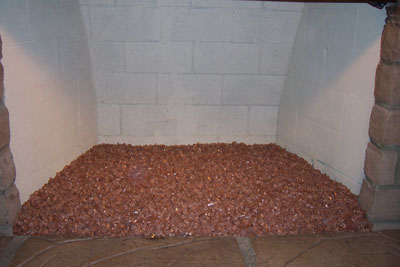
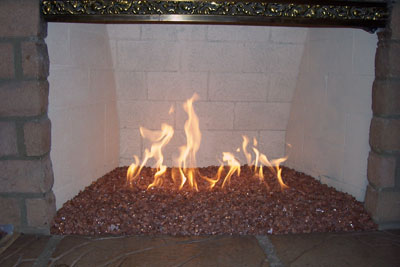
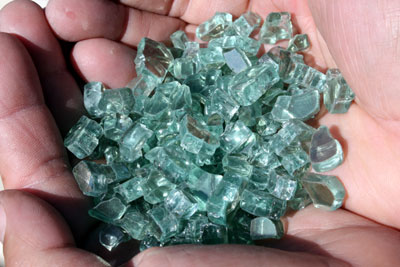
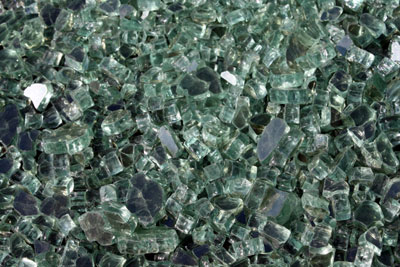
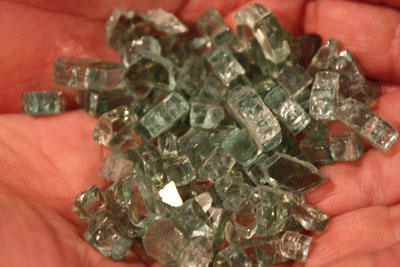
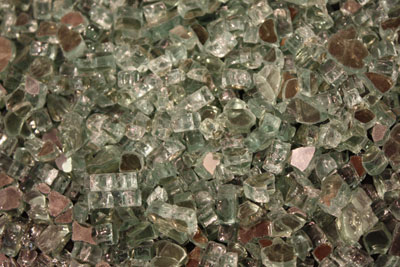
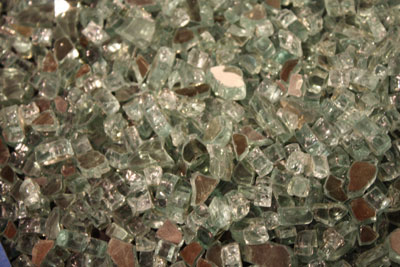
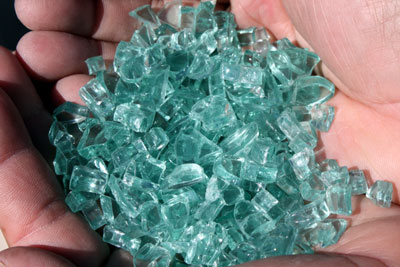
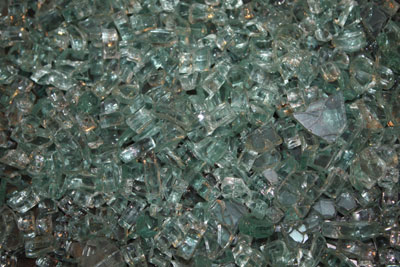
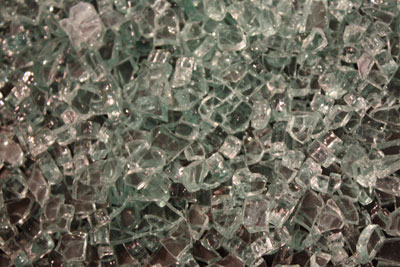
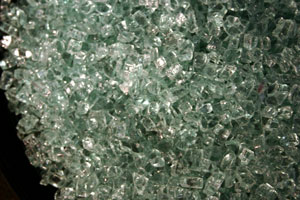
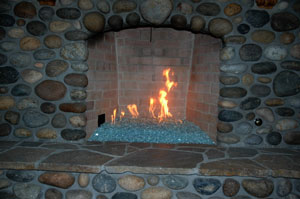
3/16" Solex Base Glass.


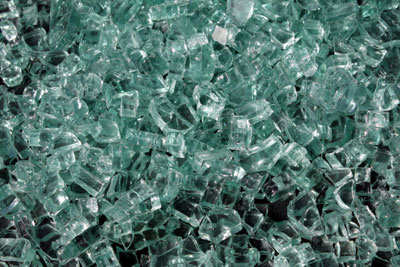
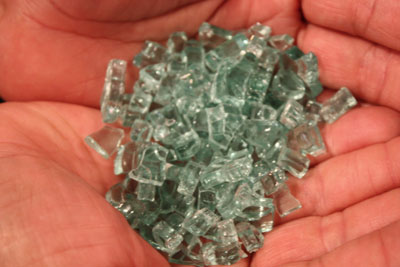
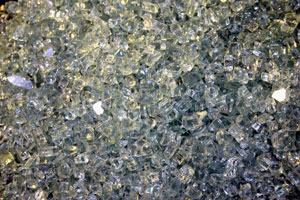
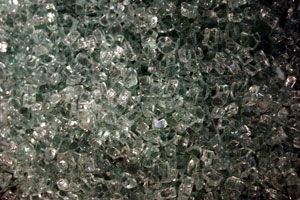
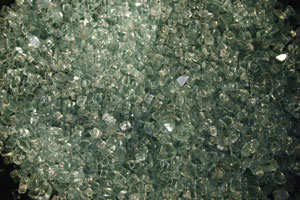
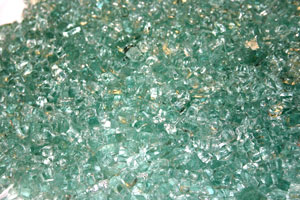
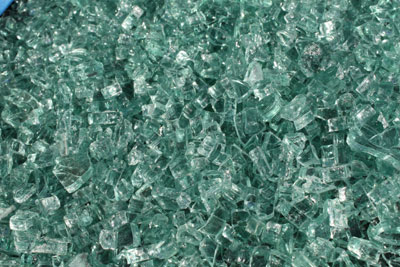
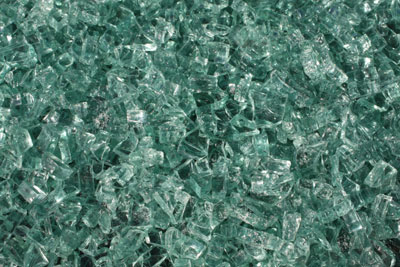
The 4 pictures below are Solex
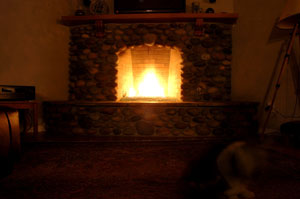
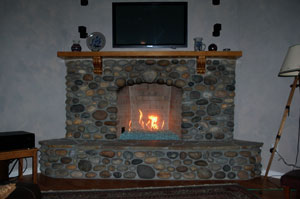
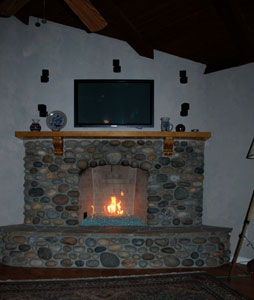
The 4 pictures above are Solex
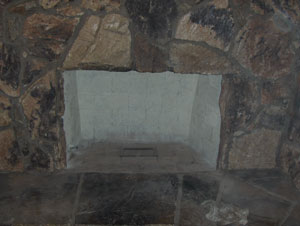
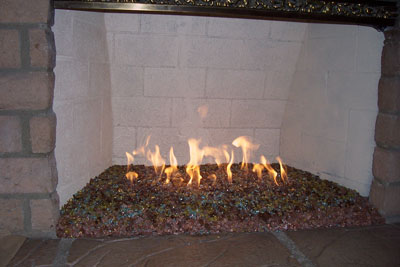
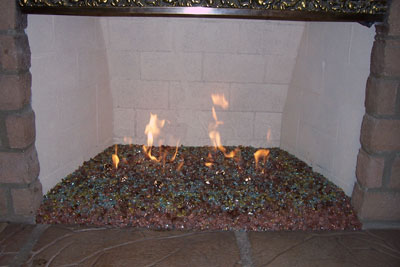
The fireplace below is in San Diego, California and the colors used were:
Cobalt Blue Topper
Steel Blue Topper
Cranberry Pink Topping
Purple Topper
Lilac Topper
Deep Royal Topping
Clear Base
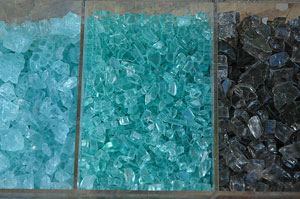
Solex and Solex Reflective
Azurlite and Azurlite Reflective
Blue Green and Blue Green Reflective
and a little bit of Ice Ice Ice on top
wow!
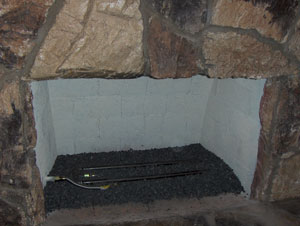
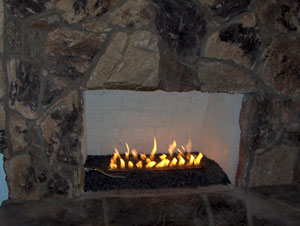
The end pictures show that the burner was too close the wall which was an easy fix by moving the burner forward.
This is where is went a little bit wrong, oops. We just had them move the burner forward and now its fine and the back wall was repainted.
The fireplace below is a before and after with Solex base glass with Gold base glass and Starfire base glass on top. It does look much nicer with out the screens and new paint.
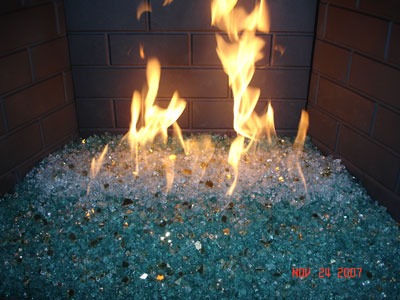
The fireplace below is a self install in Palm Springs at Tim Rockwood's. About 2" of crushed lava was used and a 2" layer of Solex base glass was installed over a double 18" burner. Watch how simple this really is. From ugly to one really nice fireplace.

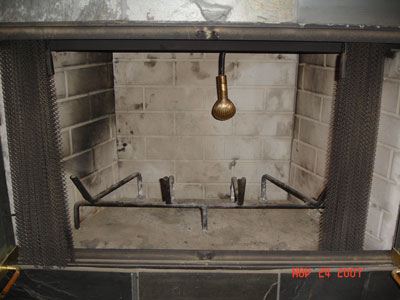
Above and below is what it looked like when the project was started.


Below you can see the grate (noting great here) and the remote control. Too much stuff in the fireplace if you ask me.


Above, if you use a remote control, let's find a better way of hiding it? You think?
Below all of the STUFF is removed, much better!


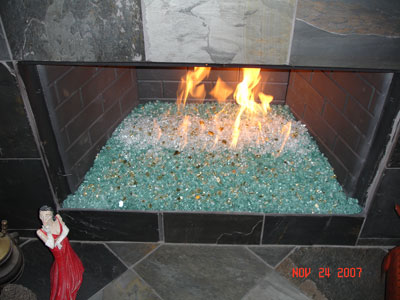
Above and below it is now painted and the double 18" burner is installed.
Very clean look! Uncluttered!


Above the lava was poured up to the gas stub on the left side just enough to cover the burner. Be sure to leave 3 to 4" in the front for the glass. You don't want the lava all the way up front.

Now pour the glass and you have a heat producing fireplace as you were supposed to have in the beginning and it looks pretty good too!


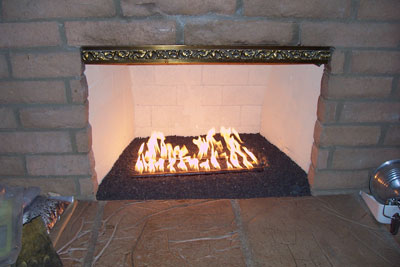
These pictures of the fireplace were taken in the daytime if you were thinking why they were so light.

Price: $4.60[View Details or Buy Now]