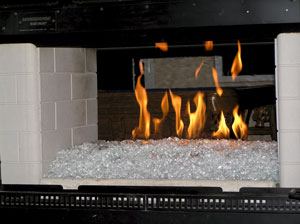
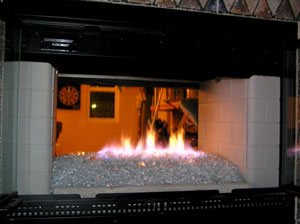
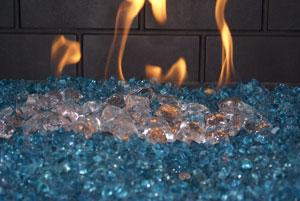
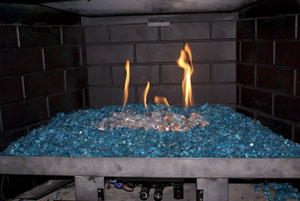
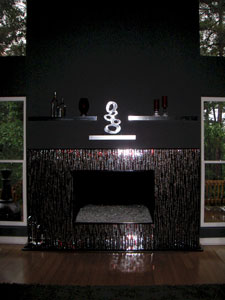
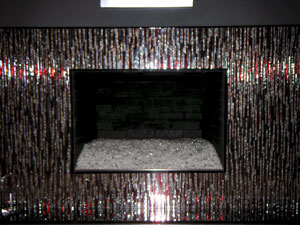
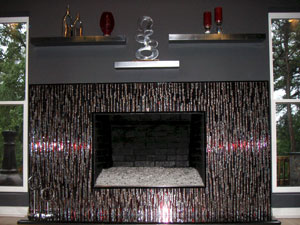
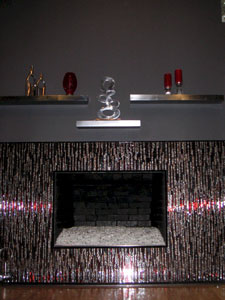
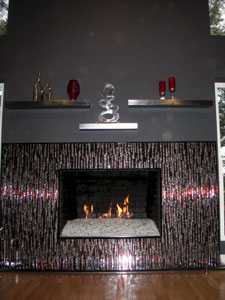
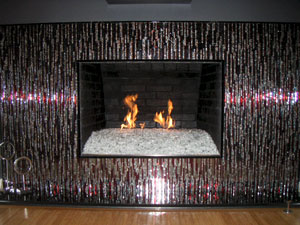
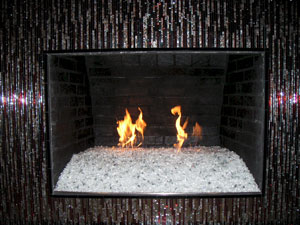
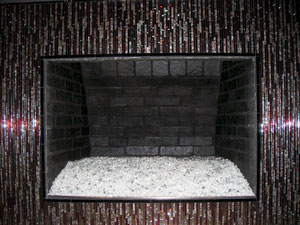
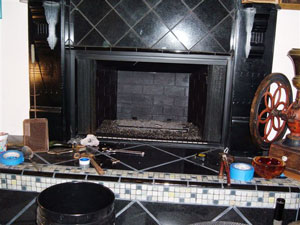
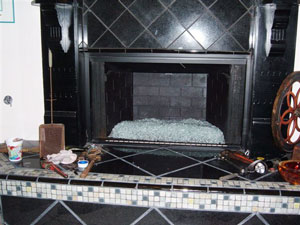
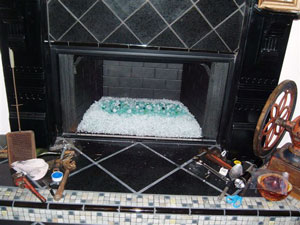
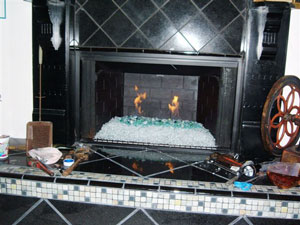
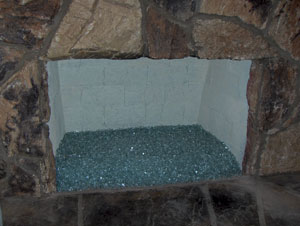
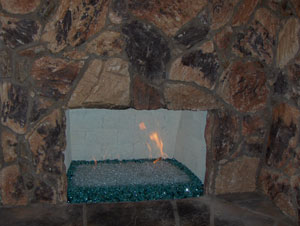
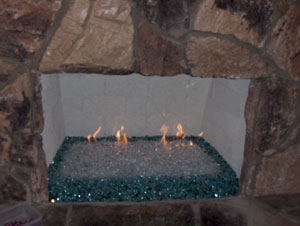
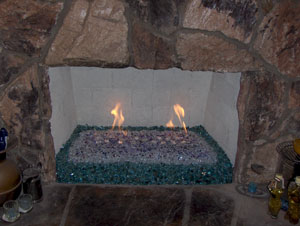
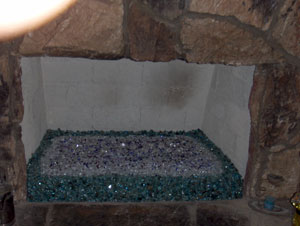
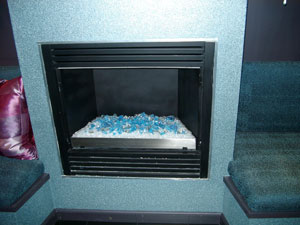
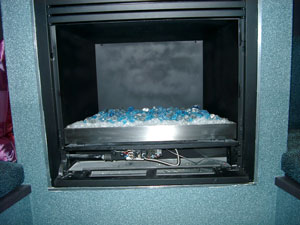
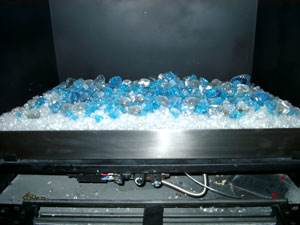
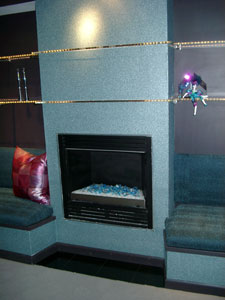
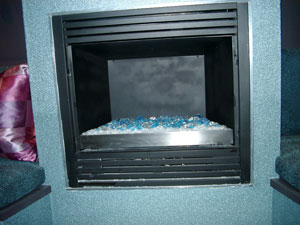
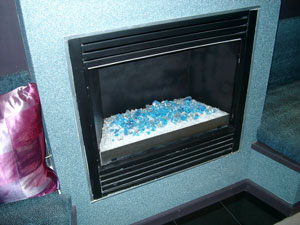
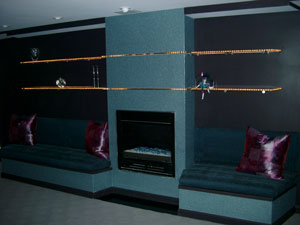
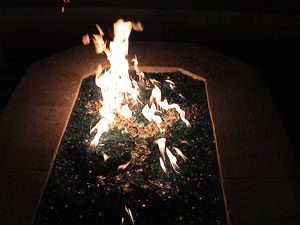
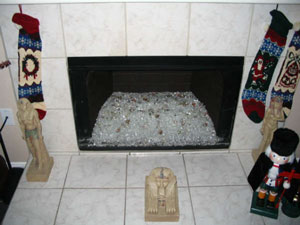
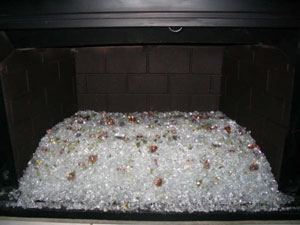
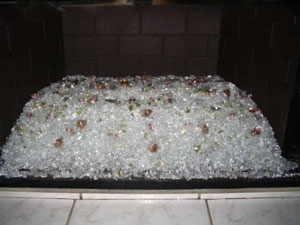
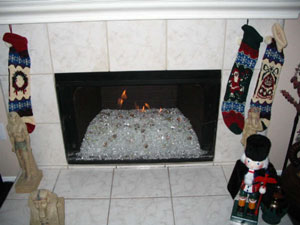
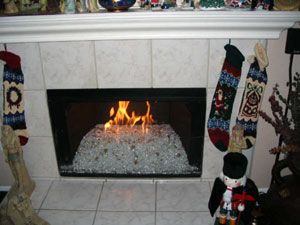
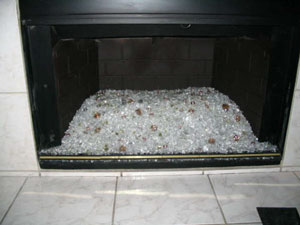
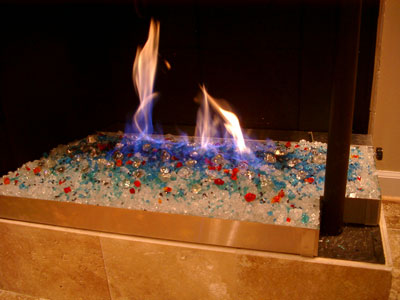
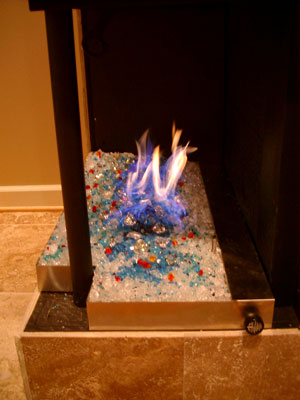
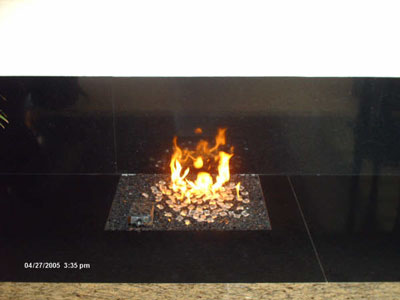
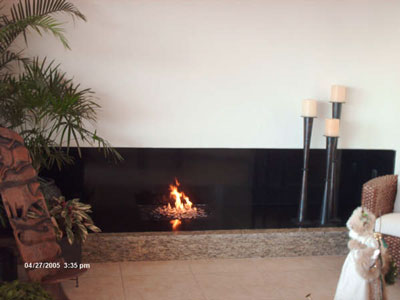
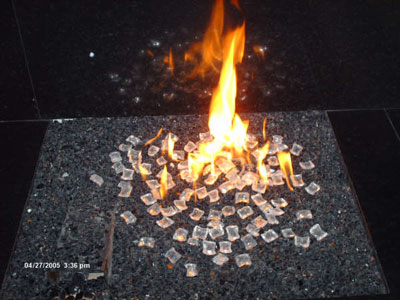
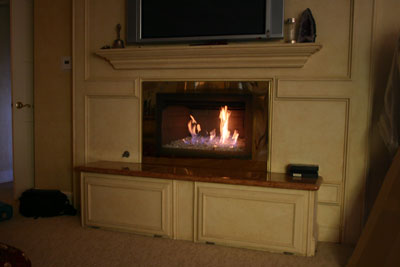
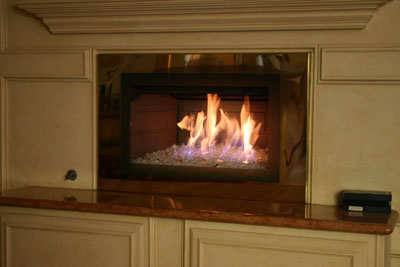
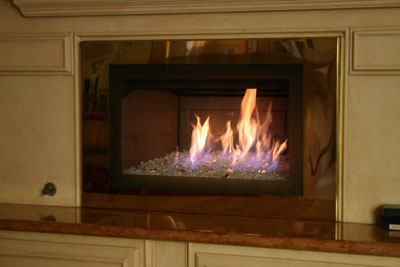
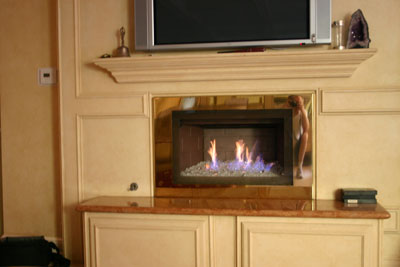
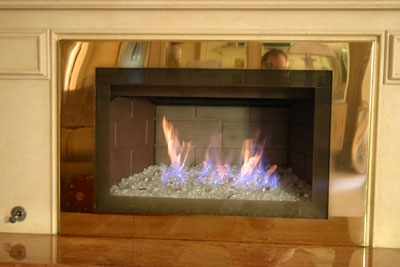
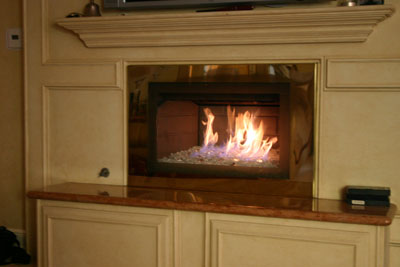
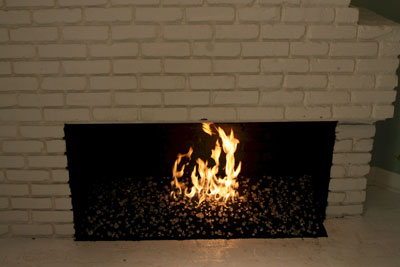
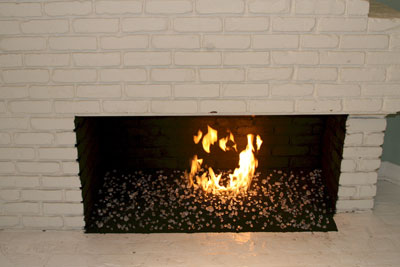
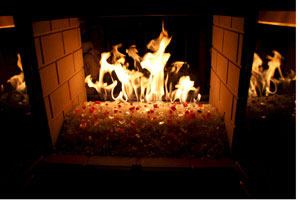
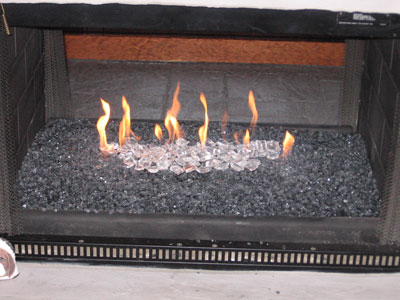
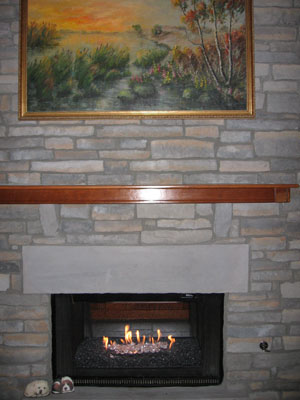
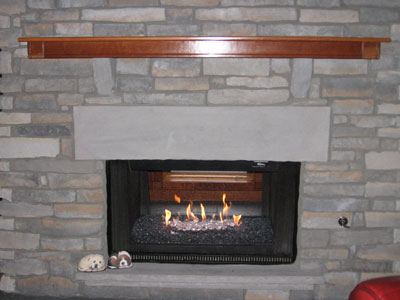
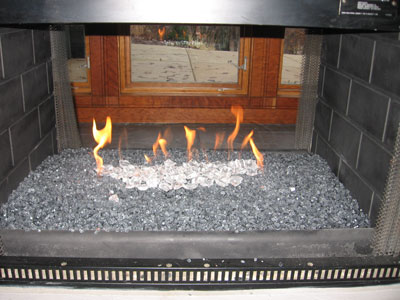
The fireplace below has Black, Black Reflective and ICE on top
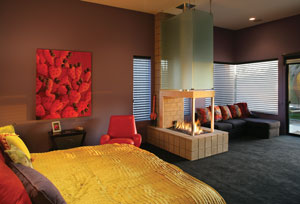
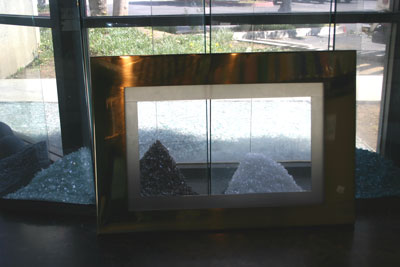
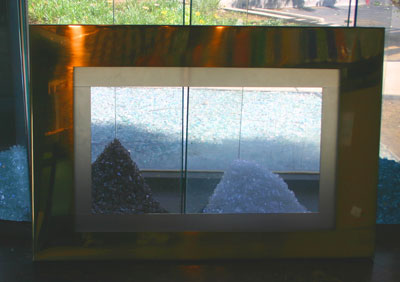
The tables below were made for the Marriott in Boise Idaho
Marriott Hotel Boise Idaho
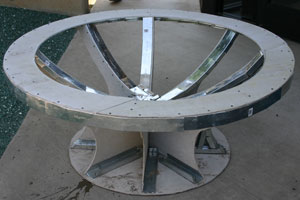
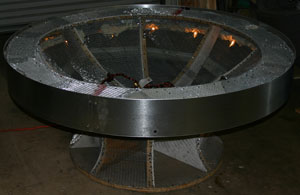
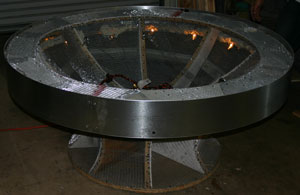
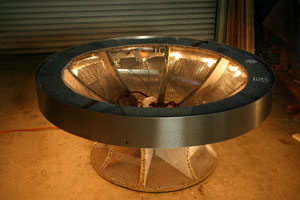
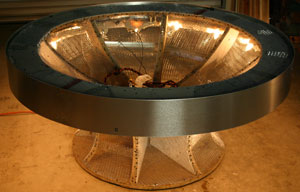
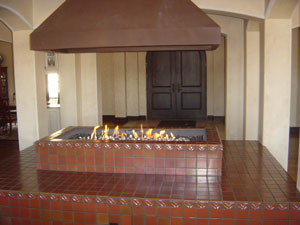
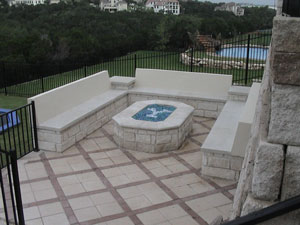
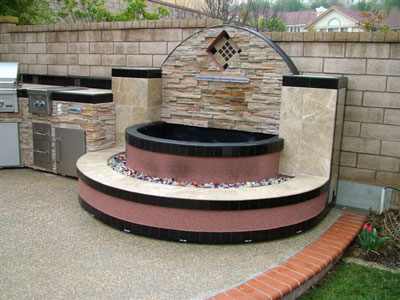
This is a proto type fire table that when finished will be wrapped in wire and finished in smooth high heat concrete mix with a 48" fire bowl in the middle. There will be a 6" brushed metal finished edge to cover under table lights. The table is 60" wide and 24" tall. These will be delivered to Boise Idaho, Marriott Corp. We will post finished pictures as soon as we can.
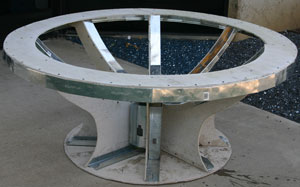
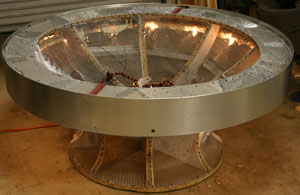
A brushed finish 8" edge was added along with a touch sensor to turn the lights on under the table. It is a 3 position sensor (high, medium and low).
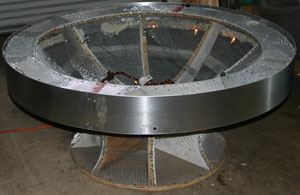
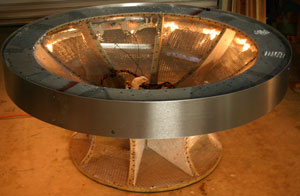
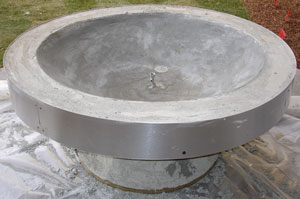
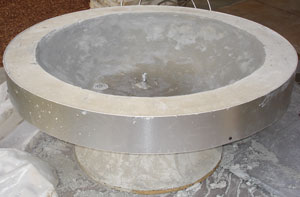
Now the high heat concrete is applied and shaped.
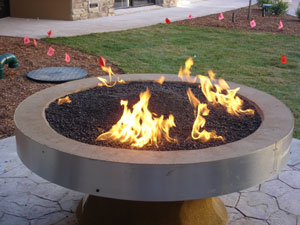
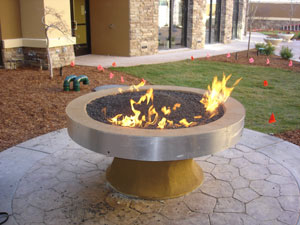
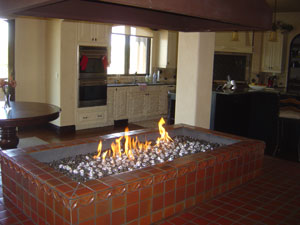
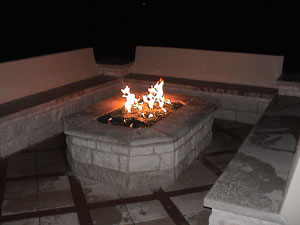
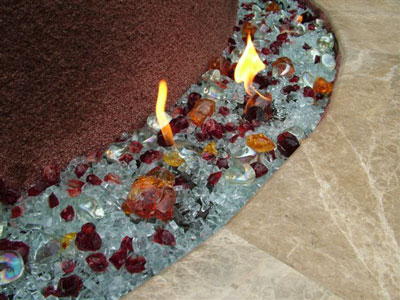
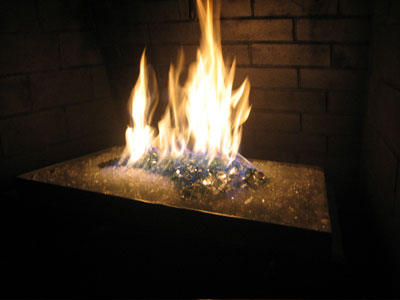
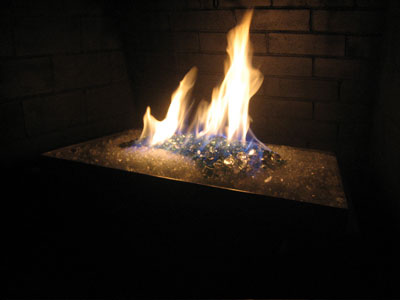
As it turns out there is a 36" triple ring under the lava rock and we are down sizing it to a 24" double ring. As you can see when the wind blows the fire get a little bit close to the edge.
If you had a drink near the edge it would be a little bit warmer now. The sides will be dropped about 3 inches and the center raised about 3" and a 24" ring will finish it off. We will post the pictures of the glass and ICE when it is installed in a few days.
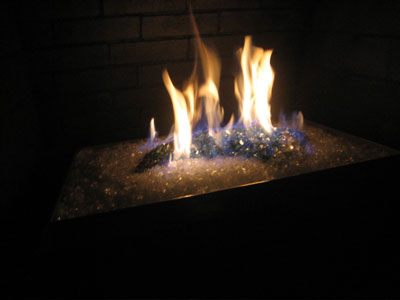
here are the finished table pictures
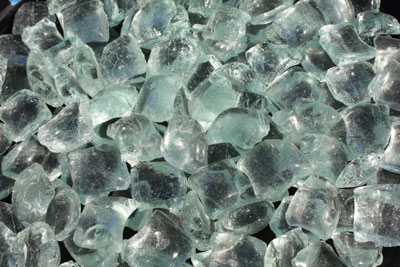
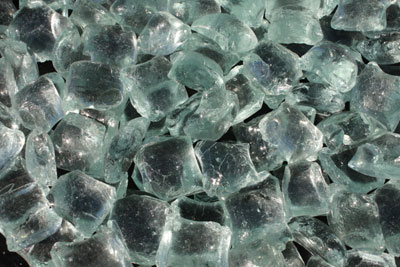
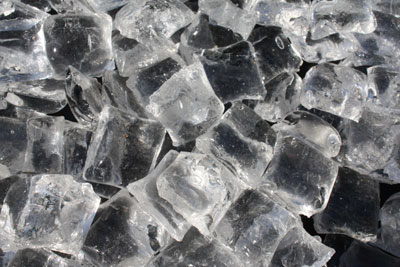
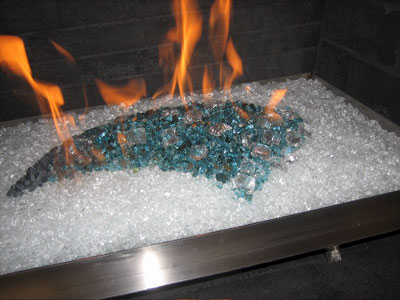
We use Clear base with lots of our ICE ICE ICE!
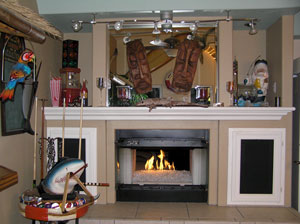
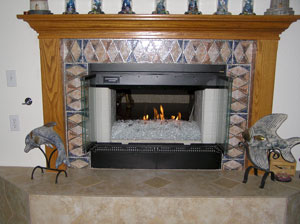
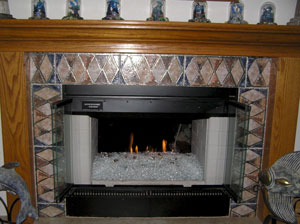
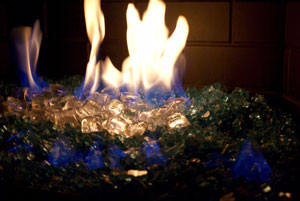
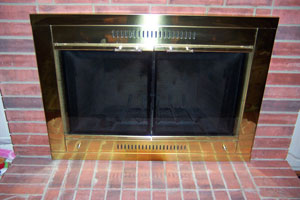
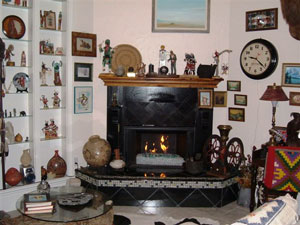
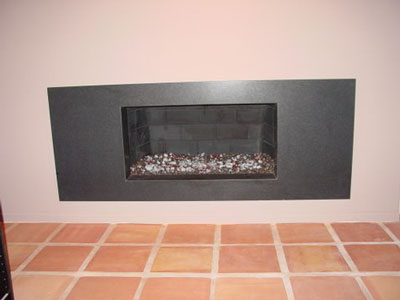
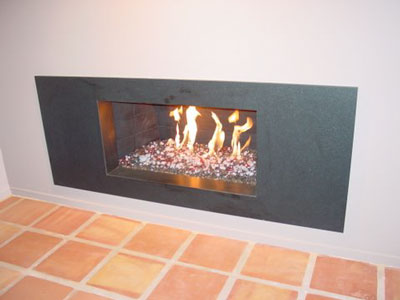
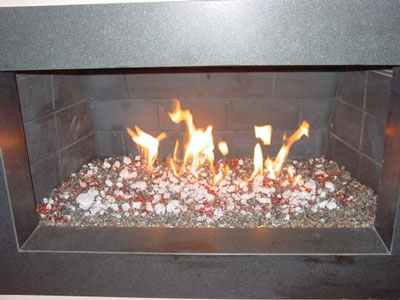
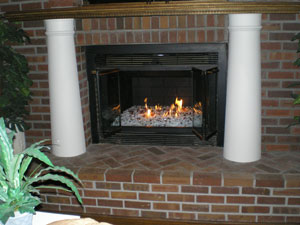
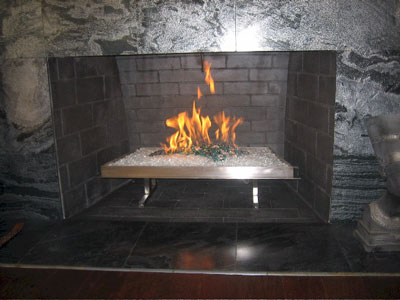
The fireplace below is a ventless with a steel pan and a stainless face added to cover the controls. The glass is Azurlite with Ice Ice Ice. Ahhhhh the beauty of no logs! Really!
Can you honestly say logs look good?
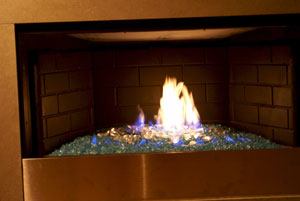
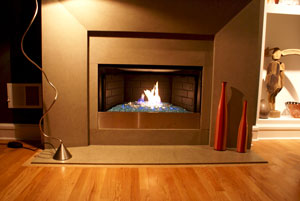
The fireplace below has Starfire and Ice Ice Ice installed with a really cool ceramic tile on the face. Nice job!
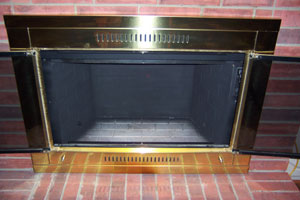
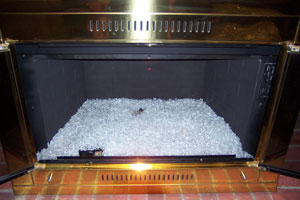
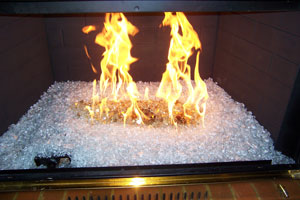
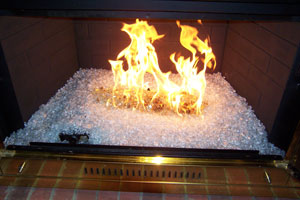
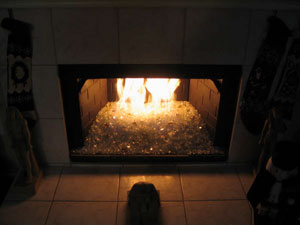
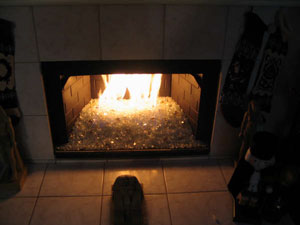
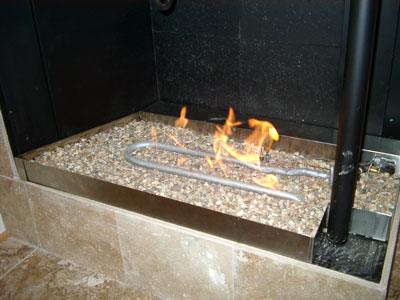
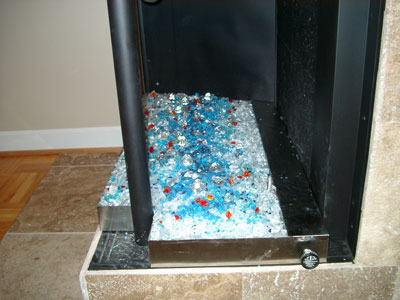
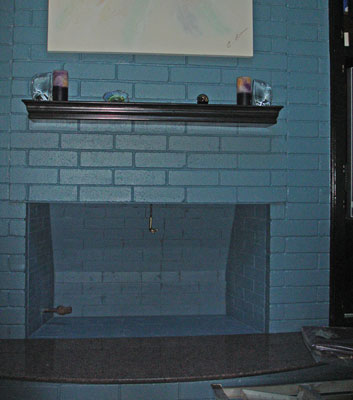
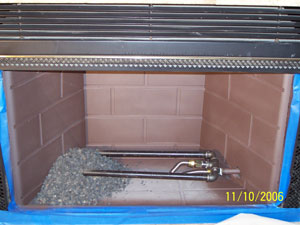
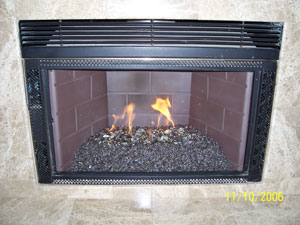
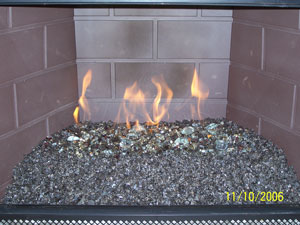
The fireplace below is a propane burner, self installation with the 2" method, Starfire and Gold on top
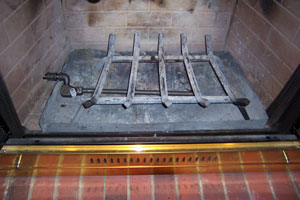
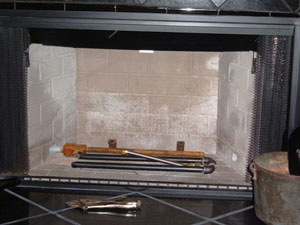
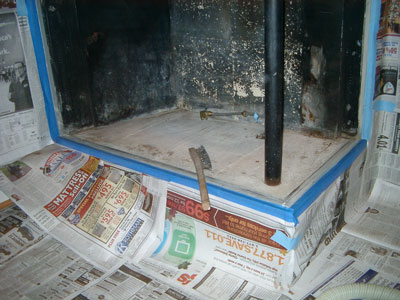
Above we have the old burner with a smaller flame pattern which we will change to a double burner in our tray propane pan burner
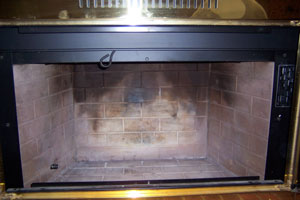
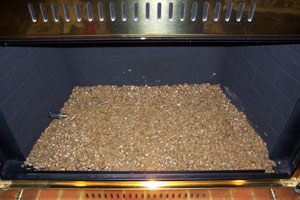
A little bit of cleaning with a wire brush and 1200 degree paint
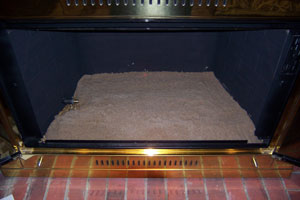
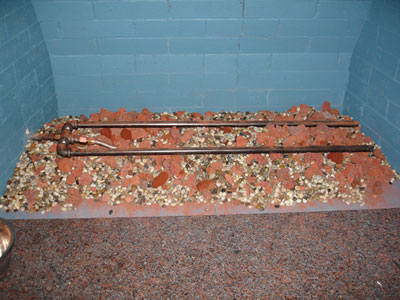
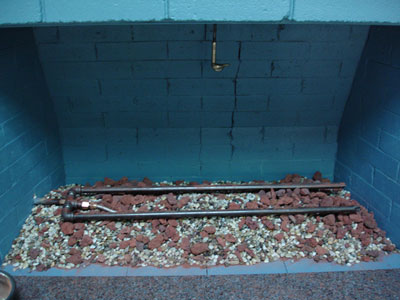
We filled the bottom with pea gravel and the covered it with sand
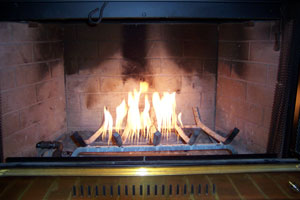
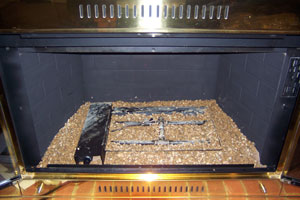
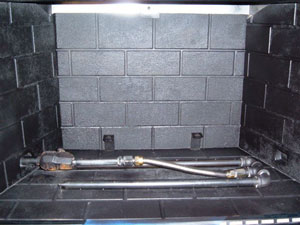
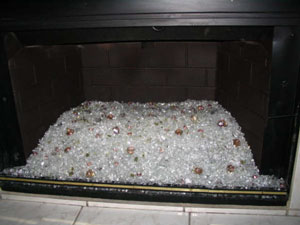
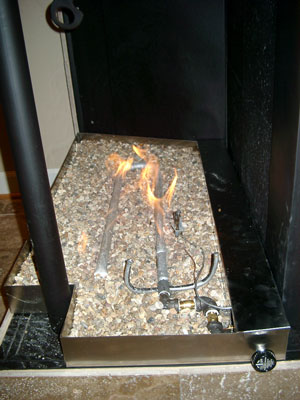
Then we installed the propane burner and filler it with pea gravel to the top of the burners
You can see the pilot light and thermo-coupler exposed
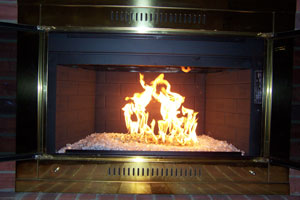
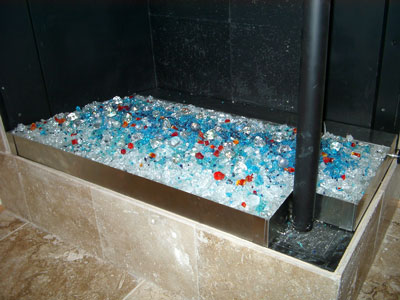
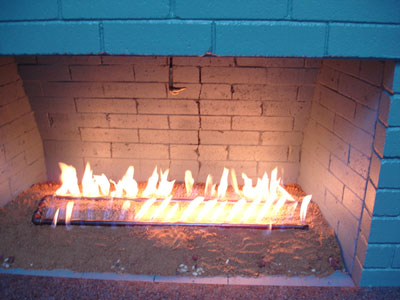
So there it is. A clean burning propane burner, 2" method, no soot, no smells, no carbon monoxide and it puts out a tremendous amount of heat. We sell the 2" method because it works and if anyone tries to tell you different, they need your money more than you do. We are the only company building propane burners for glass that don't soot or smell!
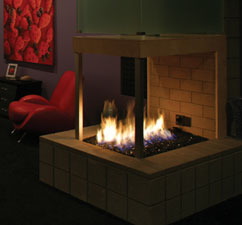
The fireplace below has Bronze, Bronze Reflective , Ice Ice Ice and Clear Diamonds
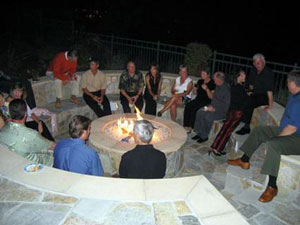
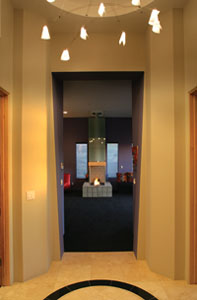
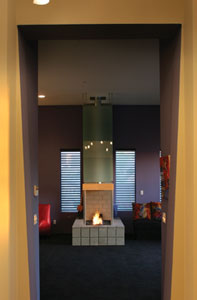
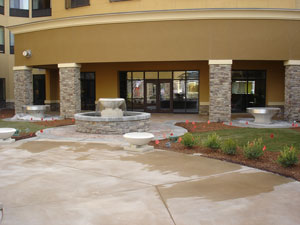
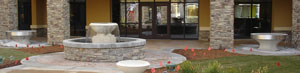
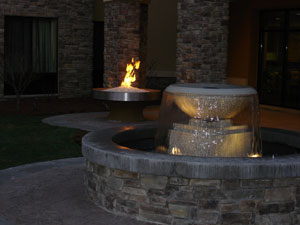
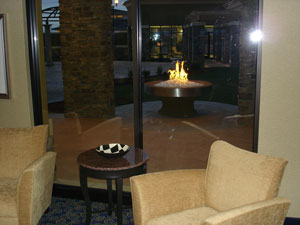
The Fire pit/ Fireplace is in the entry, pretty cool.
This is a self install with a Clear base, Lagoon Topper, Pale Emerald Green Topper and Ice
above the burner goes in
below the lava goes on the burner. Then magically the lava disappears! We use the 2" method to save money not gouge the customer as we here this everyday how customers are taken by BS!
The fireplace below is in San Diego, California and the colors used were:
Cobalt Blue Topper
Steel Blue Topper
Cranberry Pink Topping
Purple Topper
Lilac Topper
Deep Royal Topping
Clear Base
Solex and Solex Reflective
Azurlite and Azurlite Reflective
Blue Green and Blue Green Reflective
and a little bit of Ice Ice Ice on top
wow!
The end pictures show that the burner was too close the wall which was an easy fix by moving the burner forward.
This is where is went a little bit wrong, oops. We just had them move the burner forward and now its fine and the back wall was repainted.
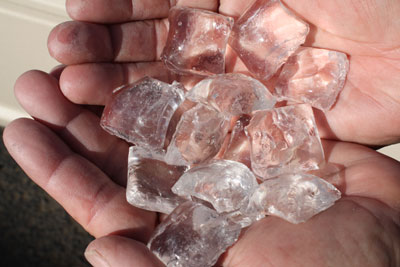
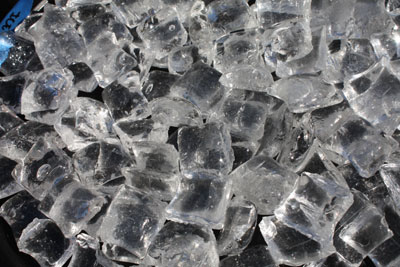
The unique display of ICE is just that, cool.
You have to admit, our ICE looks like ICE! Another creative idea.
The fireplace below is a direct vent self install by Norm. The colors used were: Starfire base, Cobalt Blue Topper, Pale Cobalt Blue Topper, Ice Ice Ice, Pale Gray Topper, Gray Topper and Copper Blue Topper.
We use a piece of stainless steel in the front to contain the glass to cover the burners and keep the glass level.
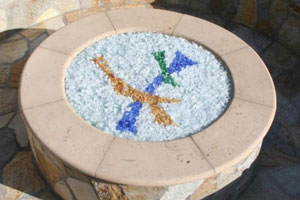
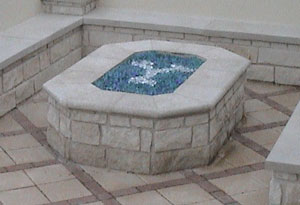
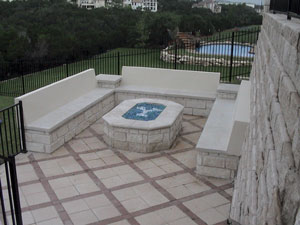
The fire pit below has Azurlite as a base and Ice on top making the letter "Y"
The fireplace below has a Starfire base with Ice on top, Pink Diamonds, Pink Drops, Clear Diamonds and a splash of Gold for added color. What make our company different is what we have to offer you as a customer, selection and variety!
Sent: Sunday, December 17, 2006 7:38 AM To: Ed@Moderustic.com Subject: My new fireplace
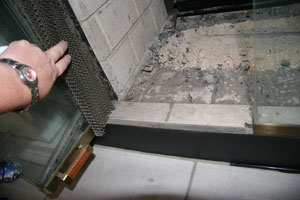
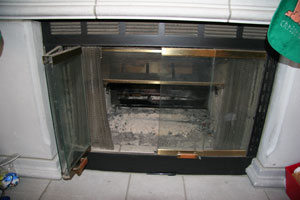
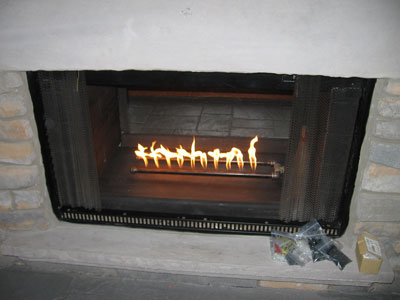
Ed we love our new fireplace!! Wow, it is awesome and couldn't have been easier to set up. Made the purchase late Friday and it took me approx 2 hrs Saturday (while watching TV) to set up properly including paint and clean up. I did run into a small problem with the material continuously falling out of the fireplace . It seemed that I actually used too much material. I was able to resolve the problem by utilizing the original glass door frame as a decorative and very functional stop. It is held in place with clear silicon and the material was allowed to contact and dry into the silicon. ( see pics ) In my case this worked out well as my accent color is gold and so is the trim piece of the frame. I imagine this can be done on many fireplaces and the trim can be painted is needed to match. Feel free to use our pictures or the idea about the trim ( if it is original ) on your web site or sales presentations.
Thank you again
Rodney & Therese Williams Rialto Ca 92377
The fireplace below is a propane self build and installed by Norm Oppliger in St. Louis. It has a 1/4" Starfire base with 1/2' Starfire on top and topping with:
Light Aquamarine Topper
Turquoise Blue Topper
Cerulean Blue Topping
Copper Blue Topper
Scarlett Topper
Ice Ice Ice
and a few of our Diamonds
one great propane self install Norm!
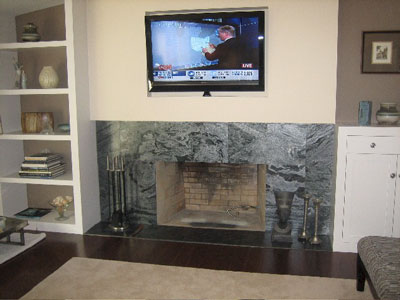
Hi Ed,
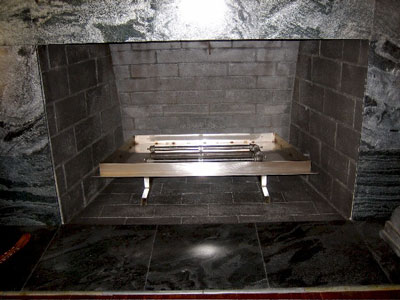
I finally managed to finish the fireplace. We have decided to place a 2" piece of metal in front (which hasn't been done yet), though, to keep the glass off the ledge. We thought it would be deep enough, but that didn't quite work.
To enable me to keep the center area smooth, we had to place the burner on top of the wall pipe, which created a rather high burner placement. This ended up creating a bit of a problem because I had a steep slope to the hearth. This is why I need to add the metal strip in front--so the glass doesn't roll down and come out of the fireplace. We had decided to not have a glass door on it, although if we find something we really like, that could change.
The pics might come in 2-3 e-mails, but I'll describe them here. The first few pics are duplicates of ones I already sent you.
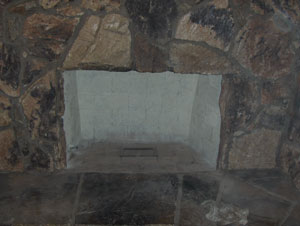
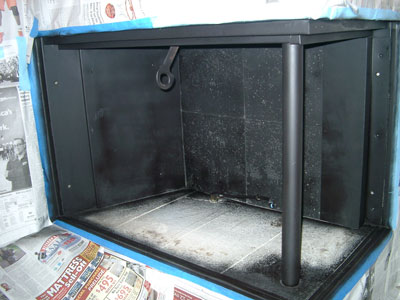
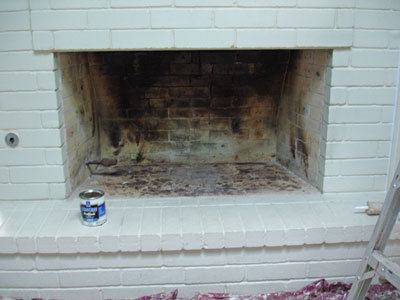
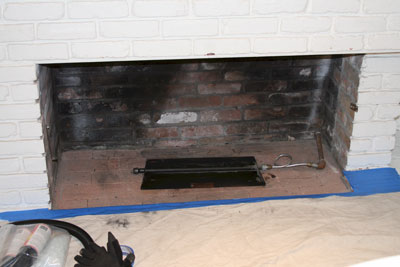
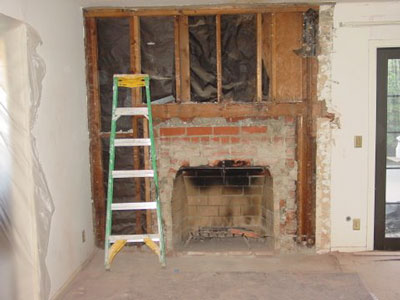
1. Original fireplace, emptied out.
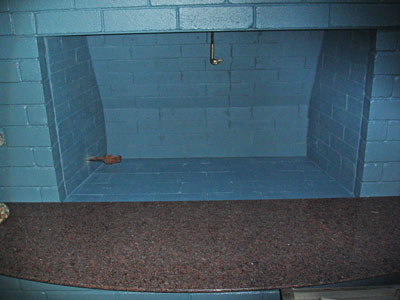
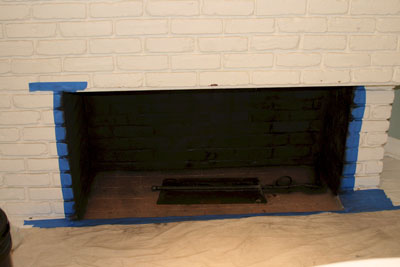
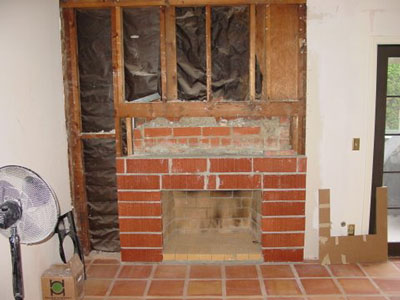
2-3. After painting with the dark blue from the chart you guys gave us. The wall was painted to match, although, I'm not sure I really like it. I'm trying to reserve judgement until I see it for awhile.
The damper handle is a brass duck head which wasn't even noticeable when it was all black.
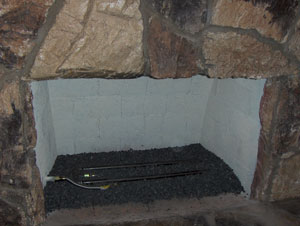
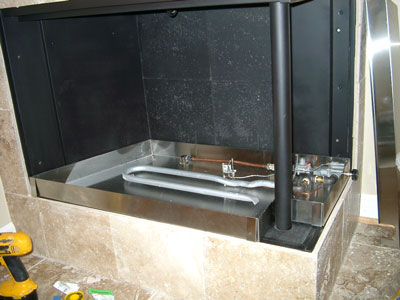
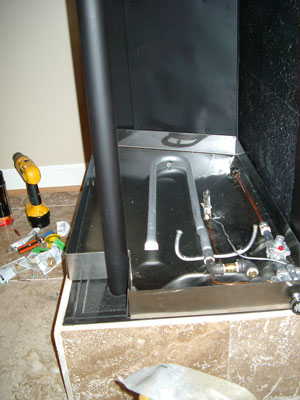
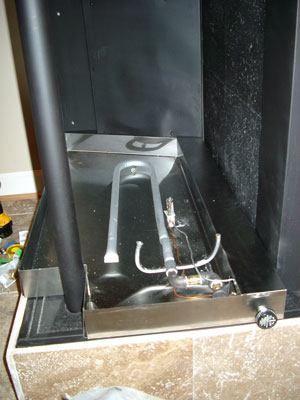
4-5.New burner in place. This created more problems than expected due to the wall pipe being higher than most. We ended up using regular lava rock, since we couldn't find the smaller rocks. Then we added small pea gravel to fill in gaps around the lava rock. After the burner was finally level, we added the sand.
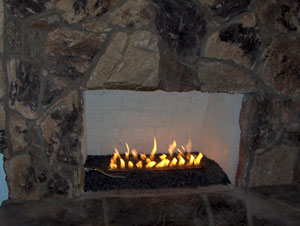
6. Testing the burner with sand added.
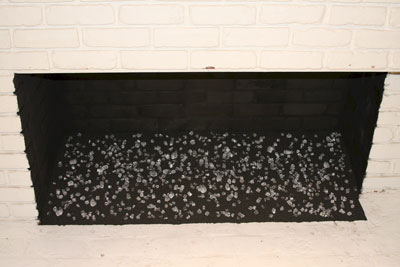
7. Clear glass base added.
8. Rest of colors were added--Starfire, Azurlite, Cranberry-Pink, with a little Steel Blue Topper and a few Ice Cubes.
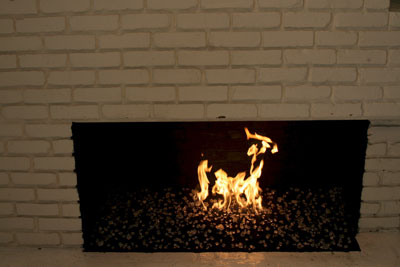
9-10. All finished and burning.
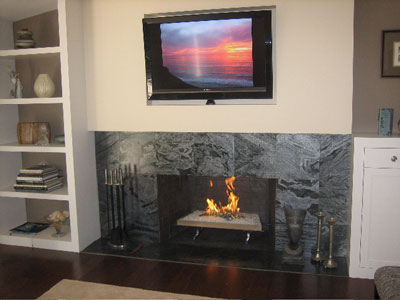
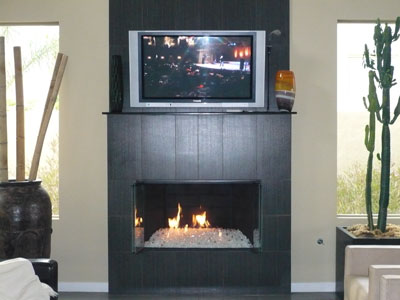
We're still working on the right side of this wall which has cabinets holding the TV and storage. Once the entire wall is finished, I'll send you one final pic of the entire wall. Not sure how soon that will happen, so don't wait for it, if you want to post these pics on your website.
I want to thank you for all your help. Your store was great to visit, so we could pick our glass out in person. Your staff was very helpful and we had a great time making our final color choices. I'll will definitely recommend you to others.
The fireplace below is in Mexico where we seem to be sending more and more propane burners and glass for the new homes being built there. The fireplace below has a Black base glass with Ice Ice Ice on top of one of our propane pan burners. Which later a remote control was added by the custom that we sent to them.
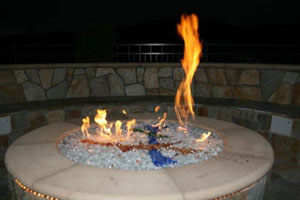
The fire pit below has Azurlite, 1/2" Azurlite, Ice Ice Ice, Starfire and Platinum in the center. Lava rock was used to minimize on the use of glass to keep it in the budget.
The fireplace below is in Glendale Hills California. We installed Starfire as a base with about 1 lb of Ice Ice Ice on top. Then to finish it off we installed a brass surround with bronze frosted glass. The customer loved it! She is the CEO of Fredrick's of Hollywood! Awesome house by the way.
The fire pit below is a new product line from TC, one of our newest dealers. These come with a fibre optics feature, fire and water feature included.The glass that was use was a clear base with Ice Ice Ice and a splash of Dark Red Orange Topper, Copper Ruby Red Topper and several Diamonds through out for a pretty nice look. We will have pricing on these as soon as we start to distribute their newer products.
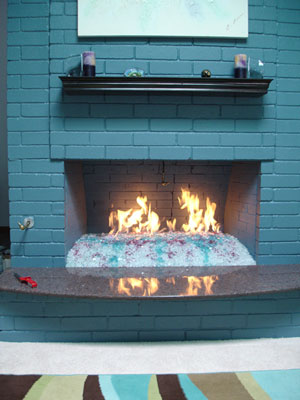
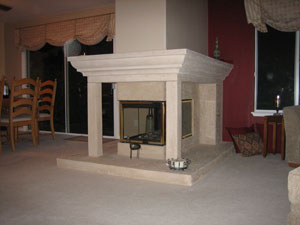
The fireplace below is in Beverly Hills California.
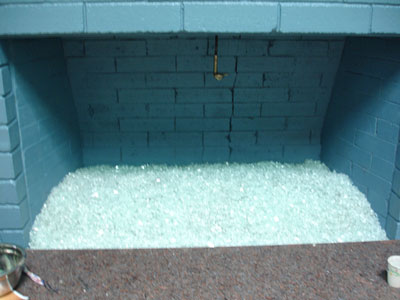
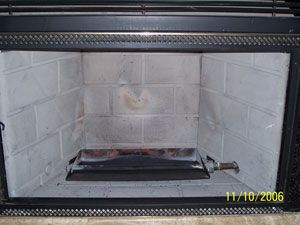
We use a Black base glass with Clear Ice Ice Ice on top. The customer wanted to use their original burner to keep the flames localized in the center area. This fireplace goes from "Log Ugly" to very nice and contemporary in about an hour. If you really take a look at your fireplace place in the beginning it almost looks like an incinerator for long ago.
Not very nice? Nice Logs? I don't think so!
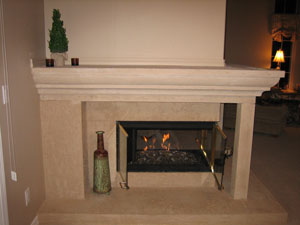
Now it's painted and ready for the glass.
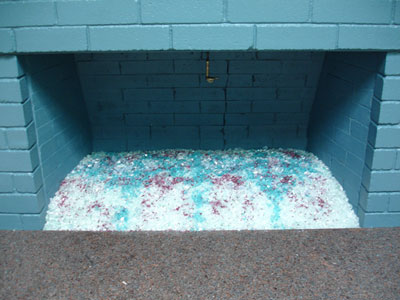
A Black base glass and 5 lbs of our Ice Ice Ice.
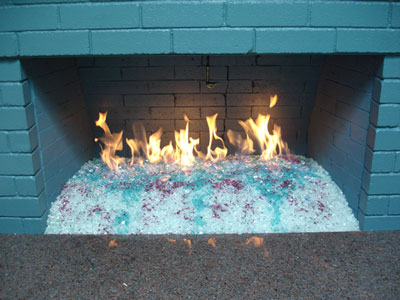
You can't see the Ice on still pictures but what it is doing like looking into a spoon, it reflects backwards and appears to be melting. Ask for a sample and you will be amazed.
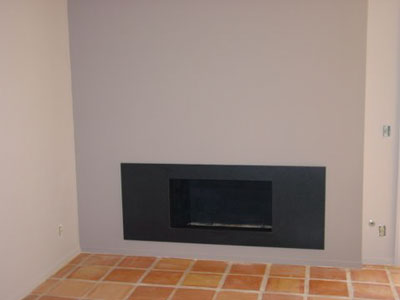
The fireplace below is a before and after and a "how to" make it low and lean. A more contemporary look. This is a self install by Rich Kamins and one very nice job!. He used a Bronze and Bronze eflective base glass. Topper with a bit of Starfire. Ice Ice Ice and about 2 pounds of Copper Ruby Red Topper for a splash of color.
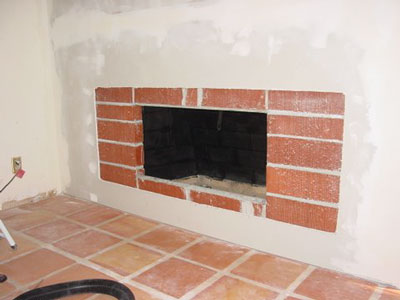
Typical nasty fireplace before Moderustic!
A few bricks and some drywall
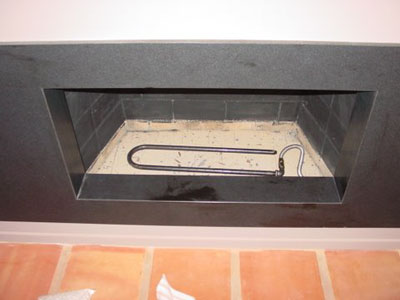
Some sand under the burner for filler to raise the base glass.
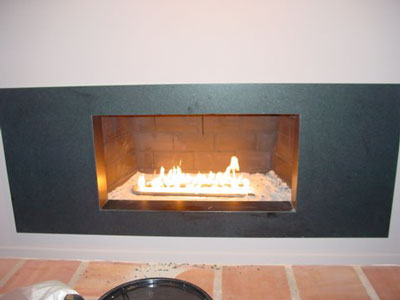
And here you have one nice finished fireplace.
The fireplace below is a typical peninsula direct vent fireplace. A simple conversion. We used a Bronze base with Gold on top with Ice Ice Ice and Clear Diamonds and Pink Diamonds.
The fireplace below is a self install with a 2" base of crushed lava
painted with metallic warm brown paint
18 18 double burner
Bronze base glass
Bronze Reflective
Gold
Ice Ice Ice
Diamonds
Dark Red Orange Topper
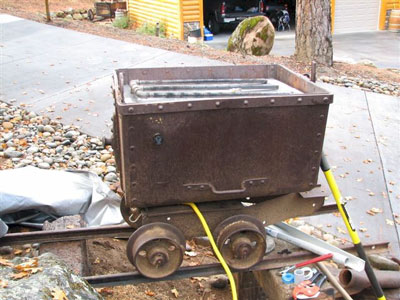
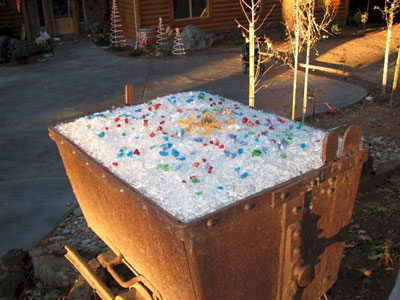
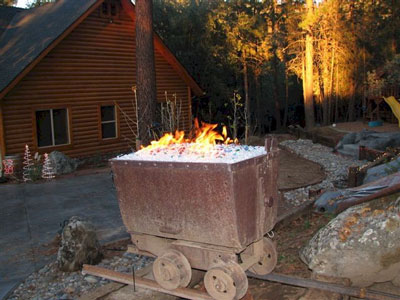
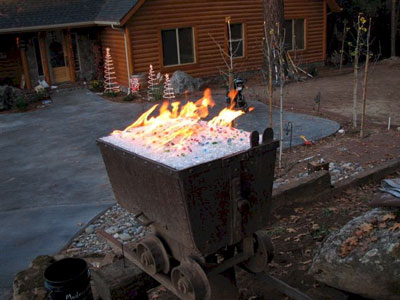
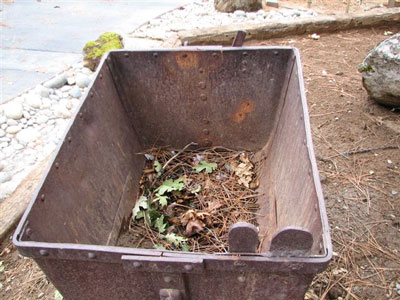
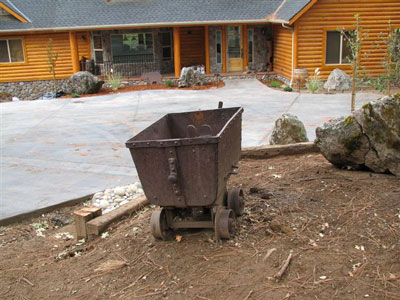
The fire pit below belongs to Mike DeVito in Northern California. When I saw his idea I was excited to help him create something new and wonderful. He took a very old mining cart in his front yard and we helped him convert it to a propane burning fire pit! Turned out pretty cool! Net he is getting a fire pit cover made to cover it from debris and who else knows what.
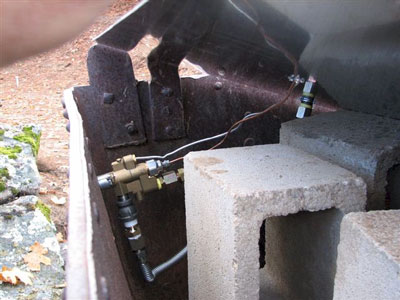
We use a FPPK (fire pit propane kit) with valves, thermo coupler, pilot light and air mixer. The glass that was use is:
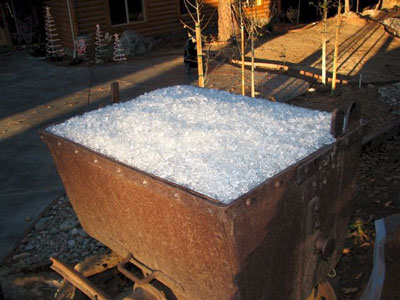
Starfire base glass over a bed of crushed lava rock,
Yellow Amber Topper
Steel Blue Topper
Turquoise Blue Topper
Green Tubes
Copper Ruby Red Topper
Ice Ice Ice
and of course our Diamonds in Clear, Pink, Amber and Blue.
I think this is one really nice idea!
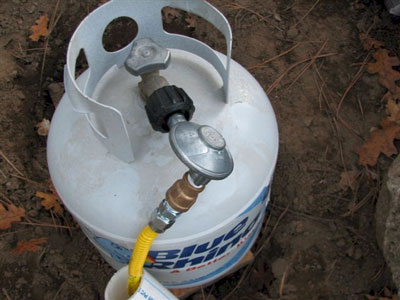
It is all supplied by this 20 lb propane tank
Here is the mining cart with the base plate installed with the burners
Here you see the controls, air mixer and thermo coupler and pilot light lines under the base plate
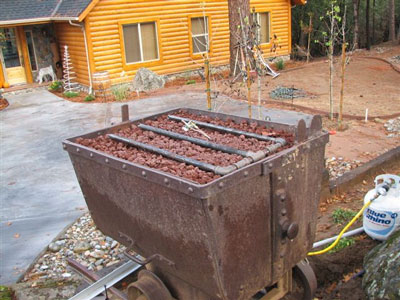
You can use a larger (3/4", 1" lava) as a base under our 1/4" crushed lava as this will save you a few dollars.
Now we pour on the crushed lava to keep the glass from sinking into the larger lava.
Add some Starfire
Splash a few colors
Have your spouse light it in case something should go wrong! (Just Kidding)
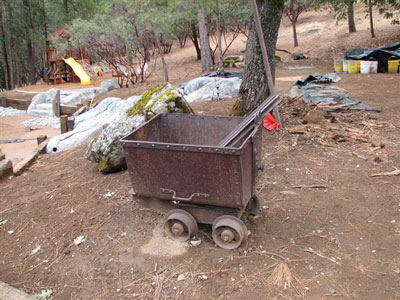
Again here are the first pictures we saw of the mining cart. Great Idea!
Mike, you did a great job!
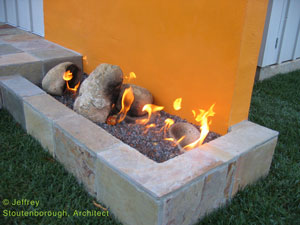
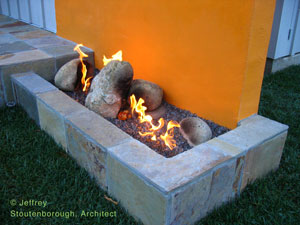
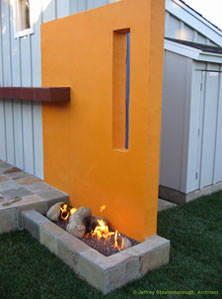
The fire pit below was designed and built by Jeffrey Stoutenborough in Santa Barbara, California.
He started with a Bronze base,
Bronze Reflective on top,
Black Reflective,
Ice Ice Ice.
Dark Red Orange and
Blue Green and a few large rocks left in place.
The fireplace below has a Starfire base with Dark Red Orange Topper, Clear Pyrite and Ice Ice Ice on top.
The fireplace below was installed by George Foote who also built his own pan, great job! We supplied the burners and glass and George supplied the talent and labor. Great job George! The colors used were:
Starfire base glass,
Azurlite,
Azurlite Reflective,
Gray base glass,
and our Ice Ice Ice and you be the judge!
Before the pan and glass.
Here is the stainless steel pan that George built.
Start with Starfire.
Add some Azurlite.
and the rest of the colors for one nice design from George!
The fireplace Below has a Starfire base with Ice Ice Ice on top.
The fireplace below has a Starfire base glass with Copper Ruby Red Topper on top and 2 lbs of Ice Ice Ice on top.
Here is a glimpse of what it used to look like, yuck!
You have to try to understand, we see this transformation everyday and we still don't understand the lure to fake logs, do you? Take a closer look at your fireplace, is there anything nice about it in the daylight?
The fireplace below has a base of Gray base glass with Ice Ice Ice on top. Bill made his own 24" double burner, not too bad Bill.
The fireplace below was installed with a dual battery operated 100,000 BTU propane electronic ignition system. Each capable of 100,000 BTU's of fire. The first pictures show what we had to work with and how it progressed.
The glass that was used was Starfire, Gold and Ice Ice Ice.
If this was in your house you would say NASTY!
Burning wood and logs is just nasty and dirty! True story!
Above you can see the soot that come out of the fireplace and and leaves your house smelling so carbon monoxide fresh! YUCK!
Add a bit of lime stone.
A few pieces of copper.
Below you can see the sand bed and the ignition box we built.
Below are the two vent we installed for the air mixers inside of the ignition systems.
and here we are finished. Now isn't that much better litter feller?
Modern times call for modern measures! I guess that's why we are
Moderustic!
The fireplace below is in Santa Monica California. The fireplace is a Malm Fireplace which can be found at:
We used an 18" double stainless steel burner and a bed of Starfire topped with a few pounds of our Ice Ice Ice.
This is a very simple self installation as you will see.
The fireplace below is in Laguna Beach California. The glass that was use was Starfire. Topped with Clear Diamonds and Ice Ice Ice.
The fireplace below was assembled by Nadine in Dallas Texas (Elegant Reflections USA) Great job on the skull! The base glass is Starfire and Black base makes up the skull. She also used Clear Diamonds and Clear Crystals from our Toppers.
You can see the Diamonds and Crystals around the outer edge for accents.
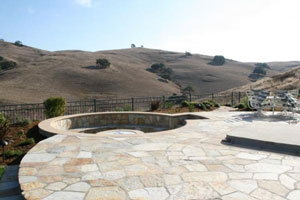
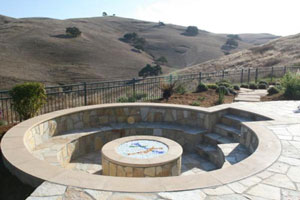
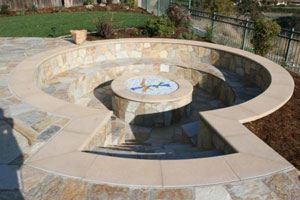
The fire table below was built for Dr. Ramsey Burton in Kentucky. We are going to show you from beginning in the shop to the finished product that Ramsey envisioned for his patio. Ramsey did a wonderful job in planing, building and execution of this project. The glass he used was a Starfire base with Ice Ice Ice on top. Here we go:
This was the lay out for the table to come!
these were the pictures we sent Ramsey after assembly and testing of the fire bowl, water pumps and fibre optics. The glass we tested with usually is our Multi Mix. It tends to show off many colors and always looks great.
Above you can see the gas line and electrical
Access panel below.
Below the bowl was fitted.
Don't ever forget to install a trimming valve!
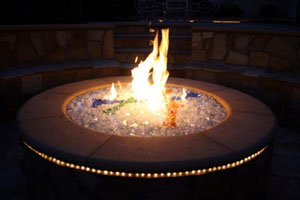
There are 6 colors on Ramsey's color wheel in the fibre optics.
Above and below you can see the cover Ramsey have made to protect the fire table when not in use.
Great job Ramsey!
The fire pit below belongs to Chad Haupert. He used an Azurlite base with Azurlite Reflective on top. Then he created a star in the center using Bronze Rust Copper with and outline of Ice Ice Ice. We didn't get pictures of the complete pit nor of it burning. But it looks great!
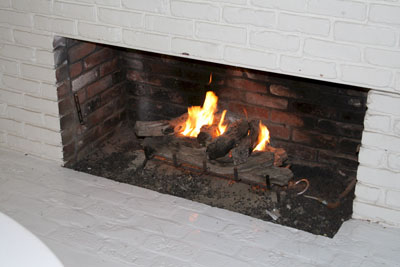
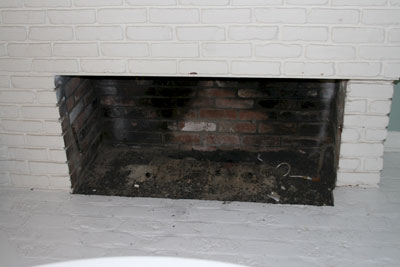
The fireplace below is typical wood burning fireplace which we see every day. Once uncovered it looks like an incinerator. They are pretty nasty looking with out the fire burning. We like to show the before and after so you know what you really have.
Nice! Very Nice!
We had Starfire base glass installed with Ice Ice Ice on top.
The fireplace below has
a StarfireStarfire base with:
Orange R140 Topper,
Garnet Topper,
Ice Ice Ice,
Cobalt Blue,
Copper Blue and Steel Blue toppers.
The Orange R140 Topper is actually one of our chameleons, it turns to bright red when it gets hot and then changes back!
Our Copper Blue Topper is a chameleon as well. It turns to green and changes back to blue when cooled!
The fireplace below is from Eliabeth Bawden, very nice finish! The colors that were used are:
Black base glass,
Ice Ice Ice,
Multi Color Cubes
Very nice splash of color!
This next fireplace was done with lack of knowledge! First they installed a 18" single burner and some real interesting choices of glass. What they did do correct is have a 3" sand bed under their yuk glass. The first issue we repaired was the stub out on the left side of the fireplace floor. All we did was install a 90 degree elbow and connect a 1/2" flex line to the new double 24" burner. They had left the flex pointing in the air and then reduced it to a 3/8" line and to top that off added they very sad single 18" burner. We repainted their futile attempt (of painting) with dark metallic brown, added 10 lbs of sand and poured 75 lbs of Starfire base glass over the new burner and sand filler. We will explain as we move forward:
Below you can see the black marks under the paint.
Below you can see the flex line that was installed was left above the surface. Now if we tried that I think our customers would take us out and string us up, what do you think? To top it off this customer was an attorney! Completely happy with what we did.
Here is the new paint on the back walls.
Now we added the Starfire base glass. One thing we have been doing a little bit different is to bring the glass out from the front of the fireplace. We let the glass come out of the fireplace from 3 to 6 inches to make it look even more grand. What do you think?
Here is a the almost finished product of what we do! We left several colors with the customer to add. We will post pictures when they arrive.
Below are teh finished pictures of what else was added:
Yellow Amber,
Ice Ice Ice,
Clear Diamonds,
Fuchsia Topper,
Purple Topper,
Red R Topper,
Roma Red Topper
I think it turned out very colorful! Check it out!
The fireplace pictures below is a before and after fireplace.
The glass that was installed is:
Galaxy Green base glass,
Clear Diamonds,
Ice Ice Ice,
Pale Cobalt Blue Topper,
Rhubarb Topper,
Lime Green Topper
You be the judge, a very nice mix of colors. Many times better than the BEFORE!
YUK?!
Just the Cobalt Blue Topper is installed above and below.
The fireplace pictures below show the before and after from Bob Kobus. The glass that was used is:
Starfire base glass and Ice Ice Ice, Very nice, contemporary and simple!
Let's go from start to finish:
Nice Logs! NOT!
Bob used an aluminum brick metalized panel.
Then they did their grind pattern.
And here you have it finished!
Yes the logs will be leaving very soon!
Starfire and Ice.
Much better, don't you think?
The fireplace pictures below will show how simple and easy it actually is to install.
Subject: More proof of how easy it is to do with Moderustic providing the materials!
We are so happy with our fireglass fireplaces (we have 3!). It has literally changed our lives in that we can use our fireplaces anytime we want with no worry about cleaning ashes later on. Even better, the look is so superior to fake logs. All of our friends have been wowed by the look. We always send them your way.
Best regards,
J. D. Harriman
Here we go:
Above you can see how nice it WAS! YUK!
Below they painted, we always recommend painting the lines first and then painting each brick separately. Using this technique you can eliminate spots.
Install the burner. We usually recommend curling the flex line from underneath, but this works as well if your flex line is long enough. The reason for the flex line: it allows you to move the burner forward to prevent the flames from hitting the back wall.
Below the lava has been poured and test the flame pattern.
Pour the glass from the front going to the back. You can use a cup or pour from the bucket.
Turn it on and your done!
The glass that was used is:
Starfire base,
1 lb of Gold,
Amber Diamonds,
Ice Ice Ice for one simple but nice fireplace!
The next fireplace was installed by Tracey Watson. She used a Starfire base glass, added Gold base glass, and topped it with Ice Ice Ice, 4" Black Terrra Cotta Fire Balls. Now for the bad part: Always test your burner to insure your flames are in the center and I recommend removing the screens. When you remove the screens, you may want to paint the interior, just a thought!