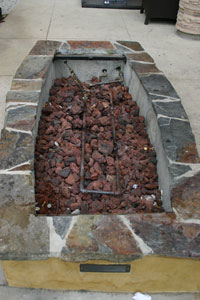
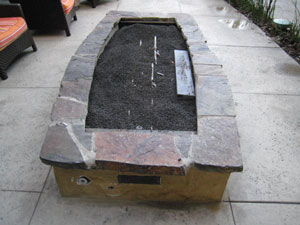
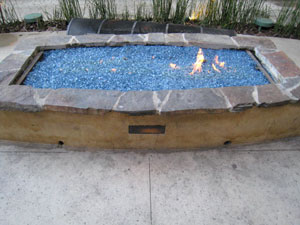
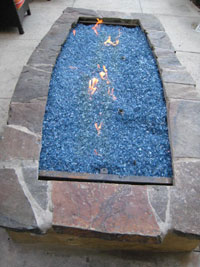
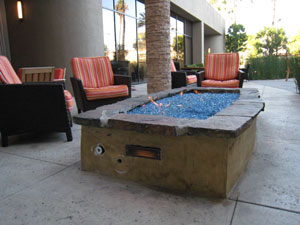
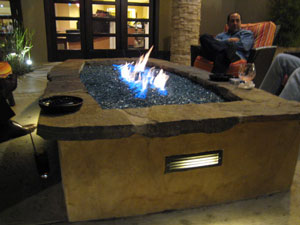
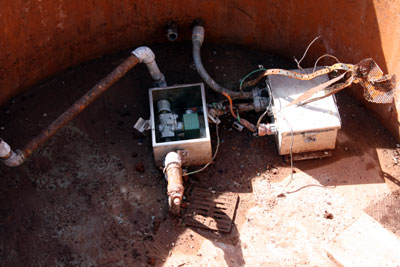
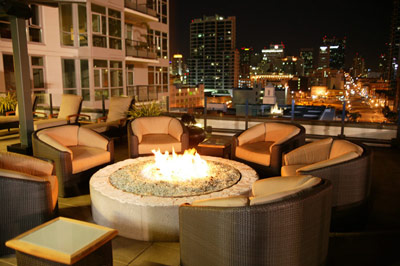
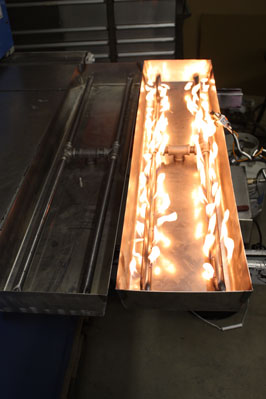
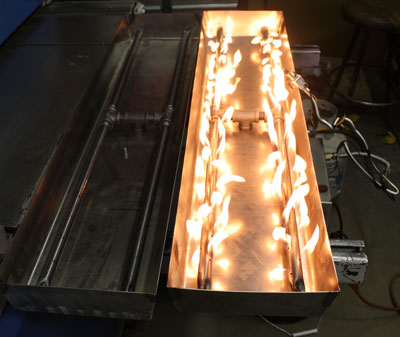
The fire pit below will show you how not to do it (bad plumbing) and how easy it is to install a battery operated remote control. The glass used was ford blue and we installed 2 44" stainless steel "H" burners.
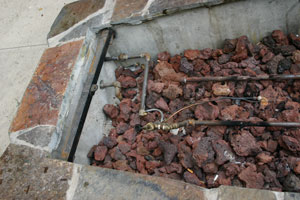
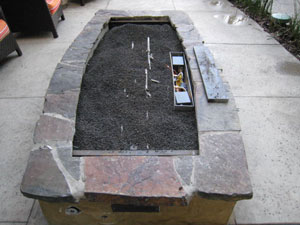
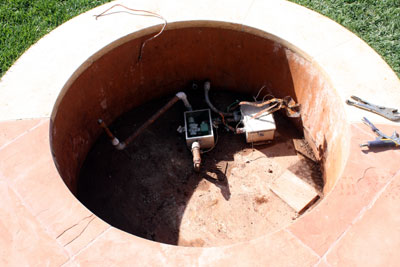
In the pictures on the top right, do you see the plumbing sticking out of the pit? Well this was fixed, but not by the plumber that tried to install it. We cut a little bit of concrete and placed the valve in properly.
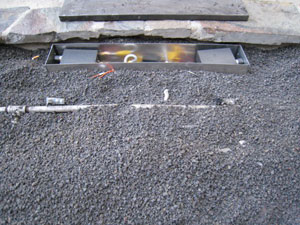
Above you will see a very poor attempt of a gas burner and valve.
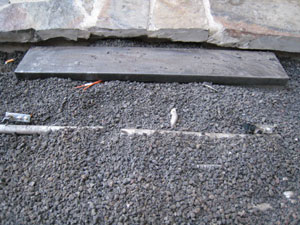
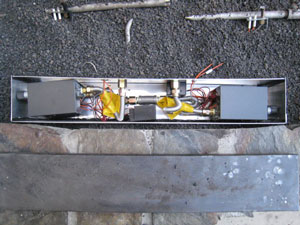
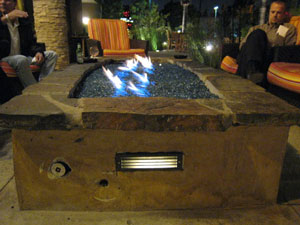
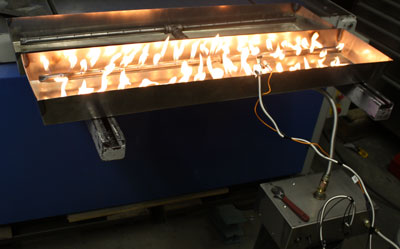
The picture above has our twin remotes inside the box protected from the weather.
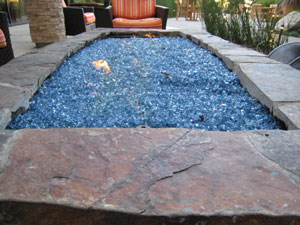
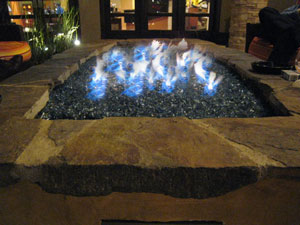
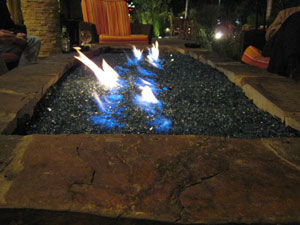
We covered the larger lava rock with our crushed lava rock to pour a 1 1/2" ford blue base to cover the lava and burners. Unless you plan to cover your outdoor fire pit we recommend to use all stainless steel burners and parts to avoid rusting.
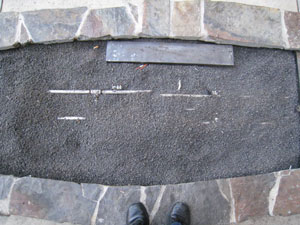
Once the glass covers the box, it just looks nice. To replace the batteries, move the glass on the top and the rest is simple.
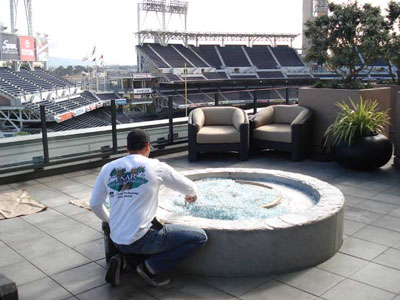
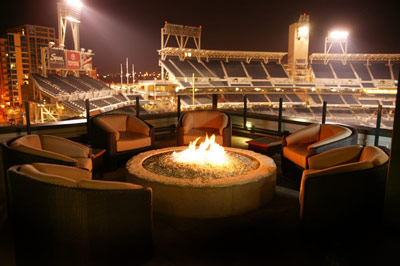
The fire pit below has an electronic ignition and clear glass installed. This is next to the San Diego Stadium Downtown San Diego at the "Legends" Again this was installed by Cesar, one of our dealers in San Diego.


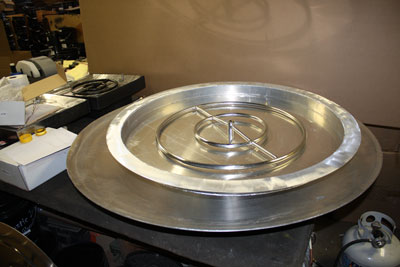
The round pan below is a propane pan with electronic ignition. This is a 36" aluminum pan with a 2" lip all around
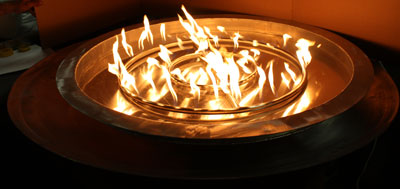

The two pans below are stainless steel and are propane fueled with 415,000 btu electronic ignitions each.
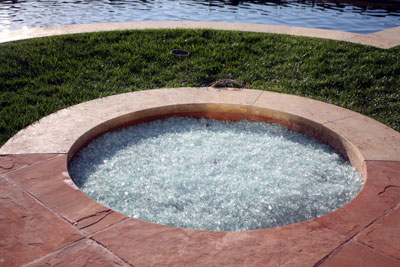
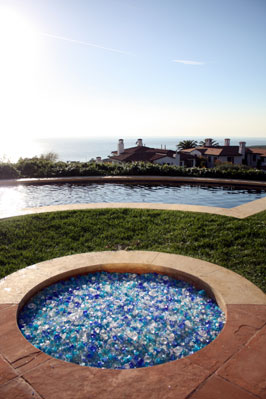
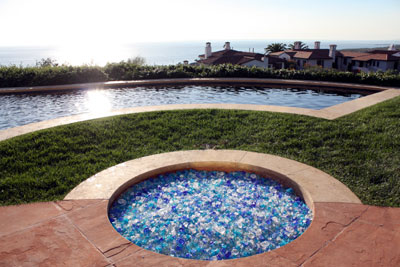
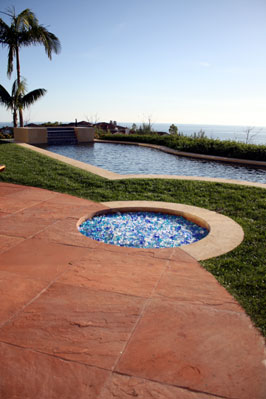
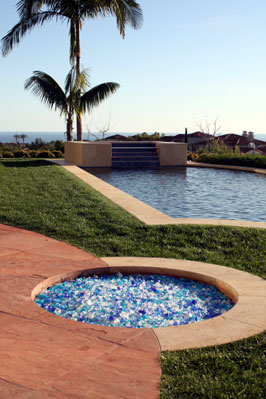
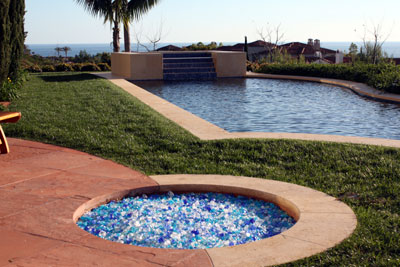
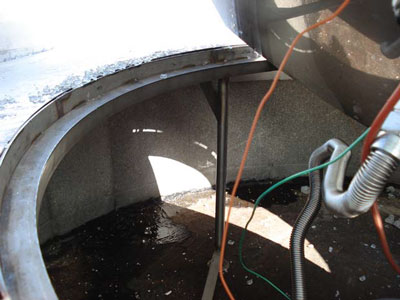
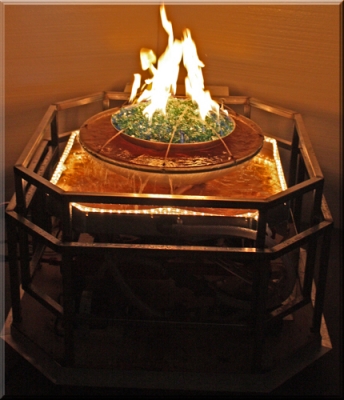
The fire pit below is in Newport Beach California at Newport Coast Development. We replaced a hot spark ignition which did not work, with our IPI (intermittent Pilot Ignition) electronic ignition system. The fire pit was 18" deep ands 48" across. This is what was installed:
1 IPI Electronic Ignition for Natural Gas connected to a 1" gas line
1300 lbs crushed lava
144 lbs Clear base glass for a 2" fill over the crushed lava
36" triple stainless steel burner ring
20 lbs Clear Topper
20 lbs Cobalt Blue Topper
20 lbs Copper Blue Topper
We will show your from beginning to end:
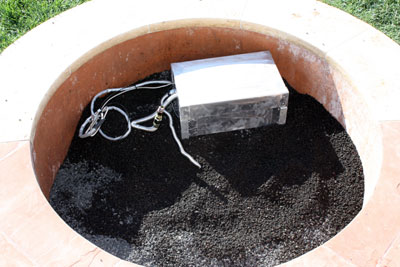
Looked pretty nasty when we got there
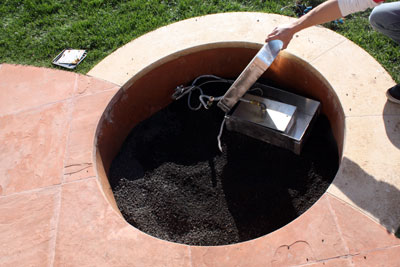
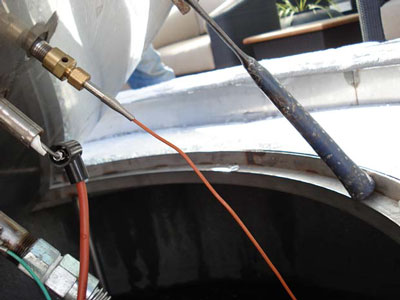
We started to pour the crushed lava with our electronic ignition being raised to the surface by the lava rock
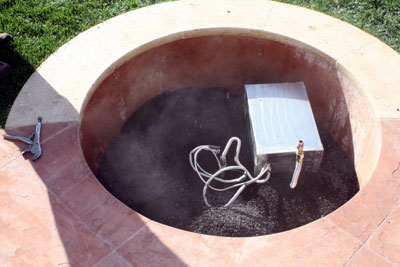
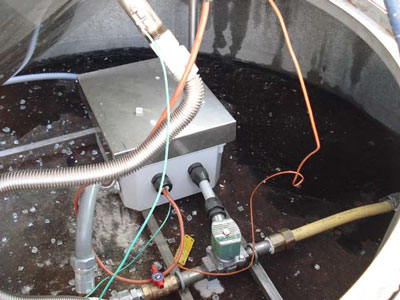
We built a double box to protect the equipment in the fire pit as well
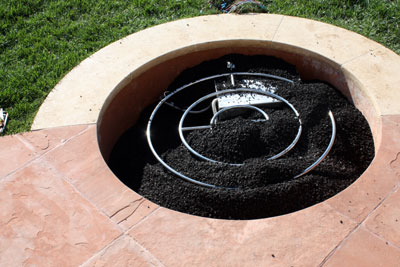
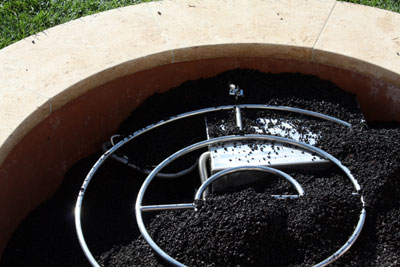
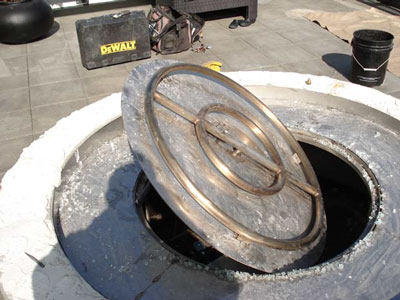
The ring is now installed
The electronics can be accessed if ever there was a failure of the equipment and you can access it from the surface. Before the equipment was 20 inches below the surface, not a very good idea!
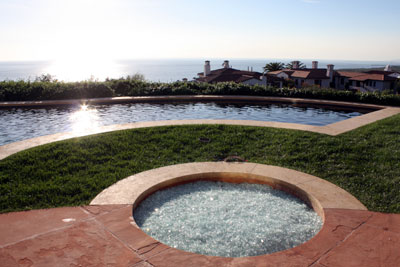
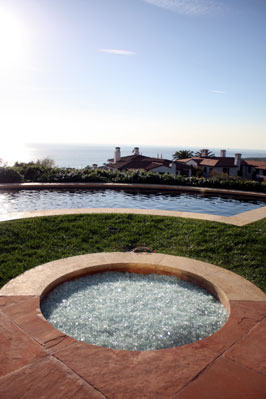
Now we poured the 144 lbs of Clear base over the crushed lava
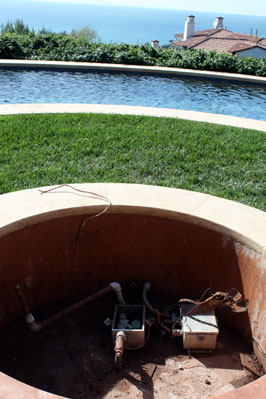
We only did the fire pit, not the view. That came with the home. But one very impressive view!
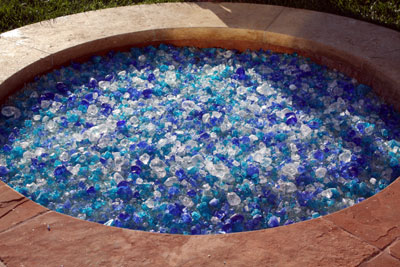
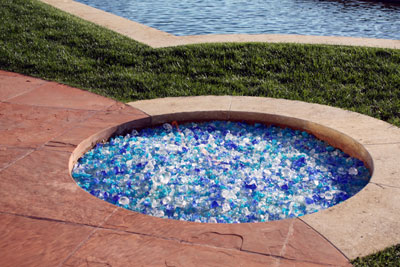
Then we spread the Clear Topper, Cobalt Blue Topper and Copper Blue Topper over the Clear base
As you have looked at all of our pictures we would like you to know we use Crystals as our toppers and toppings. We don't use "Recycled" glass, ever! We are actually the only company that produces Crystals for fireplace and fire pits.
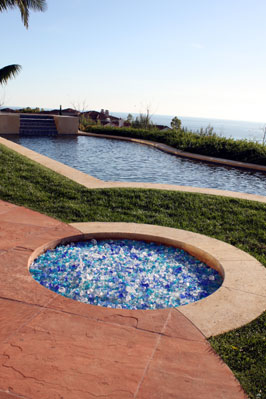
We tried to get pictures of it burning, but the flames just didn't show. Look above and you can see a flicker in the daylight. Actually the flames were over 16" tall but you can see this in daylight.The contractor will get a few night pictures when they and if they can.
The fire pit below is located in San Diego, Gable Point Loma. There were 2 electronic ignitions installed and a false bottom was installed. We filled the base with Clear base glass and 1/2" Clear base glass.The lines were installed from the back.

Below are the electronic ignitions.


Framing/ metal studs were installed and two layers of durock was then installed to support the glass.


Finished!

The fire pit below is from Chad McGraw in Washington State. He took a simple patio and transformed it into a fire pit and seating area. The electronic ignition was installed under the bench to the left and accessible from the rear of the seating area.


Click Here to see the
"Todd Gilbert Table!"
The fire pit below has Azurlite FireGlass/ Fire Glass installed. This fire pit was to have an electronic ignition but the pool builder forgot to wire it, oops! We then installed a battery operated IPI system and we will explain as we move on. The first issue was we were told the pit was 8" deep, it was only 6" deep! That will explain why the glass is mounded so high. they put a board on top of the fire pit and measured it to the top not the bottom.
We had to mount the gas on top of the ring because of the measuring mistake.
On the bottom front left of the pictures you can see the blue battery compartment.
This will be just slightly covered with glass but easy to find come the time to replace the batteries.
First layer of glass going on.
Below you can see that the ignition is just above the surface and the battery box is now gone!
We had to add more glass, again because of the 6"/ 8" bad measuring.
Below here it is finished.
Yes it is on the golf course in Palm Desert
Below we did a Paparazzi photo shoot! This home took 2 years to build! The gates below had Sea Glass laminated to the glass panels.
If you take notice to the outside walls, the entire house was covered in marble! Crown moldings included!
We only do this once in a while, but the home was outstanding. You should of seen the interior!
The next several pictures show you a flip top box design for a fire pit control panel. It is constructed from stainless steel or could be made from aluminum. The trimming valves are for adjusting the flame are inside along with an electronic key to activate the electronic ignition. These were made for an apartment complex and only the management had control of the electronic ignition. Here are the pictures.


These two separate boxes were made to fit each specific fire pit.


Texas Long Horn Fire Pit LOGO!
Ed, Rebecca, Morgan and crew at Moderustic:
Finally completed my project for the Texas Longhorn Alum in my RV Park. Actual time was only approx 80 hours but did not work on it full time.
Had my local welding fabricator build the base out of ¼” square tube for the circles and 1” square tube for the legs and attached some decorative feet on it. Also attached some L brackets at the top to install the granite top with.
Fabricator also built a 28” diameter by 4” deep pan out of 16ga steel. Later we decided to add a ¾” lip around the top edge.
We drilled holes in it to install some retractable handles for easier installation / maintenance. Drilled holes for the pilot assemble to pass through the pan and for the burner assembly to attach.
We had another 28.5” diameter 16ga steel circle cut out to create a lid for the pan to prevent rain/debris from disturbing the Glassel bed.
Used the longhorn cookie cutter cut out to make a 16ga steel flat longhorn cutout to affix atop of the lid
Had the pan and lid sandblasted and powder coated black to match the base. Had the longhorn powder coated candy copper along with a handle to match.
Cutout a ¾” plywood base to use to attach the granite to. Installed Tee Nuts into the plywood so that we could screw the plywood base onto the base of the table later.
Purchased and installed some 110v LED low profile puck lights and affixed to the underside of the plywood to create indirect lighting of the table, routed channels for the cabling to follow and used silicone to keep in place
Had my local granite company cut a ¾” thick 52” diameter circle with a 28” opening in the center to accommodate the pan.
Attached the granite to the plywood base using silicone.
Installed Cement Board onto the inside of the table base as a bed for the stone tiles.
Installed the Lowes Special Order Solistone 12” x 12” Stone Tiles around the table.
Created a bracket inside the table base to hang the AFVK-SP-MH/L and extended the wiring on the battery box to allow for installation underneath the granite top outside the table base to be able to change batteries later.
All the parts are complete so time for the final install
1. Place base in location, propane line already in place as well as 110v electric with X10 remote socket for LED lights.
2. Install plywood / granite / LED lights onto table base and screw into Tee Nuts
3. Install Pan on top of granite leaving access into the table to complete connections.
a. Disconnect Pilot assembly from AF-4000 MOD and run gas line, ignitor and sensor through hole in pan inside the table
b. Reconnect Pilot assembly back to AF-4000 MOD ( Be sure to use the correct connections or things will not work J )
c. Attach the battery pack to the underside of the granite base in the routed channel to allow the wiring to move in / out for ease of use.
d. Attach the pilot tube to the AFVK-SP-MH/L module.
e. Install the burner inside the pan and attach the Gas Outlet connection to the burner.
f. Attach the Gas Inlet connection to the gas supply line which has a cutoff on it.
g. Test the remote lighting and check all fittings with soapy water for leaks.
4. Once everything checked out, install the pan inside the opening.
5. Install a layer of lava rock under the double burner to lift if from the bottom about 1”
6. Install ¼” Starfire Glassel on top of lava and covering the burner while leaving the pilot assembly exposed to be able to function.
7. Tested the remote again to verify operation
8. Install the Longhorn cookie cutter and fill with Pimento Red Glassel.
9. Install cover
Bruce Figura bfigura@swbell.net
and now for the construction and pictures...


_________________________________________________________
Click HERE or on the picture below to see how this was made

_________________________________________________________
_____________________________________________________________________
CLICK HERE or on the PICTURES below to see how this became what it is today!


_____________________________________________________________________
_______________________________________________________________________________
Click HERE to see how it was made, allong with Videos or on the pictures below:


_____________________________________________________________________________